Transforming a Car Air Filter into a Cozy Home Decor: DIY LED Lamp: A Creative Repurposing Project.
Have you ever considered repurposing automotive parts into unique home decor items? In this blog post, I’ll share an exciting project where I transformed a car’s air cleaner into a stylish and Cozy Home Decor, DIY LED Lamp. This creative endeavor not only gave new life to a discarded part but also resulted in a cozy, eye-catching light fixture.
Disassembly and Preparation
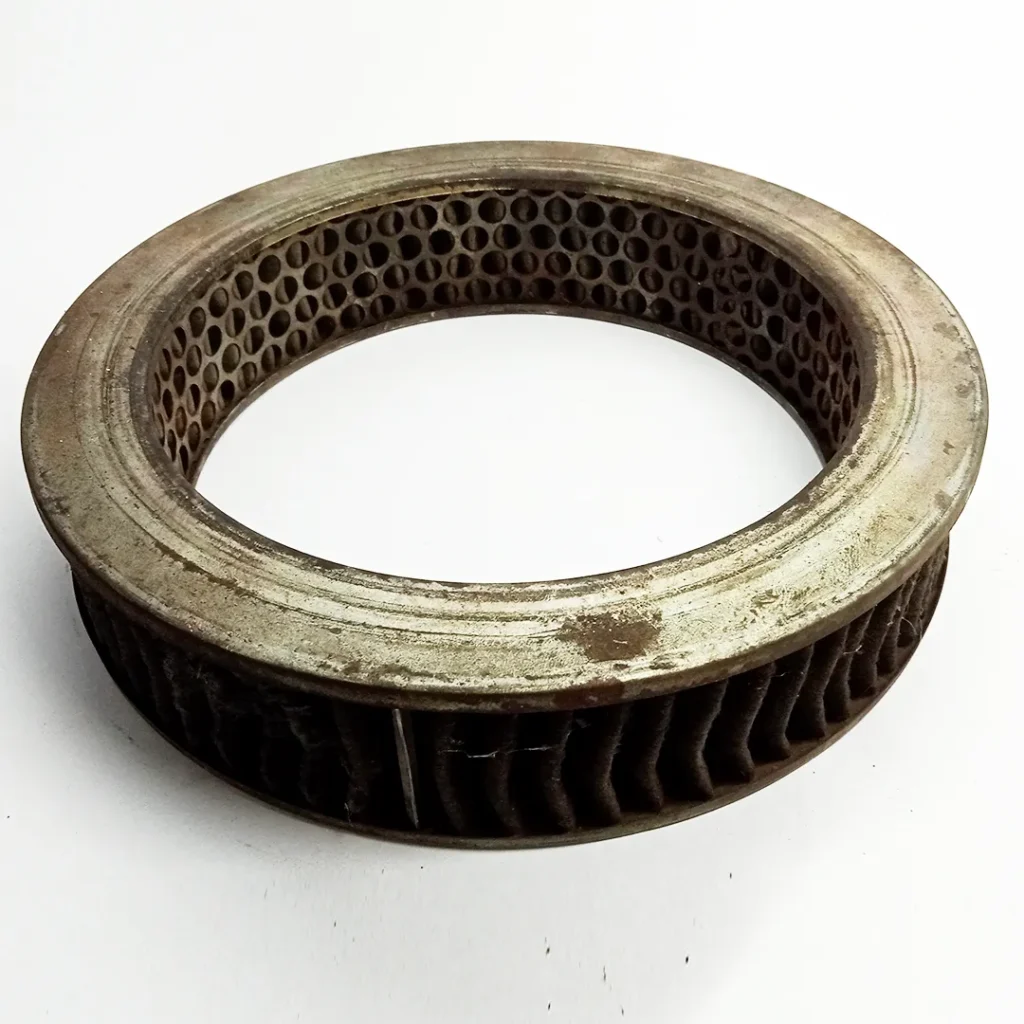
The journey began when I retrieved my car (ZEN) from the garage following its servicing, and the mechanic presented me with a bag containing the replaced parts. My attention was drawn to the car’s air cleaner/filter. Its unique shape and design piqued my interest, sparking the idea that it could be repurposed into something intriguing.
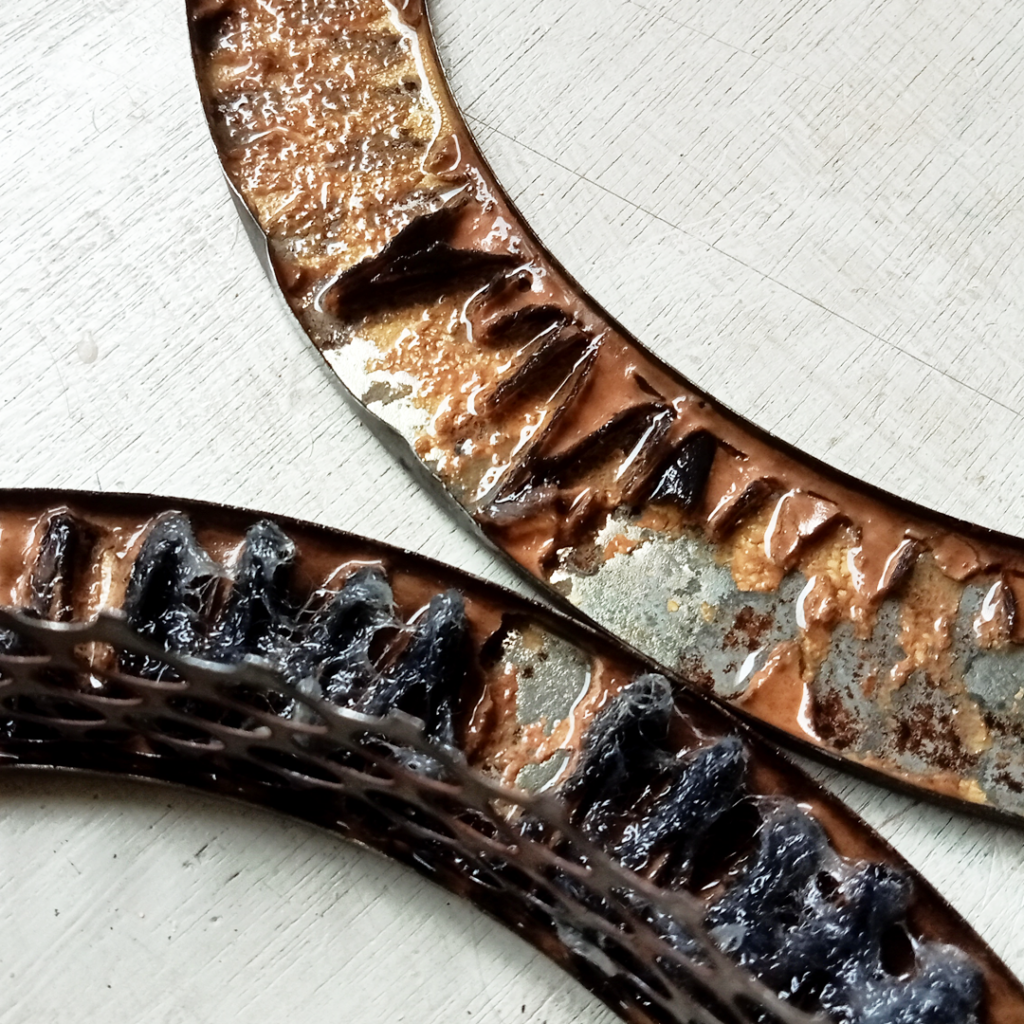
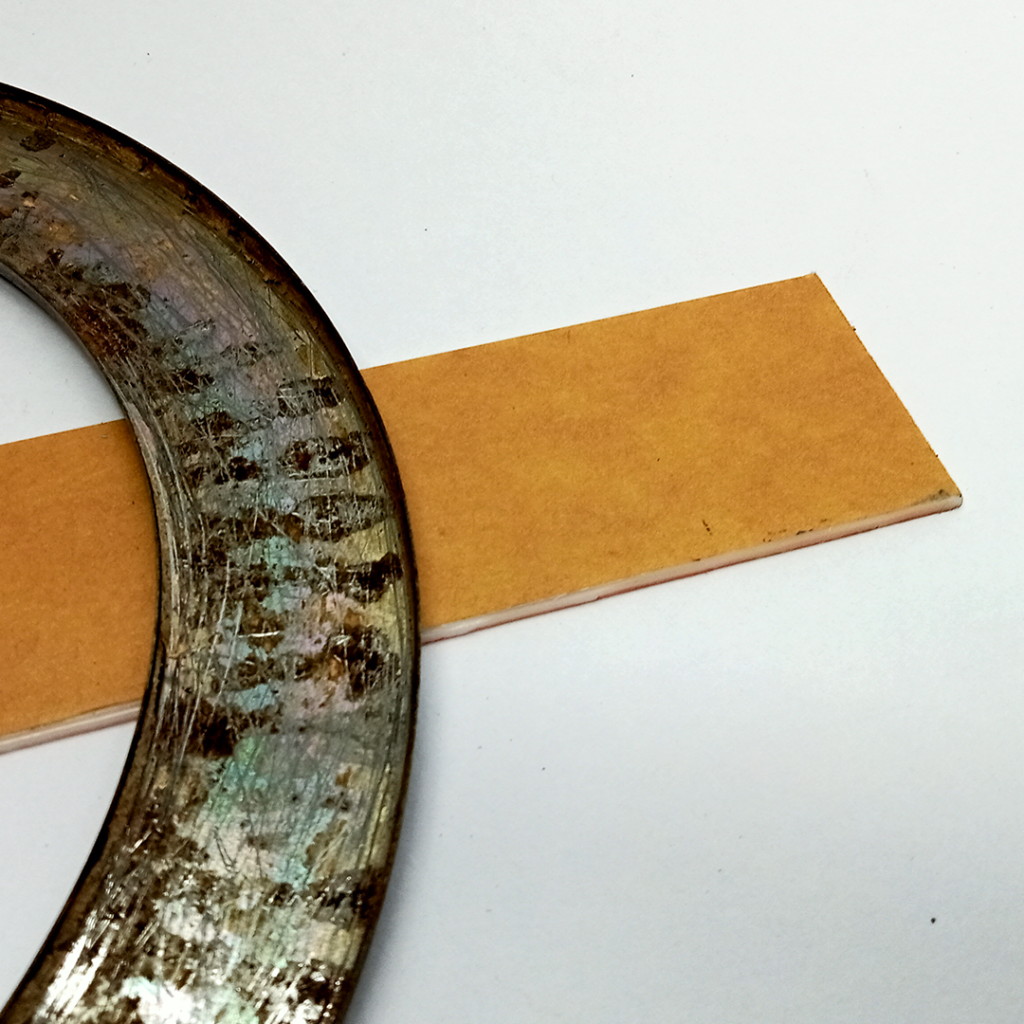
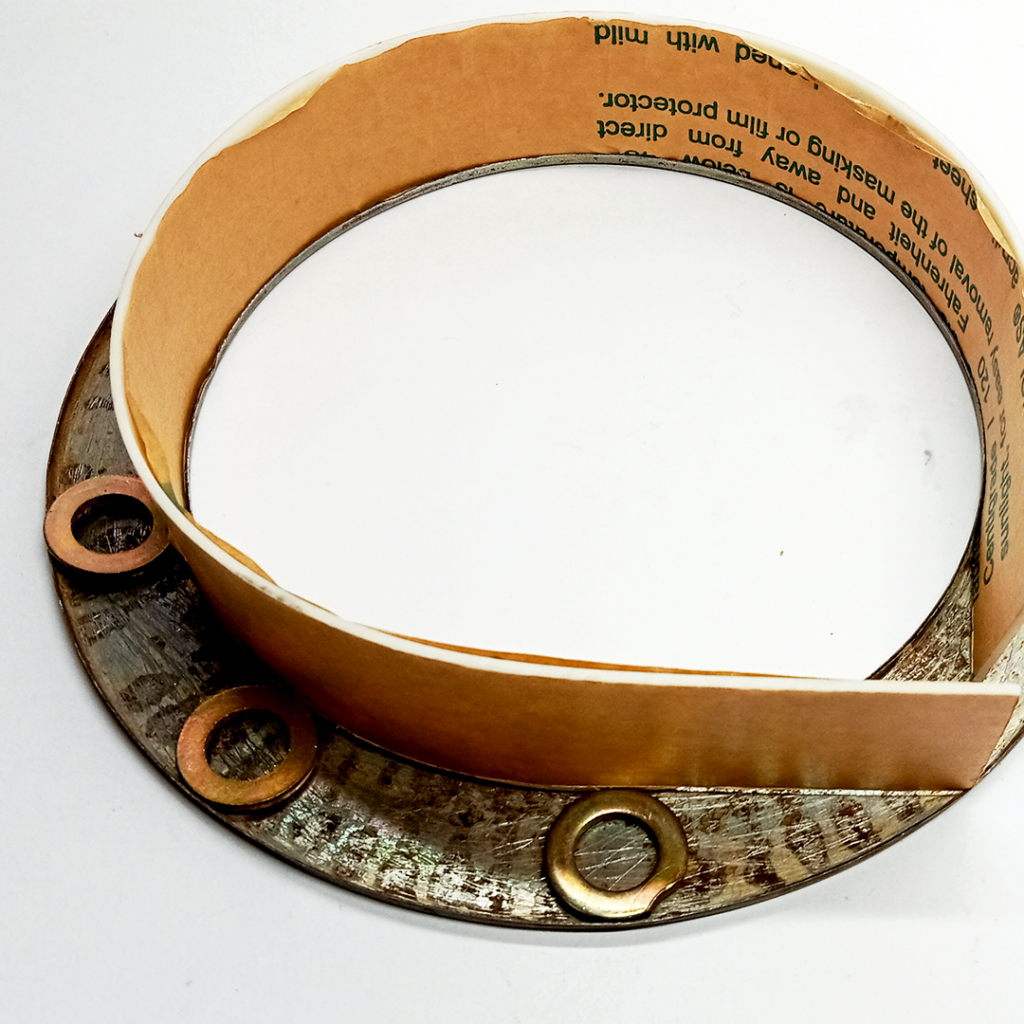
I started by carefully disassembling the air cleaner. To remove the synthetic fiber paper from the metal enclosure, I applied paint thinner to soften the glue, which made the separation process smoother.

After disassembly, I thoroughly cleaned the inside and outside of the metal case with sandpaper, ensuring a flawless surface for painting. Note: The edges of the metal can be exceptionally sharp, so wearing protective gloves is crucial to preventing injury.
Creating the Diffuser Covers
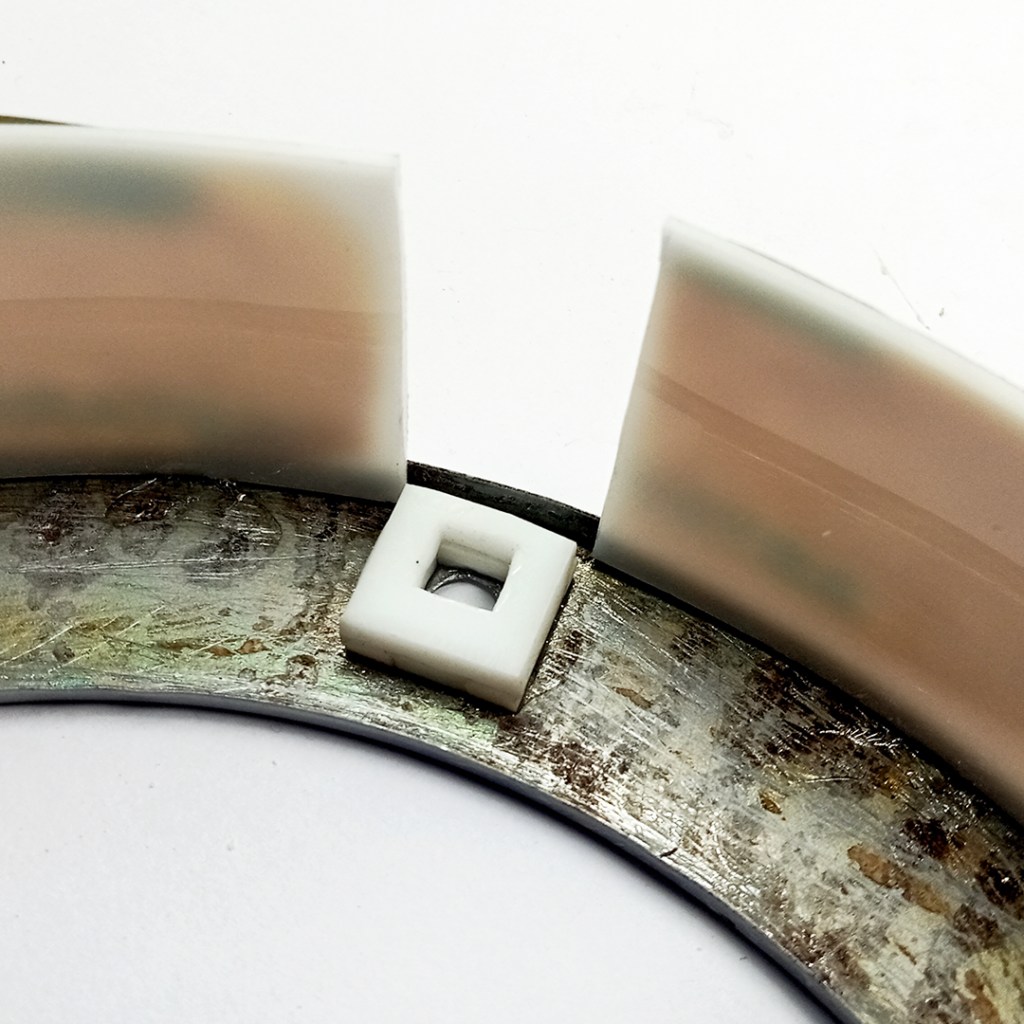
For the diffuser cover, I used a 3mm white glow acrylic sheet. I cut it into two – one for the outer cover measuring 66cm in length and the other for the inner cover at 51cm. ( Keep an extra length of about 3 to 4mm to accommodate any size variations during the bending process. )
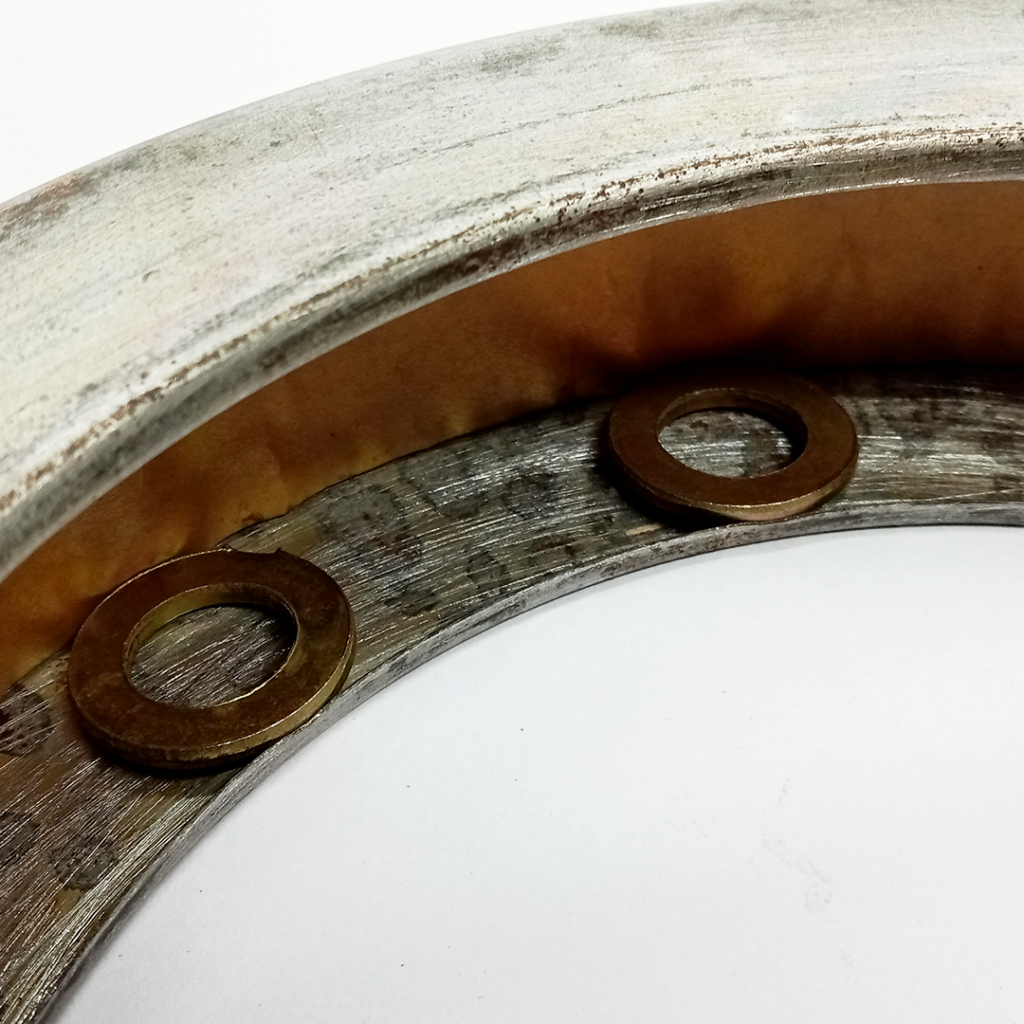
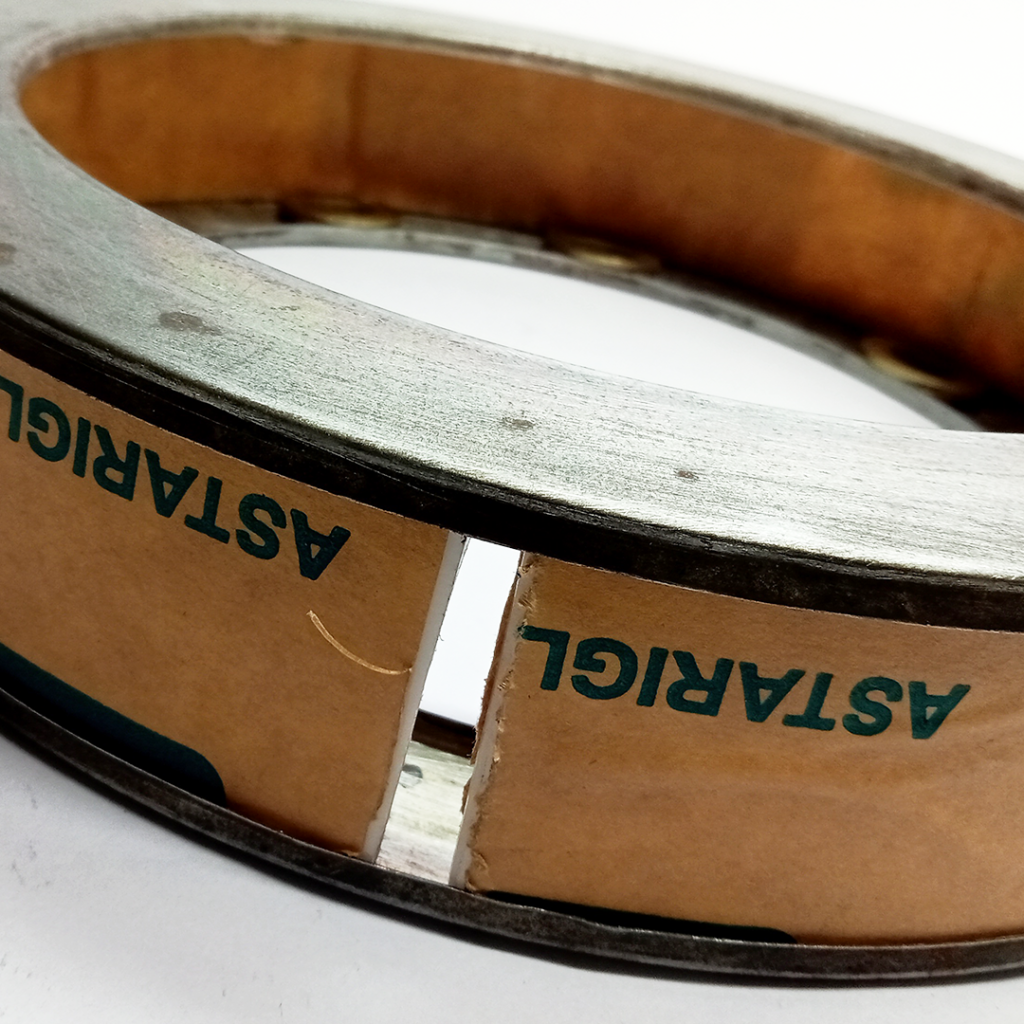
To bend the acrylic around the metal frame, I used a metal washer for a snug fit. Despite planning for extra length, the outer cover ended up with a 10 mm gap at the joint after bending. After that, I used a hot air gun to carefully heat and bend the acrylic. Keep the protective film on the acrylic until the final step to avoid scratches.
Similerly, I followed the same procedure for the inner cover.
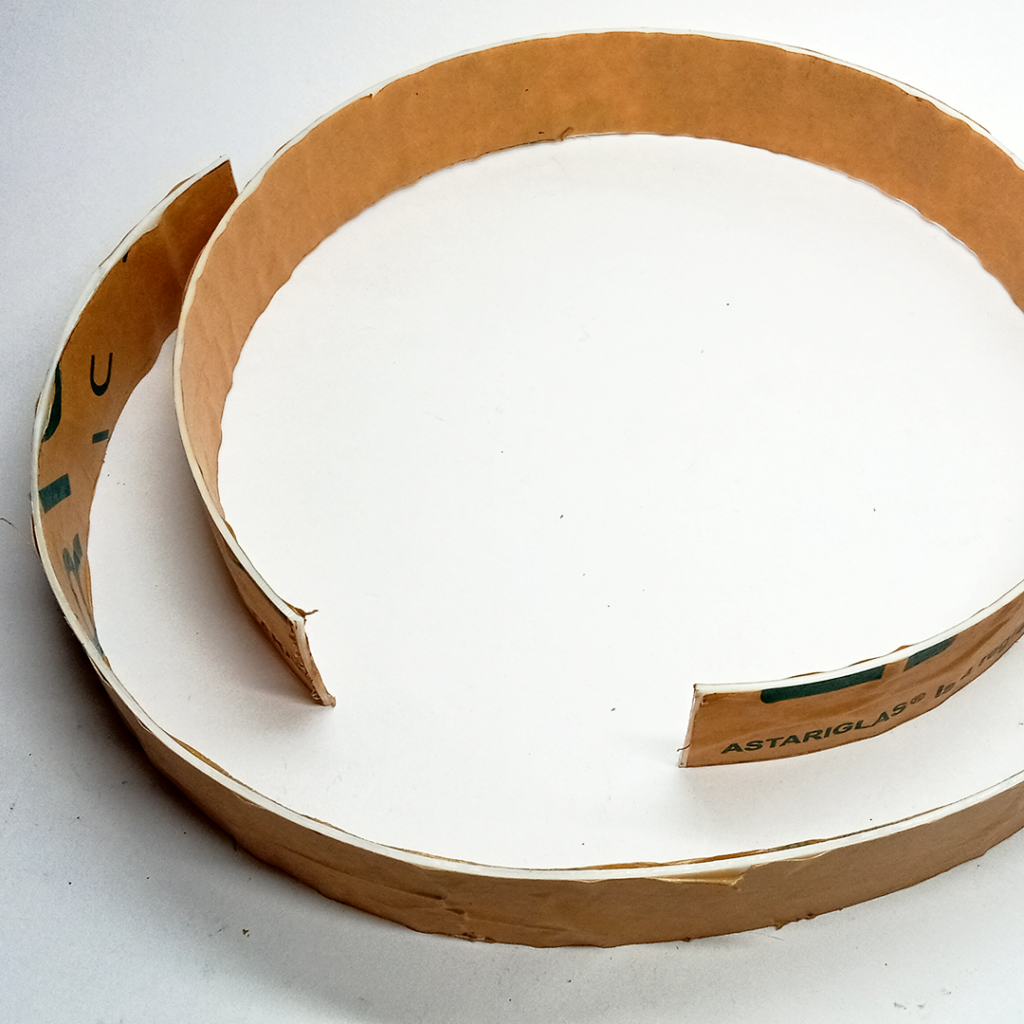
Both the inner and outer diffuser covers were successfully crafted.
Installing the Power Switch and Socket
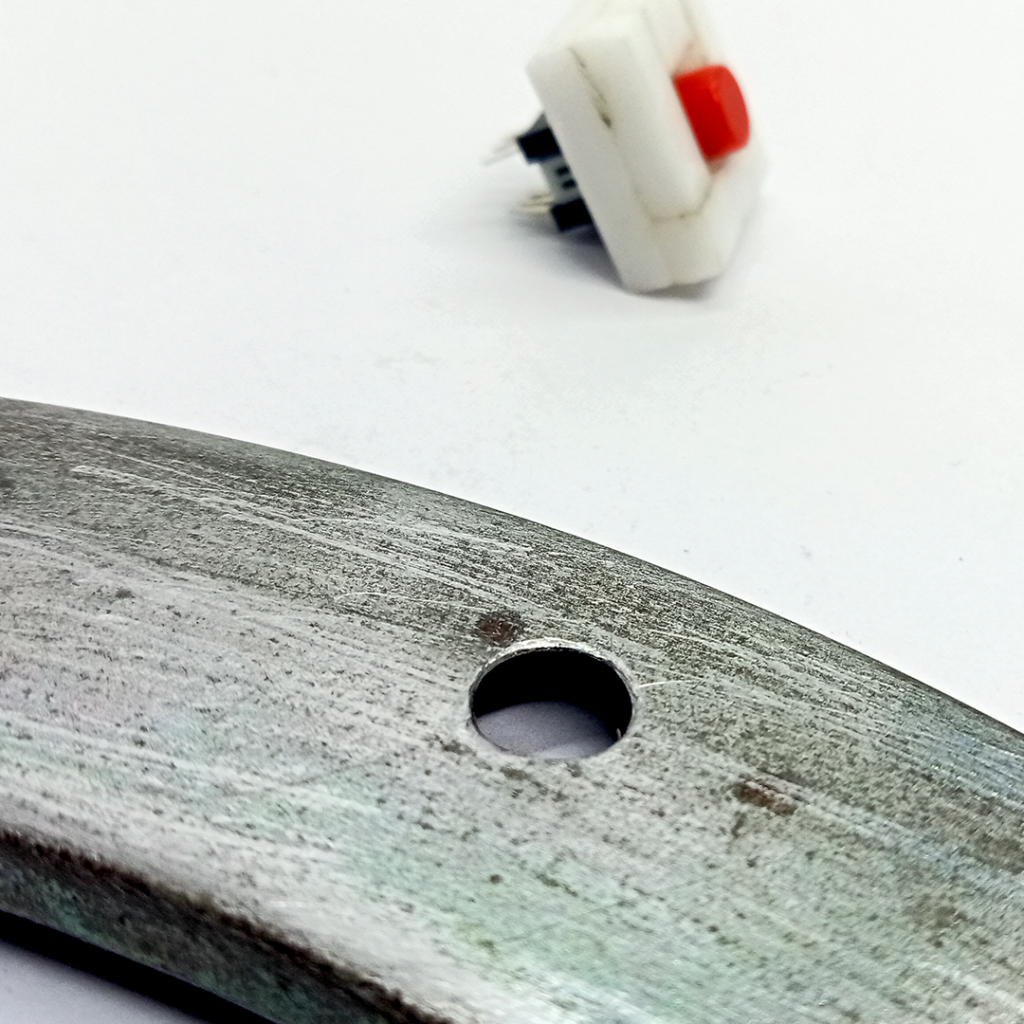
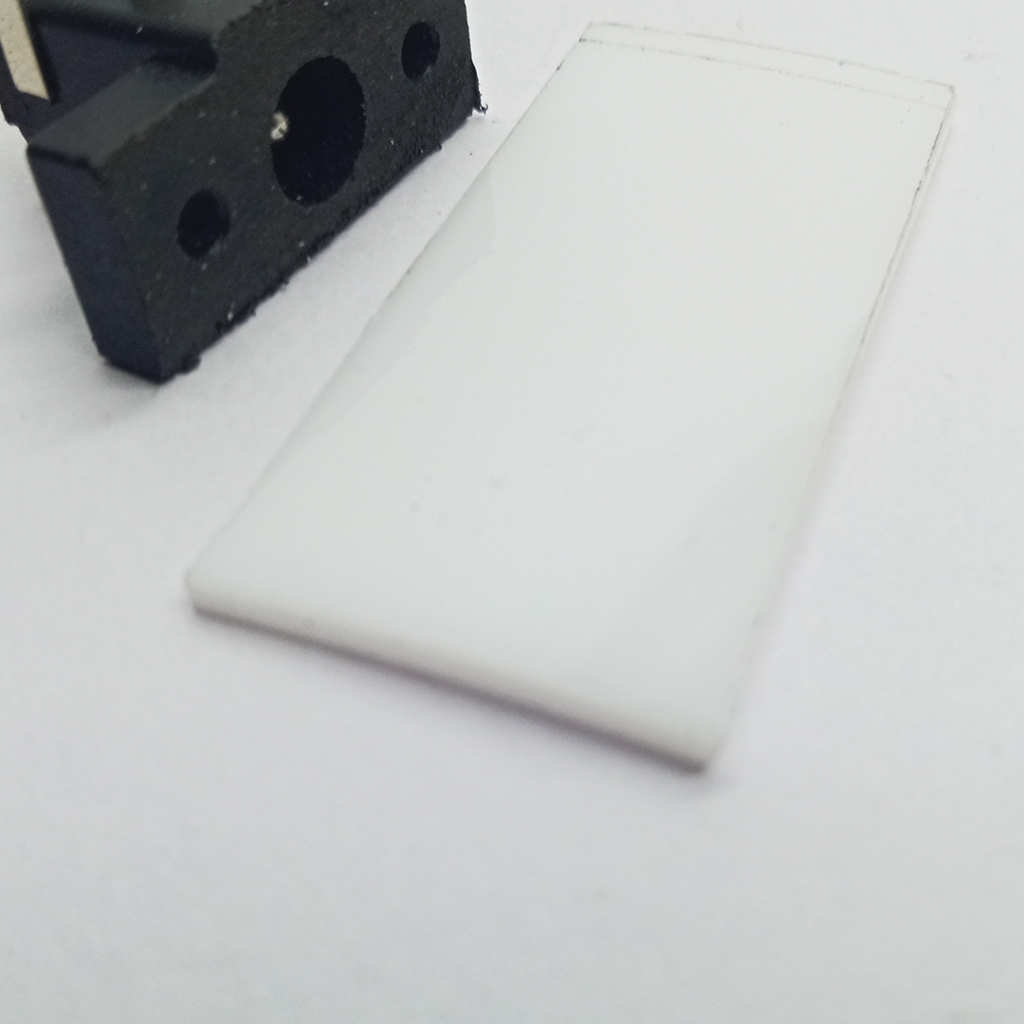
I drilled a 3mm hole in the upper frame to fit a self-locking push switch. And an acrylic bracket was shaped to secure the switch to the frame. I used a self-locking push switch. To secure the switch to the frame, I shaped an acrylic bracket for the switch.
Assembling the Diffuser and Reflector
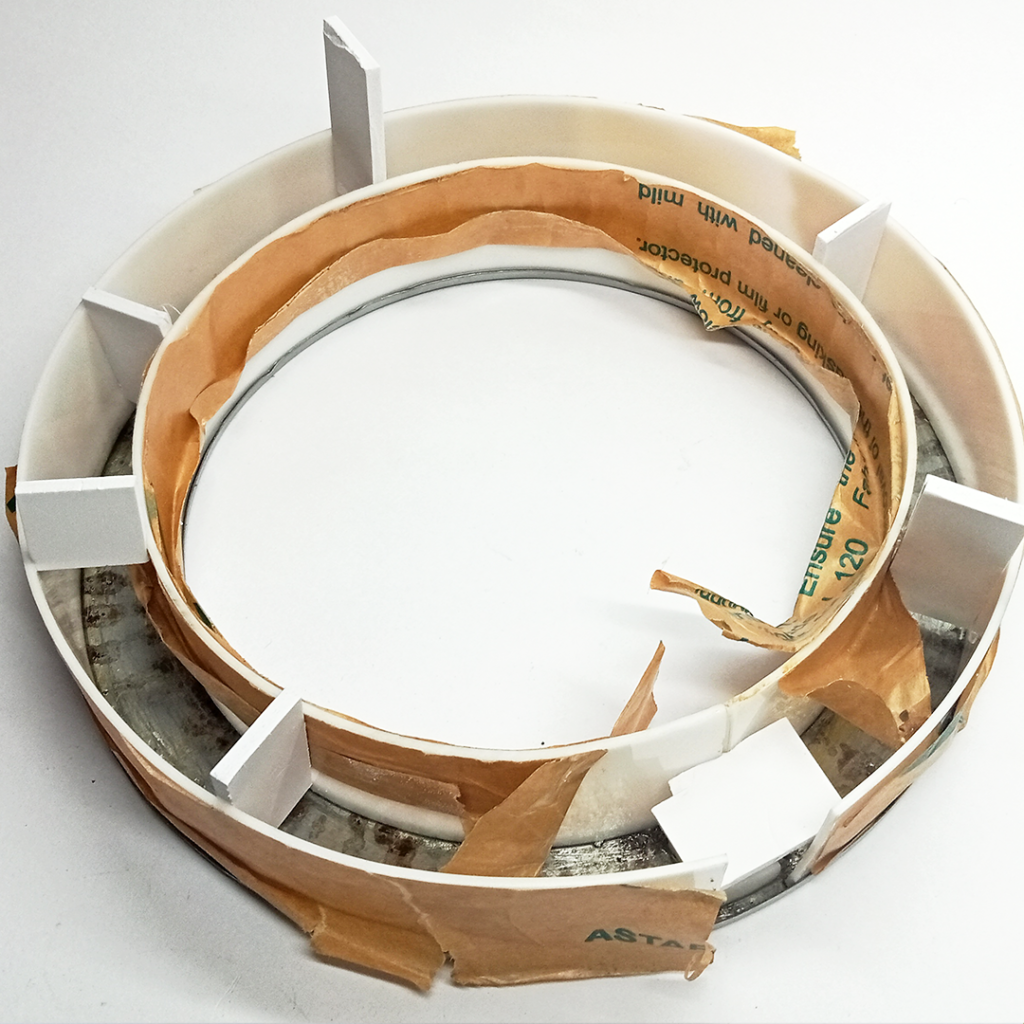
To attach the diffuser cover, I used foam pieces to position it perfectly around the frame edge and applied PVC glue for adhesion.

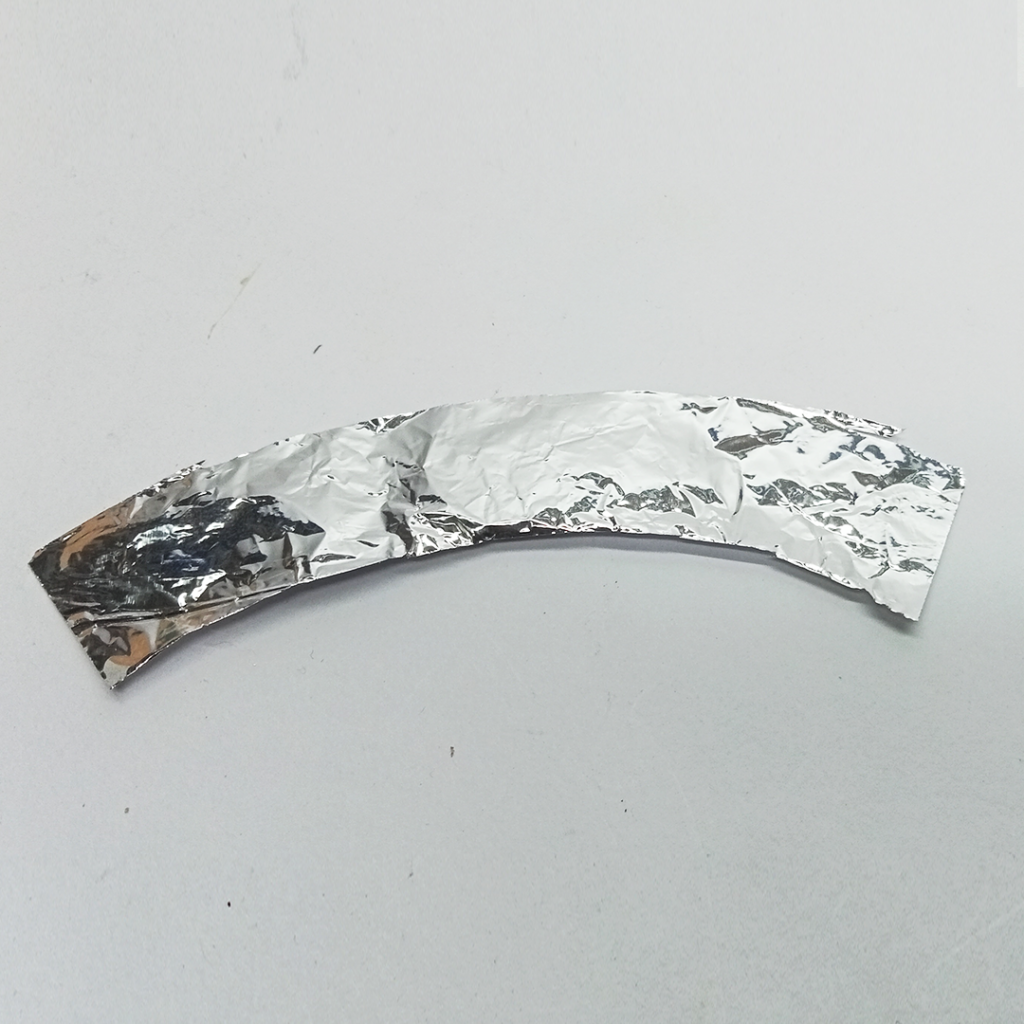
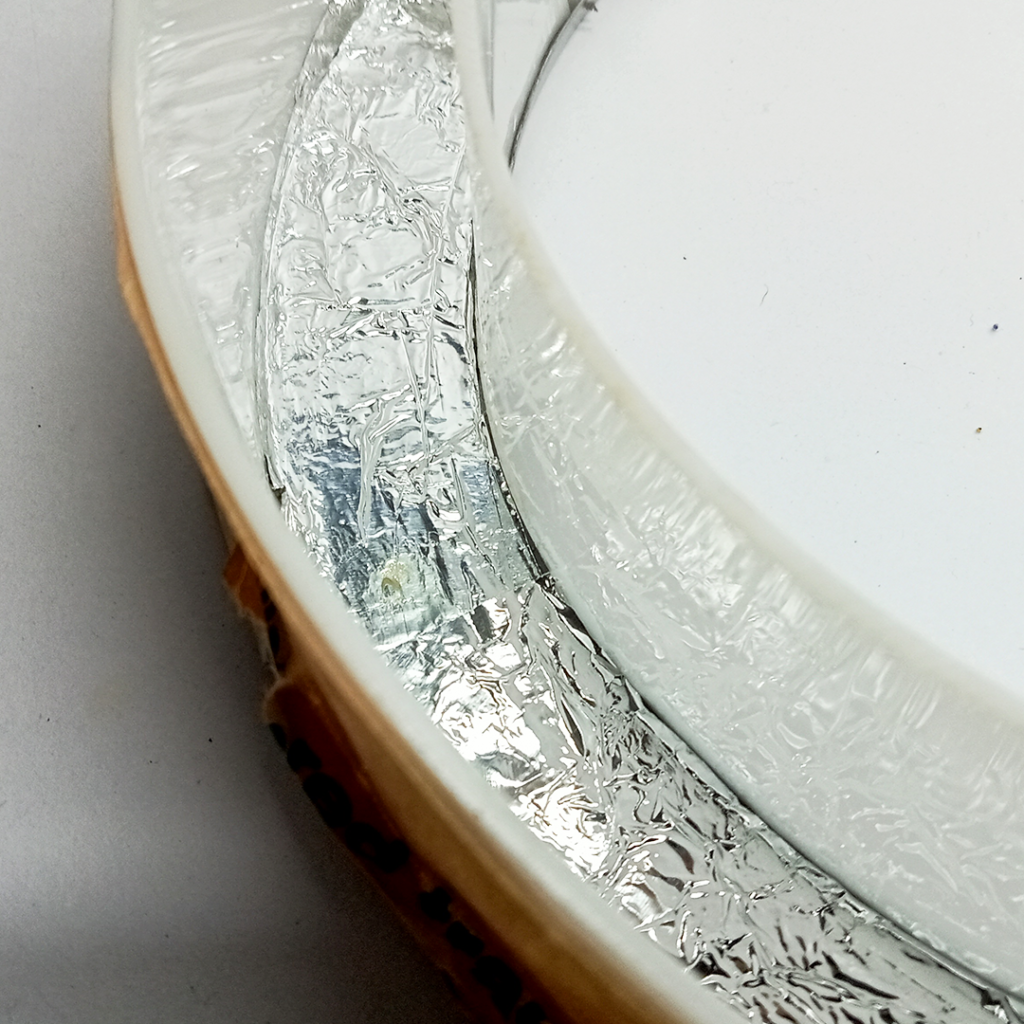
For a smoother LED glow, I incorporated a light reflector made from aluminum packing foil. I carefully positioned and attached the foil inside the frame using synthetic rubber glue.
Arranging the LED Strips
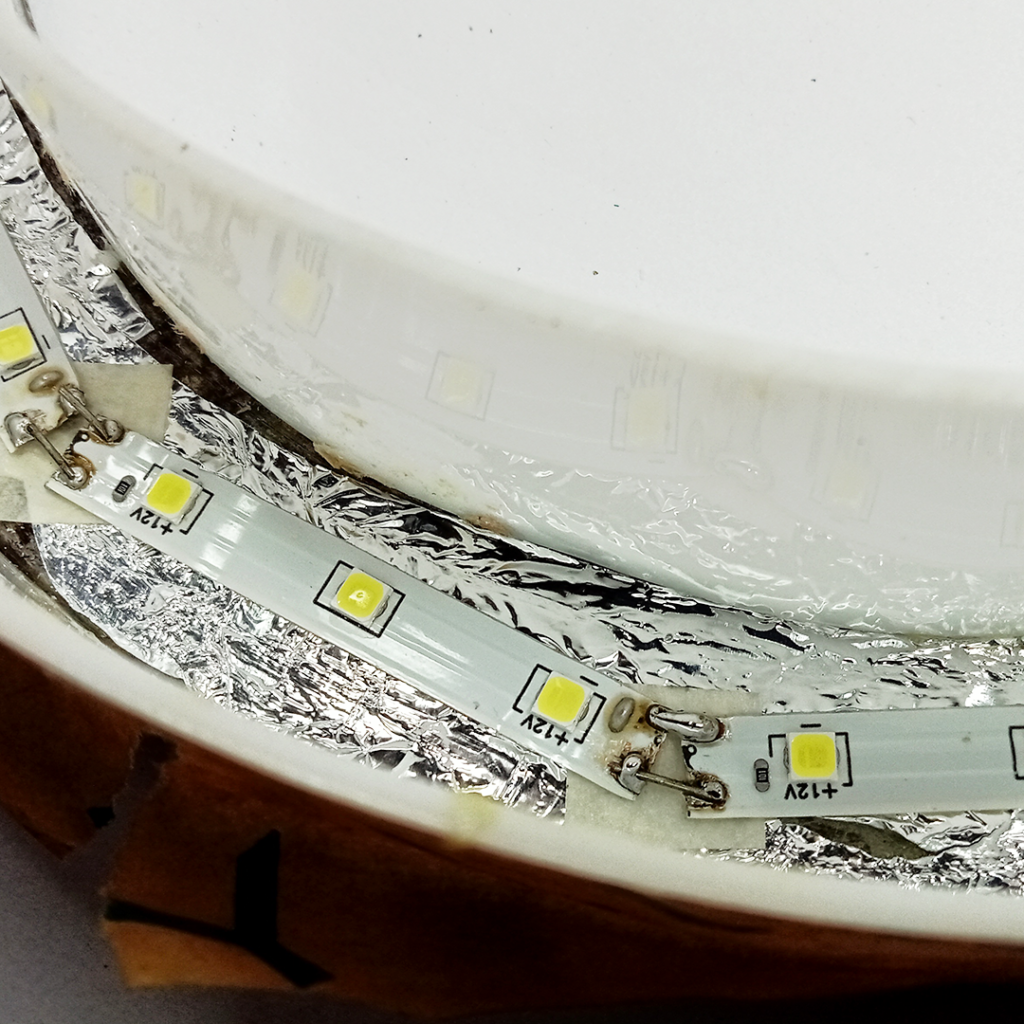
I used a 12v white LED strip, cutting it into smaller strips containing three LEDs each. To prevent short circuits, I applied masking tape at the junctions before adhering the strips. I arranged the LED strips around the frame and tested them by connecting the power supply socket and switch.
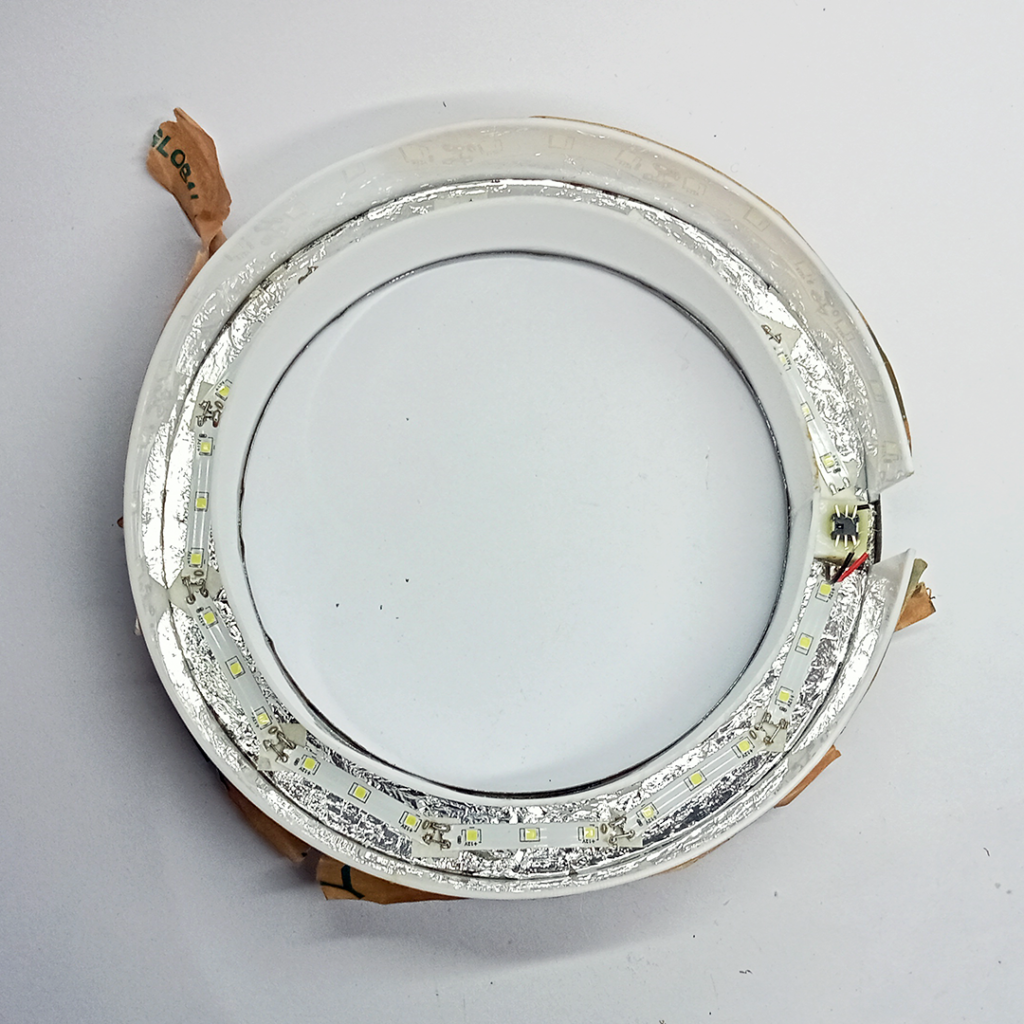
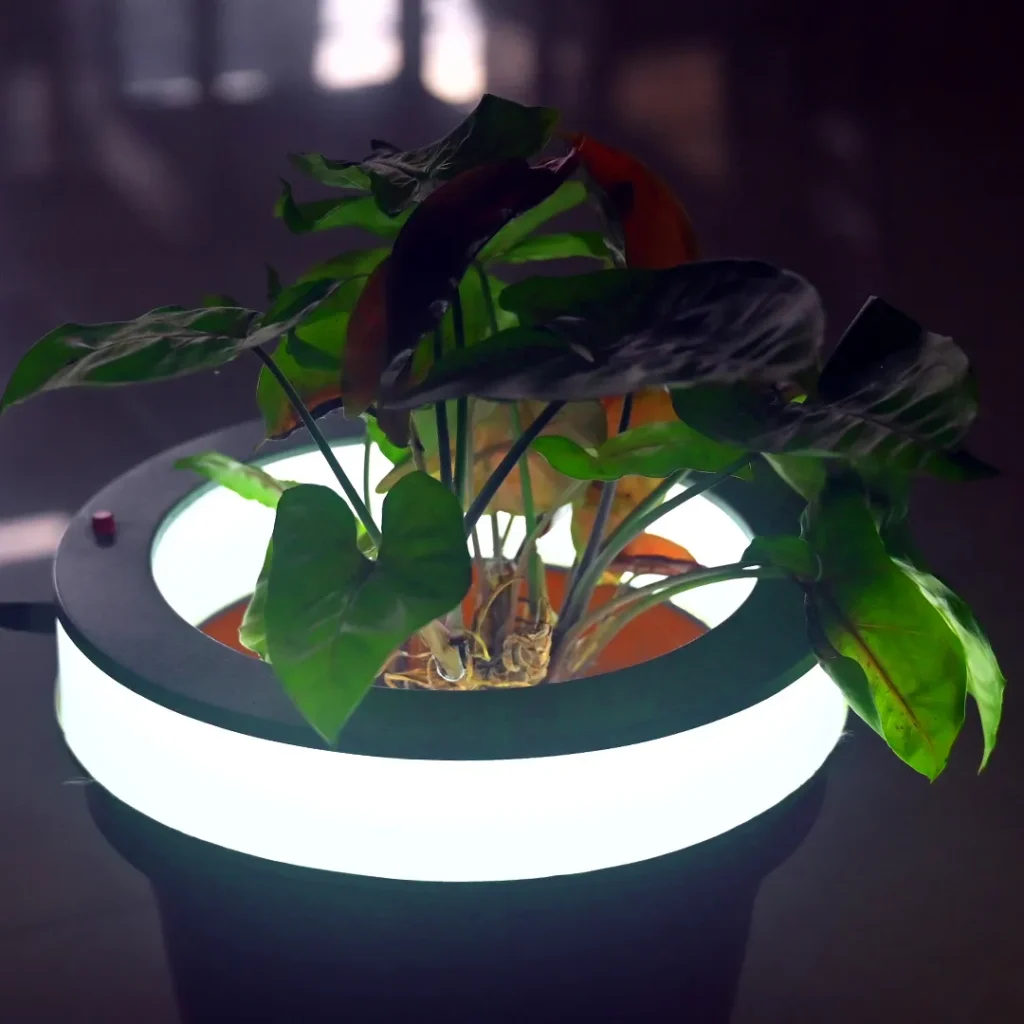
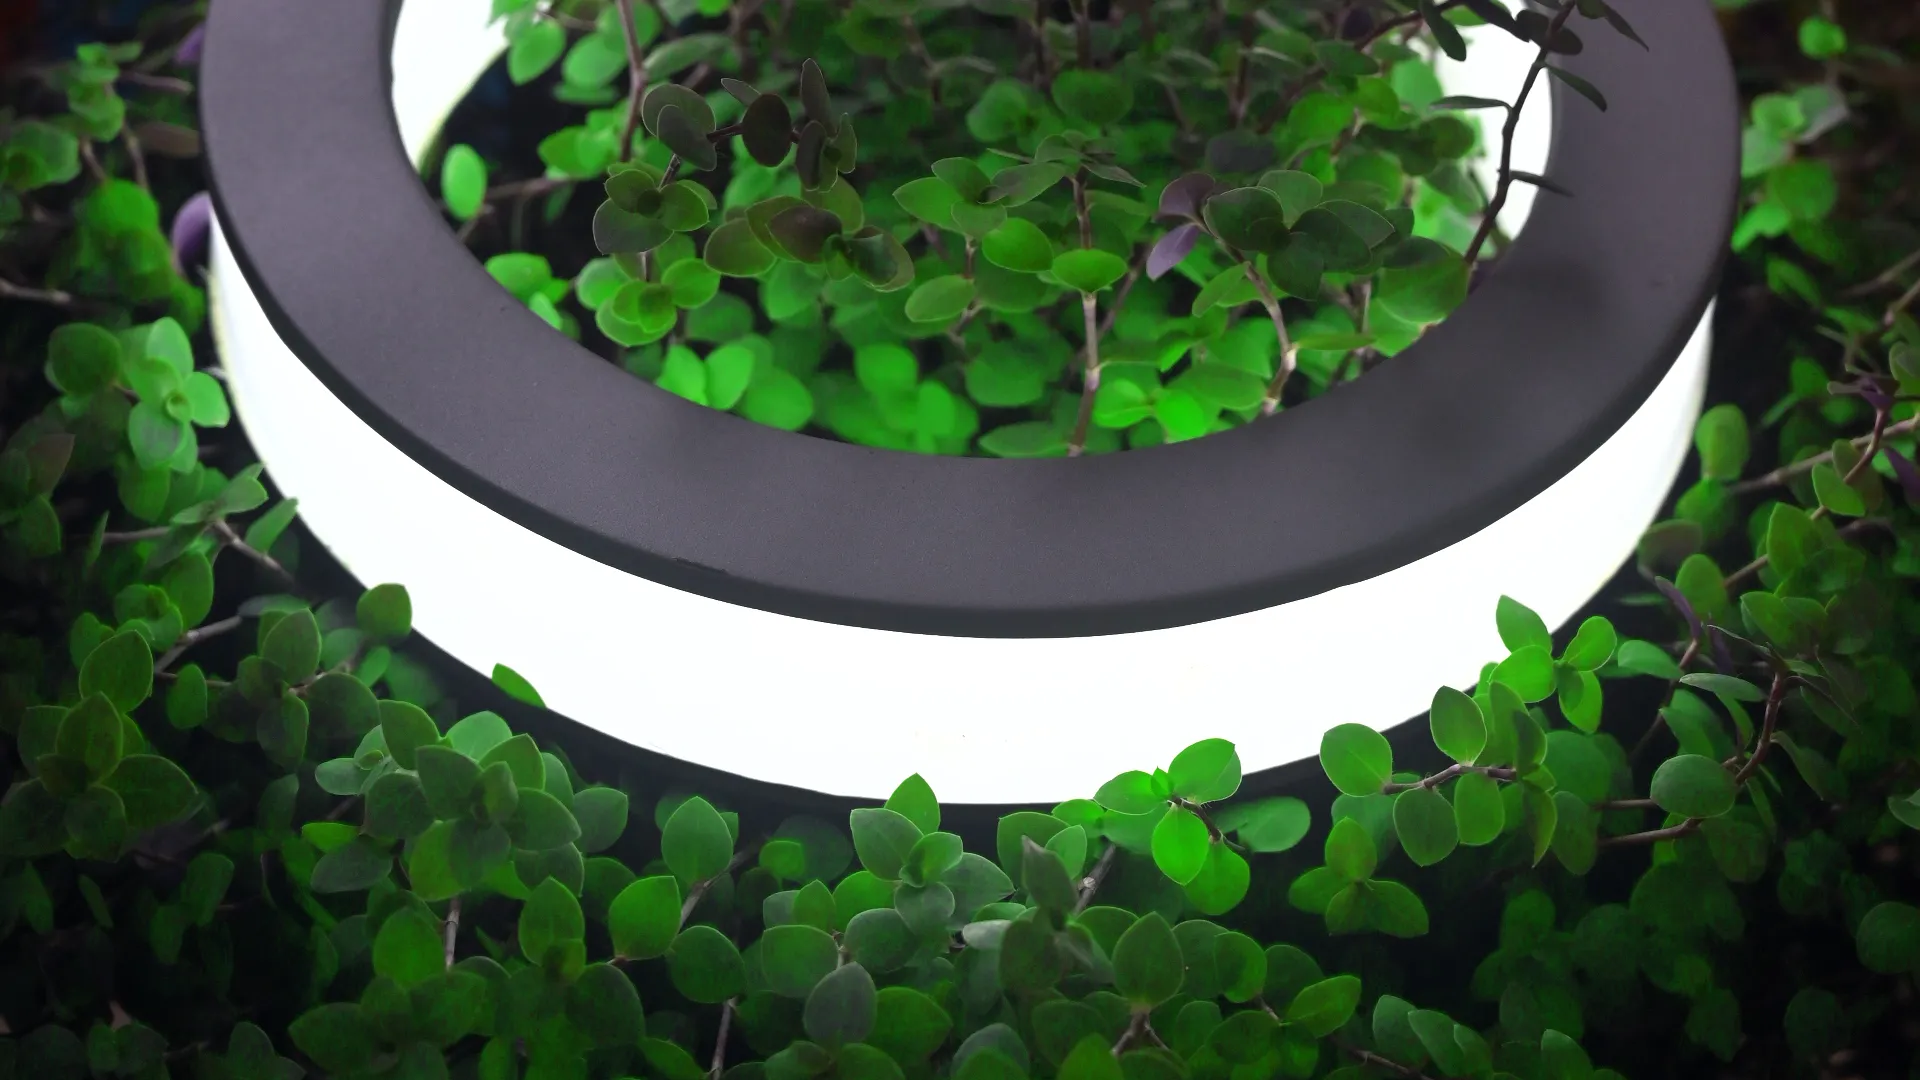
After affixing the LED strips around the frame.
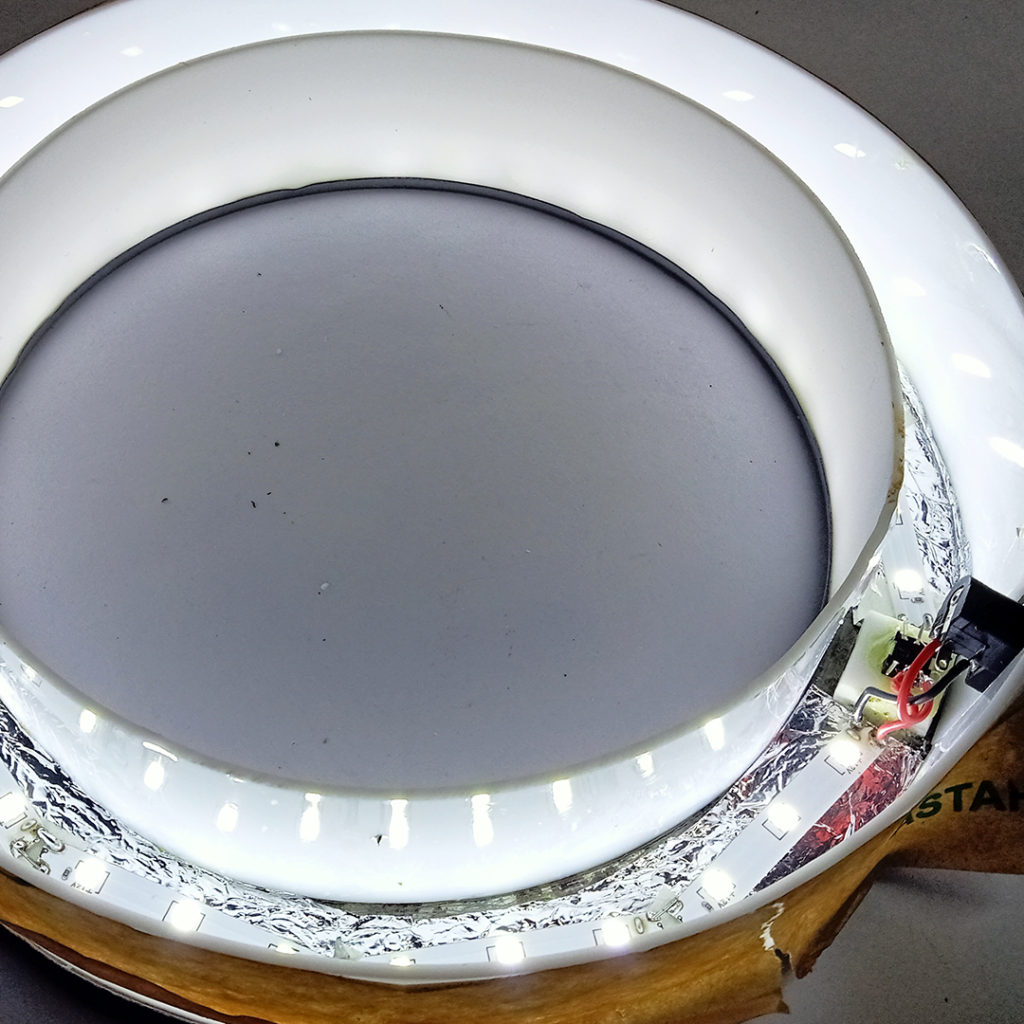
Testing the LEDs after connecting the power supply socket and switch, and I ensured everything worked perfectly.