From kids’s doodles to typography
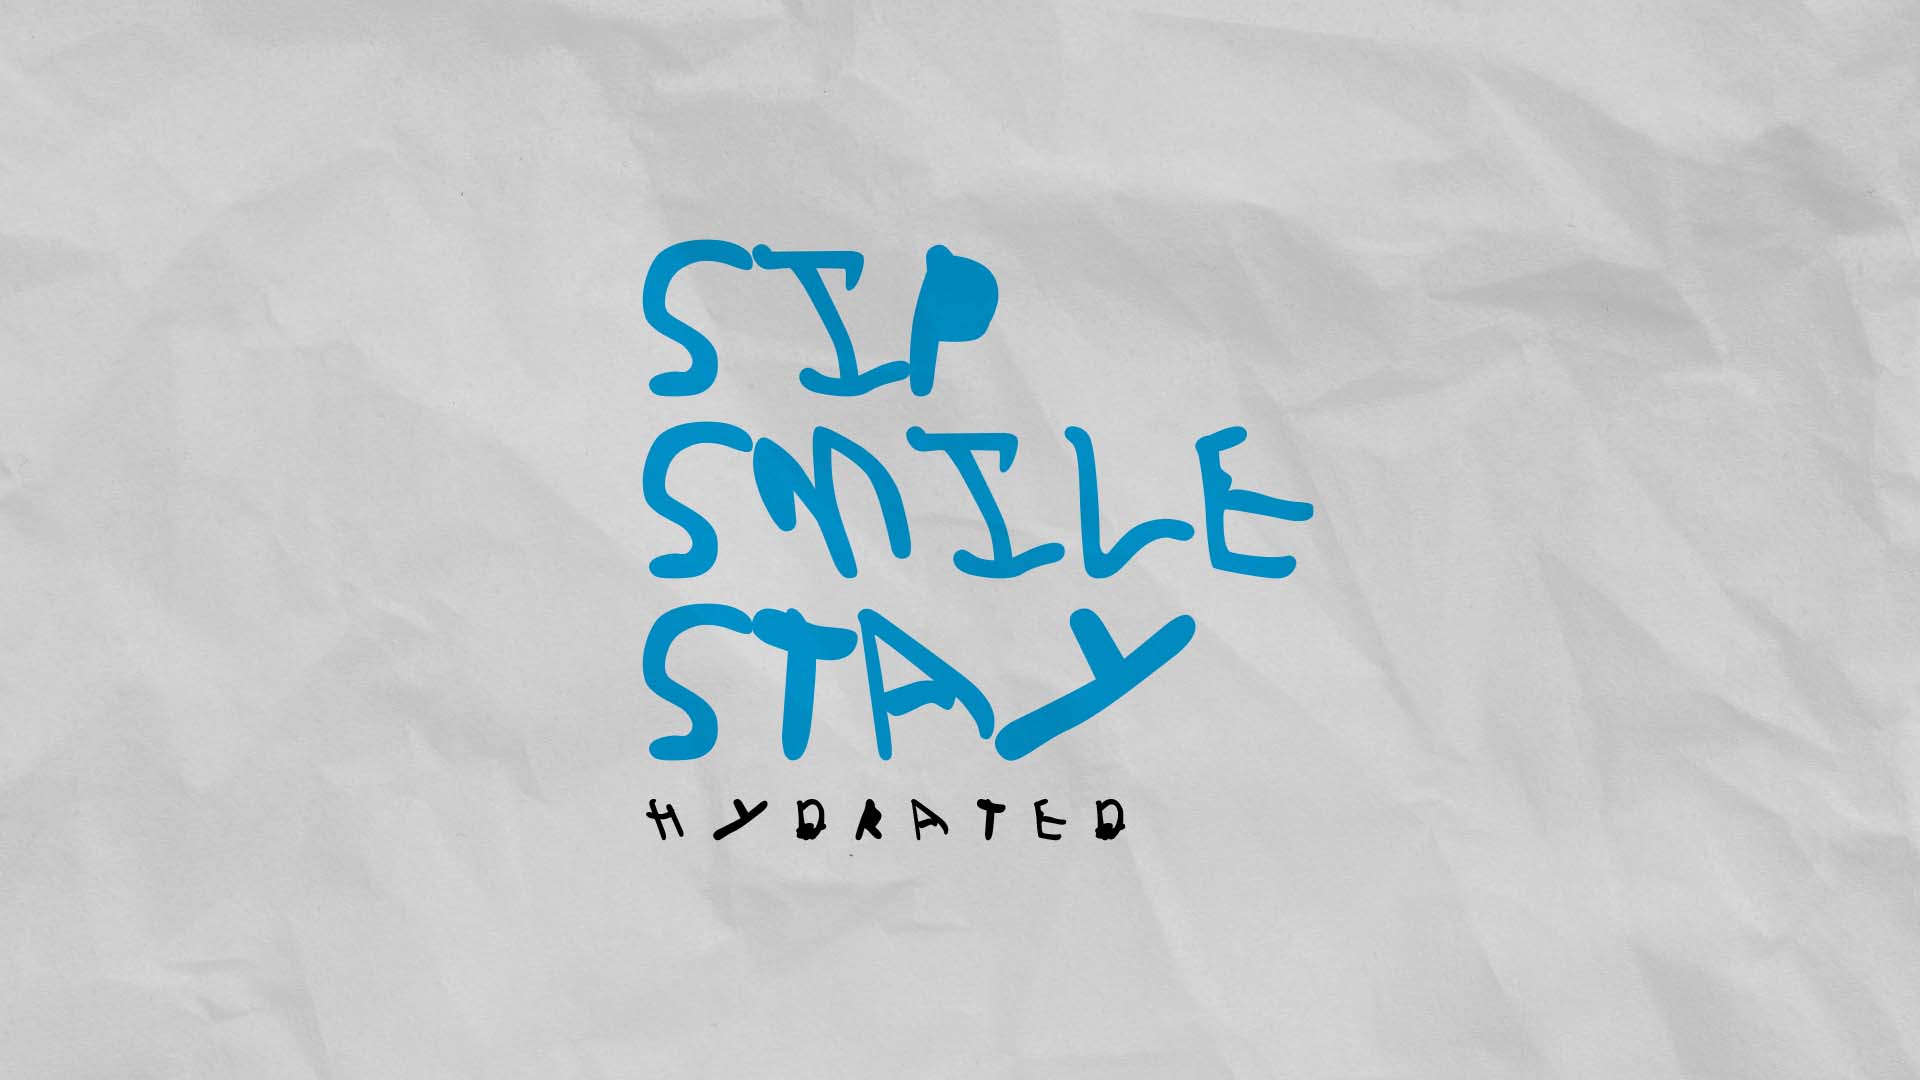
I was busy with one of my projects, and my son was also present near me. He was so curious about what I was doing; after some time, he took a marker pen and a piece of polycarbonate sheet from my table and began to scribble on it. I was surprised to see that it was a set of alphabets—so innocent and artistic. I decided to turn his impromptu artwork into a typeface for my next project.

Developing SVG graphics
I started outlining the typos by importing images into Adobe Illustrator. and I got a first-cut outline of the individual fonts.

However, there were a few alterations I made because some fonts did not resemble the corresponding font style, especially the letters F, I, J, and U.

After welding each part of a typeface, I saved it in SVG file format.
Convert image to SVG online: https://picsvg.com/
Creating True Type font (TTF)
My knowledge is basic in terms of font development principles and techniques, so I won’t go into details.
Fontforge is the best open-source font maker, allowing you to download, share, and install copies without any restrictions on usage. Both commercial and personal use are actively encouraged. https://fontforge.org/en-US/
After installing the software, go to File > New. A new window will open, and double-click on the empty box to create the capital letter ‘A’.

Import the pre-made SVG typeface. Also, you can create typefaces from scratch.


and the imported SVG typeface will open in a new window as an outline with editable anchor points set along the path.

The imported SVG file might contain errors such as open contours, intersections, missing point extrema, non-integral coordinates, etc. We need to fix these issues to create a functional font. The below images show similar errors when zooming in on the outlines.
Shortcut keys: small letters ‘z’ for zoom in and ‘x’ for zoom out.

I fixed these errors easily; for corners, I zoomed in and just re-positioned it by moving the anchor point. Similarly, I fixed all errors in typefaces.

Once I had done all the modifications and fixed the errors, I made the auto-sidebearing by pressing Ctrl+Shift+W for all typefaces. The sidebearing ensures that characters align seamlessly, maintaining a uniform appearance next to each other.
To give a name to the created font. From the menu bar, select Element > Font info

Finally, to generate true-type fonts, go to File > Generate Fonts. Select TrueType from the dropdown, create a new folder, and click on Generate.

And install the font on your computer.
This is the basic method I demonstrated here; there is a lot more to learn to create perfect functional fonts. You can find more information here at the link below about creating fonts using FontForge.
http://designwithfontforge.com/en-US/index.html


Image credit: original image sourced from freepik.com. The original image link is provided below.
Go here to download the ITRI font.
Note: The font is displayed properly only with capital letters (only alphabet A to Z)