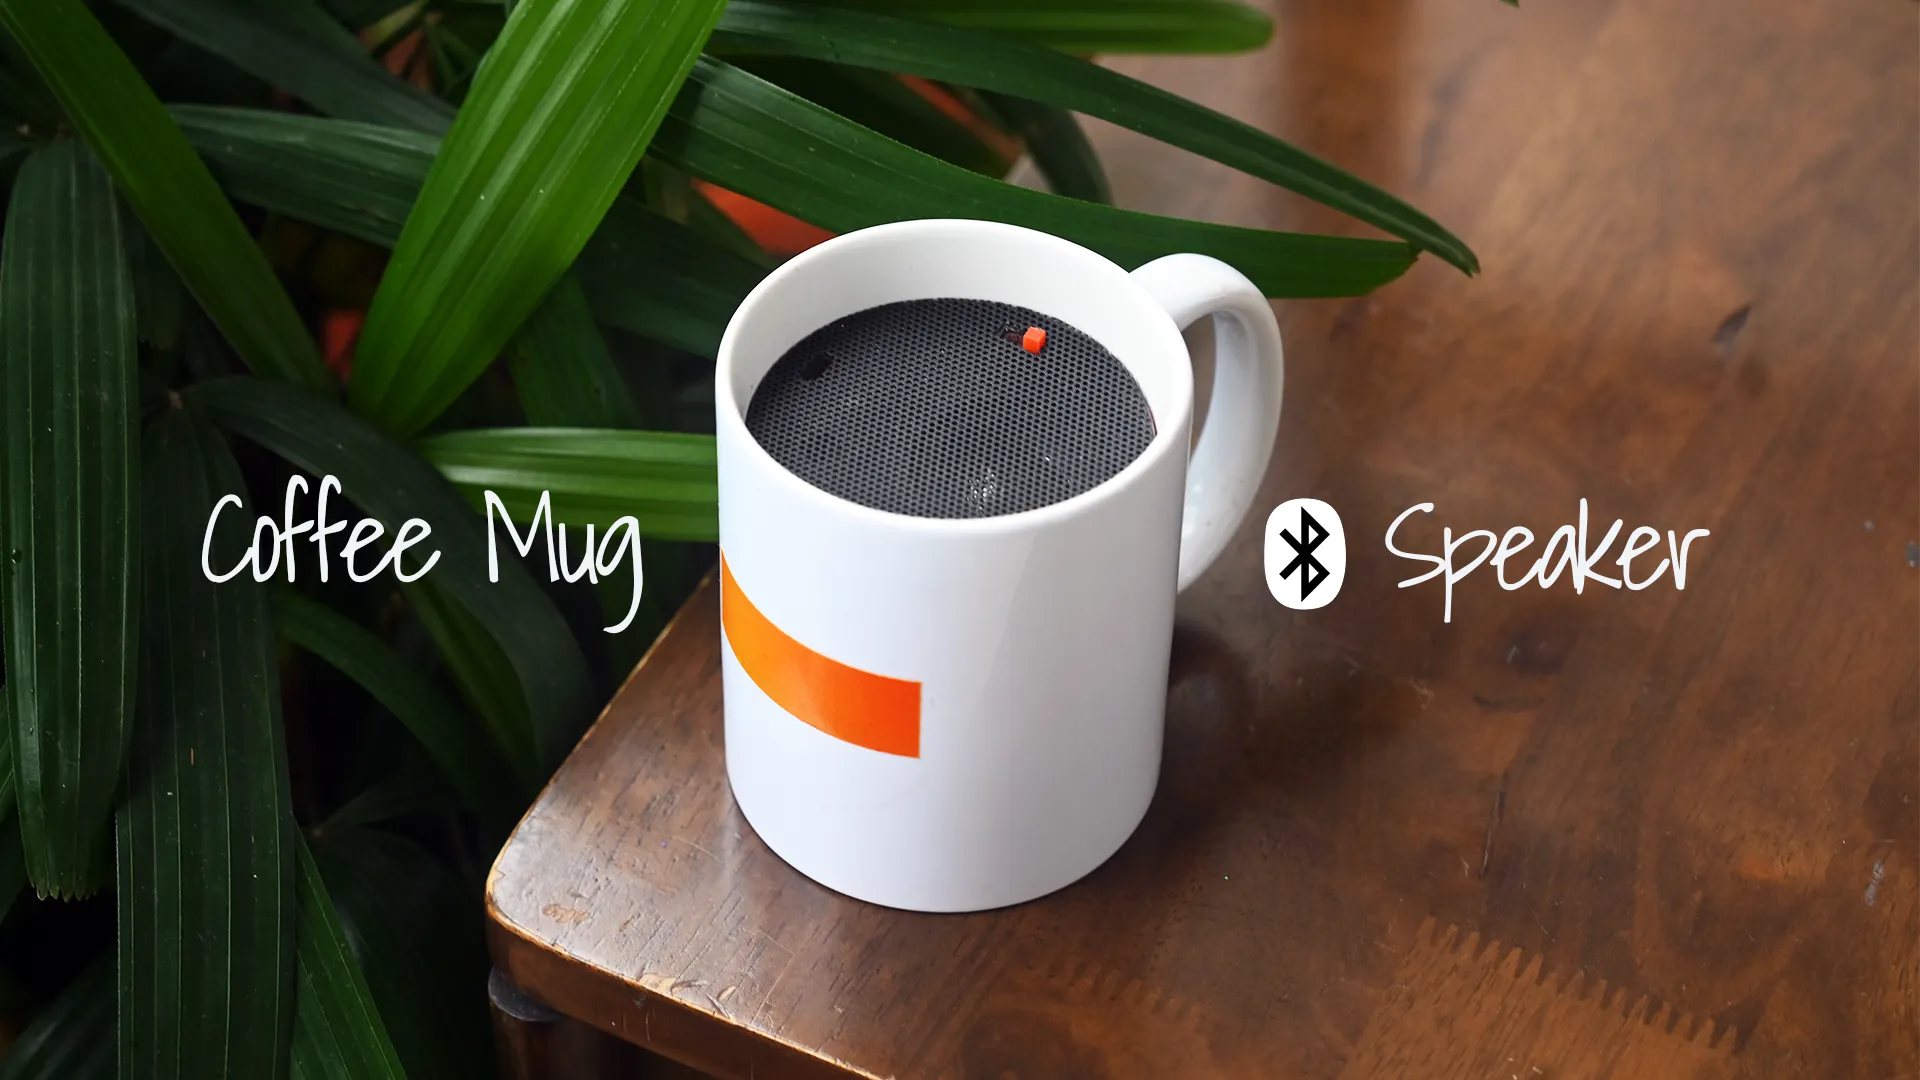
Coffee Mug Bluetooth Music Player
Welcome to a step-by-step guide to building a coffee mug Bluetooth music player with a creative twist. In this blog post, I’ll show you how to craft a coffee mug Bluetooth music player. Get ready to elevate your coffee experience with a symphony of sound.
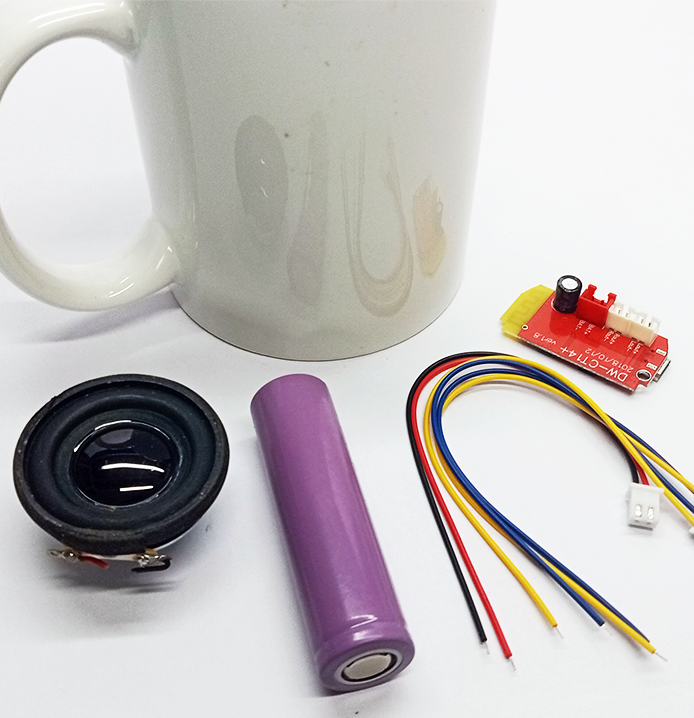
Essential Components
Gathering the components for this project is easy and affordable. With a budget of under Rs 300, you can find everything you need both online and at local stores. Additionally, have scissors, a cutter, glue, and a soldering rig on hand for the assembly process.
Coffee Mug: 300ml
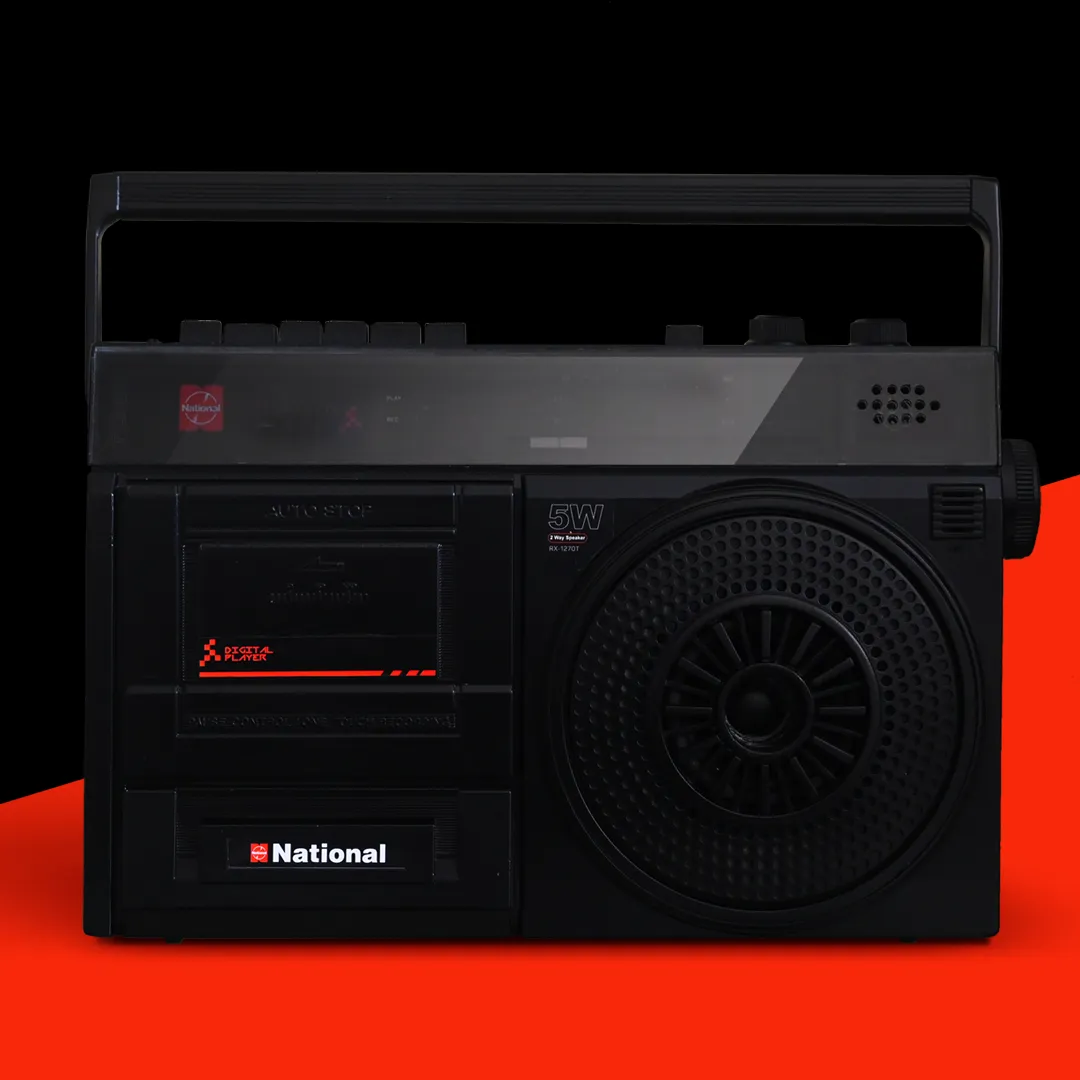
Bluetooth Module: CT14 Bluetooth 4.2 F Class 5W+5W
Battery: 3.7V, 1200mA
Speaker: 1.5 inches, 2W
Acrylic Sheet: 3mm Black
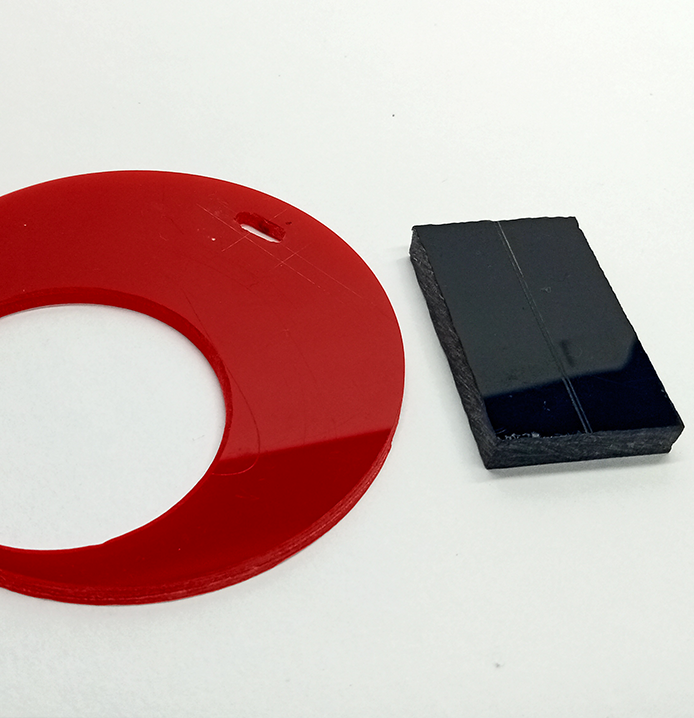
Creating the Top Panel
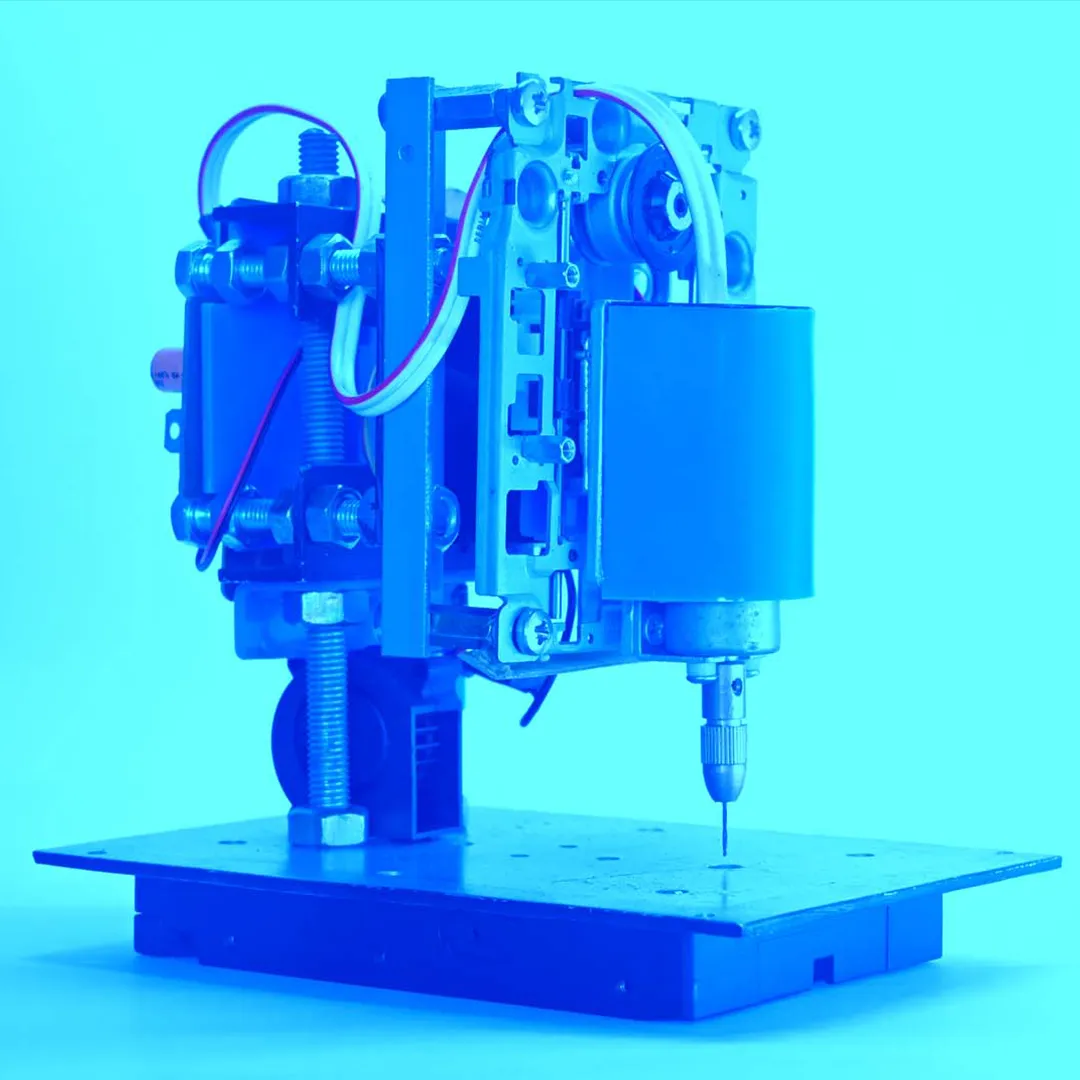
To start, I created a top panel by cutting a 7.5 cm circular acrylic piece, 3 mm thick, using a hole saw drill. Next, I drilled a hole in the acrylic to mount a 1.5-inch speaker. Additionally, I cut a rectangular piece of acrylic, 5 mm thick, to mount the Bluetooth module and battery.
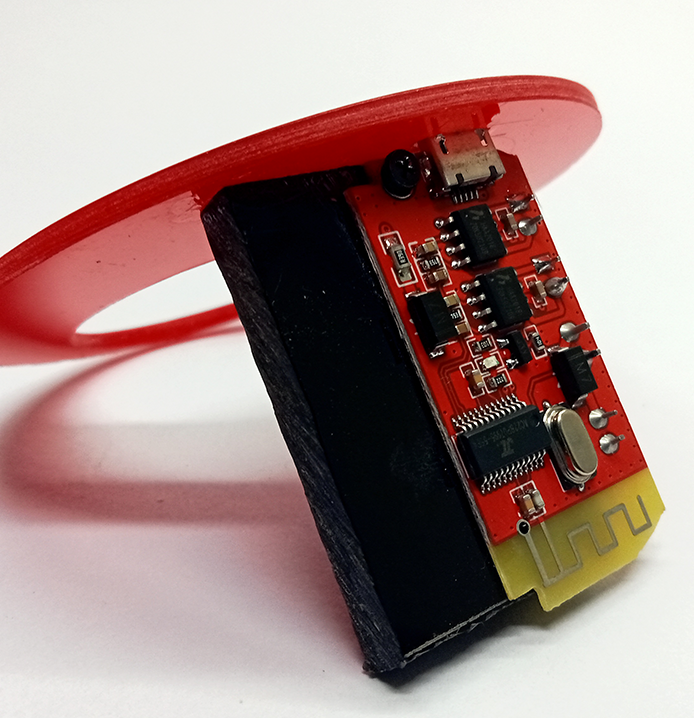
A slot is created in the top panel for micro USB and the module is positioned and secured with screws on the rectangular acrylic.
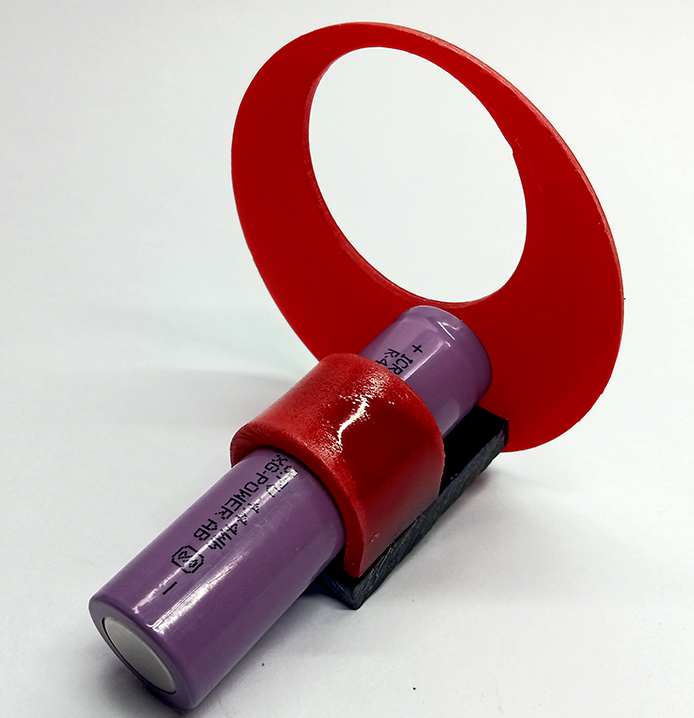
Next, I took a small piece of acrylic, bent it into a semi-arc shape, and securely affixed it to the rectangular acrylic piece to mount the battery.
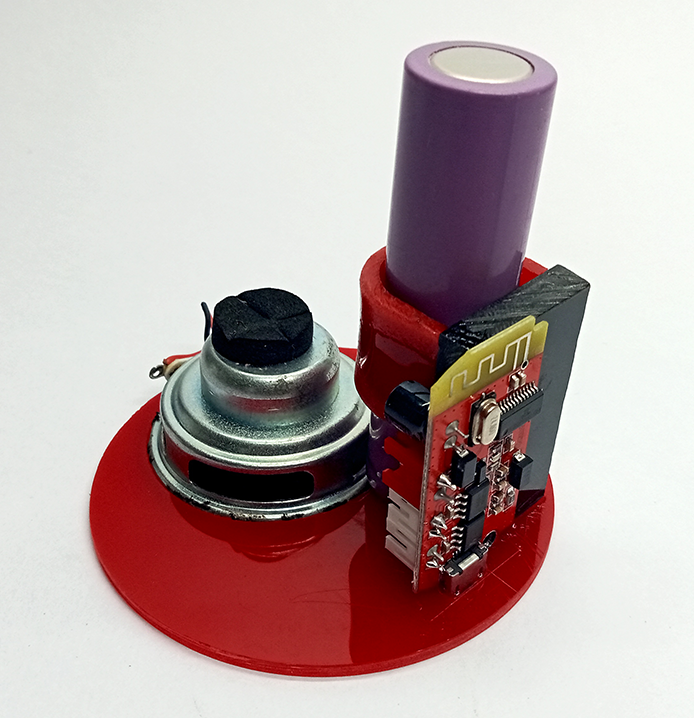
Mounted all the essential parts on the top panel.
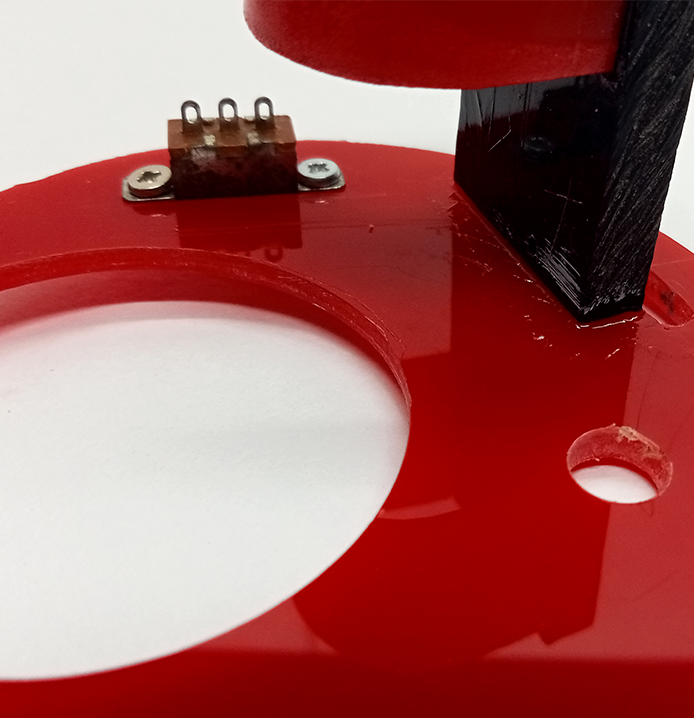
After that I installed a switch on the panel and created an opening for the micro-speaker. The module produces a stereo output of 5+5 watts. Considering the limited space available on the top panel, I decided to utilize a 1.5 inch and a micro-speaker for stereo output.
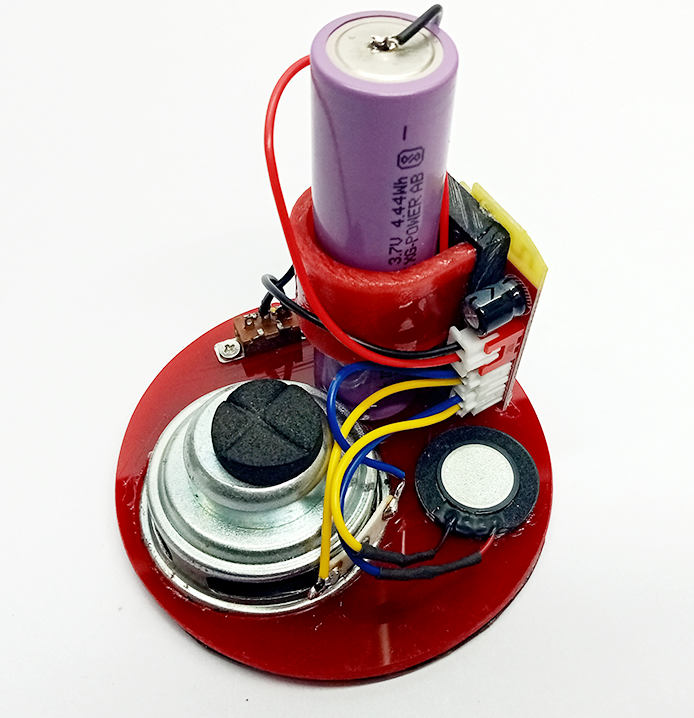
Completing the installation of all components and wiring connections.
Finishing
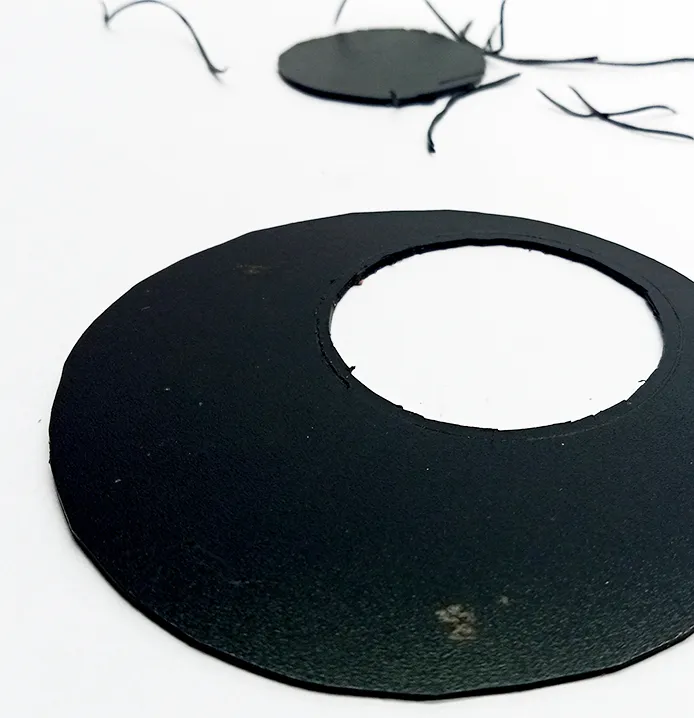
I crafted a cover using plastic folder material to stick it to the acrylic top panel. This process can be skipped by selecting a black-colored acrylic top panel. Additionally.
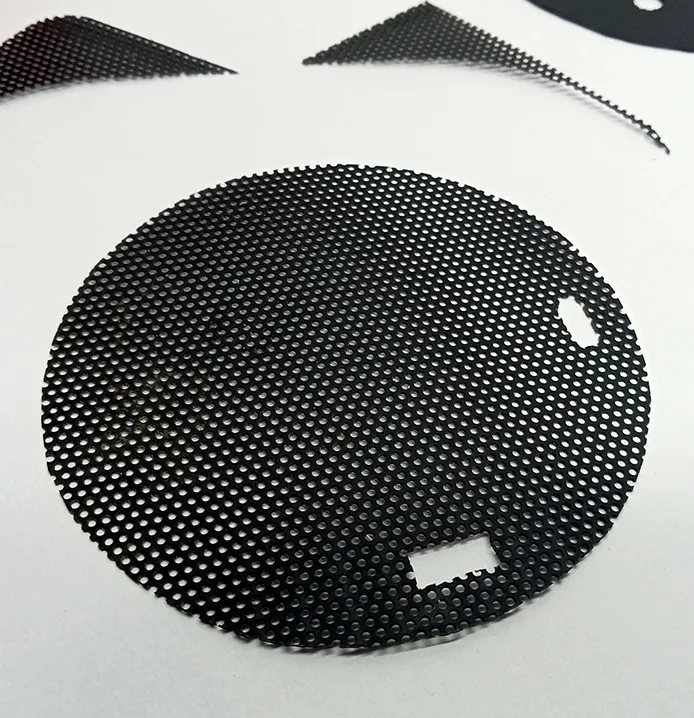
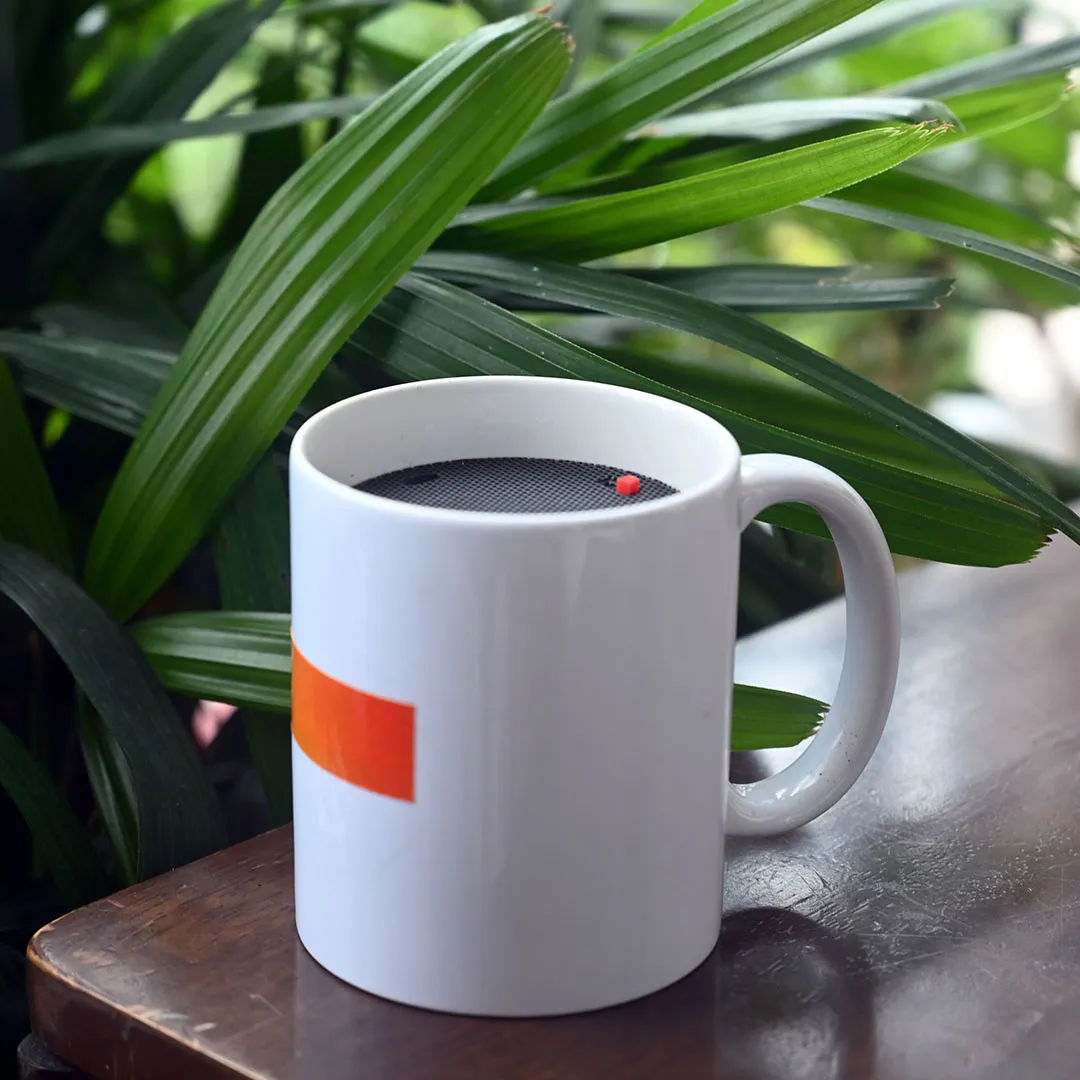
Finally, I placed a plastic speaker mesh on top of the panel, ensuring provision for charging and the switch.

Before mounting the panel with components inside the cup, I attached craft foam to enhance the sound quality.
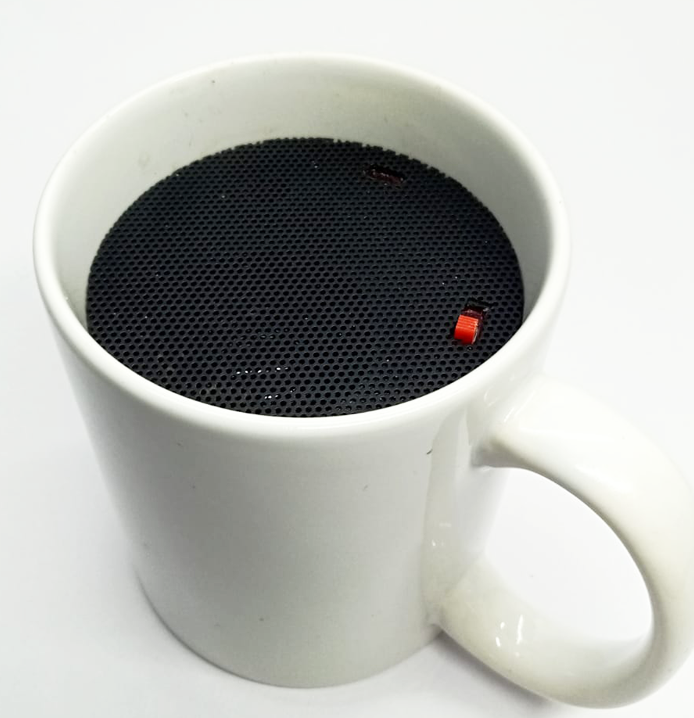
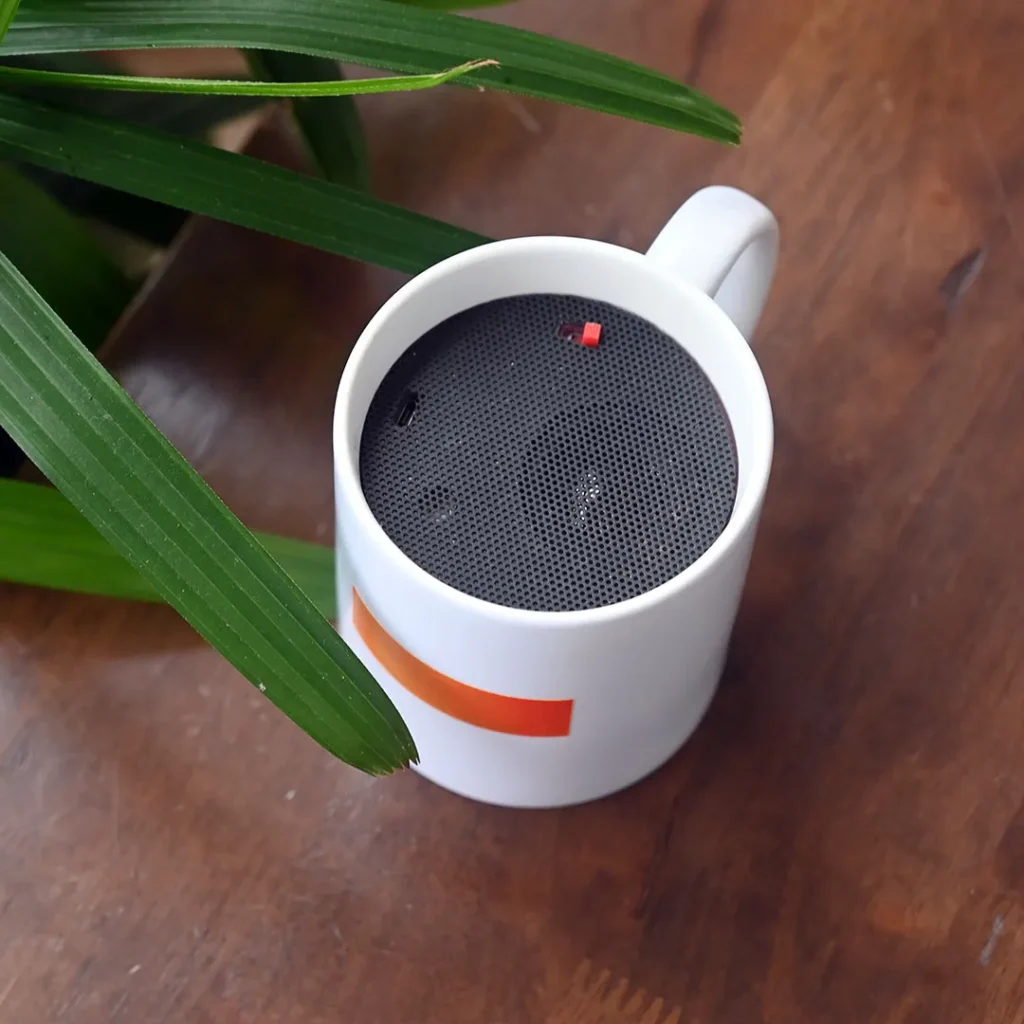
This is what the final product looks like.