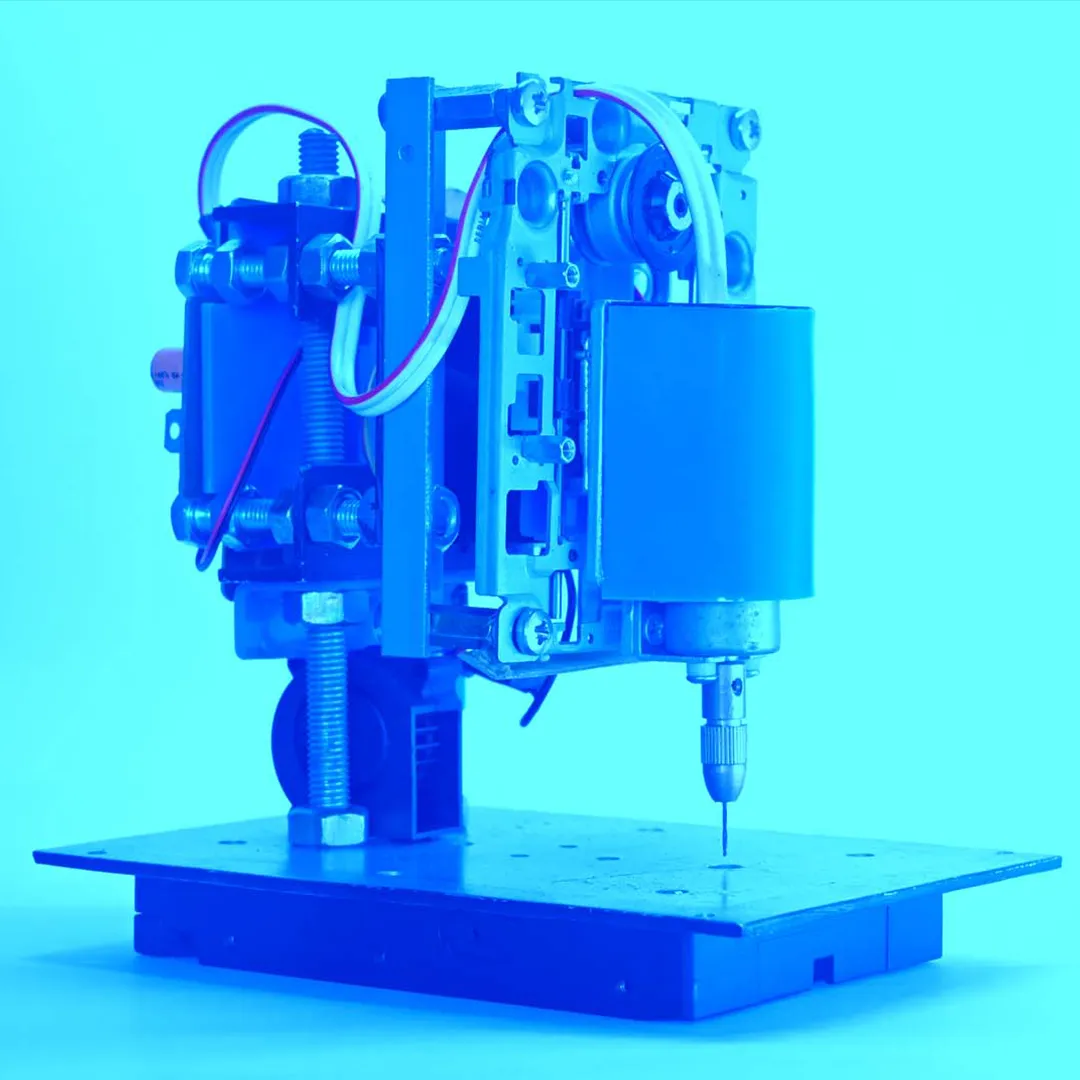
Converting the Conventional Head into a Pogo Pin Interface for Playback and Recording
Hip-hop, new wave, pop, rock, and other genres thrived in the 1980s, making it a big year for music. Back then, the cassette player, or tape deck, was a common audio device. Today, in the digital age, these cassettes and players are relics of a treasured musical legacy.
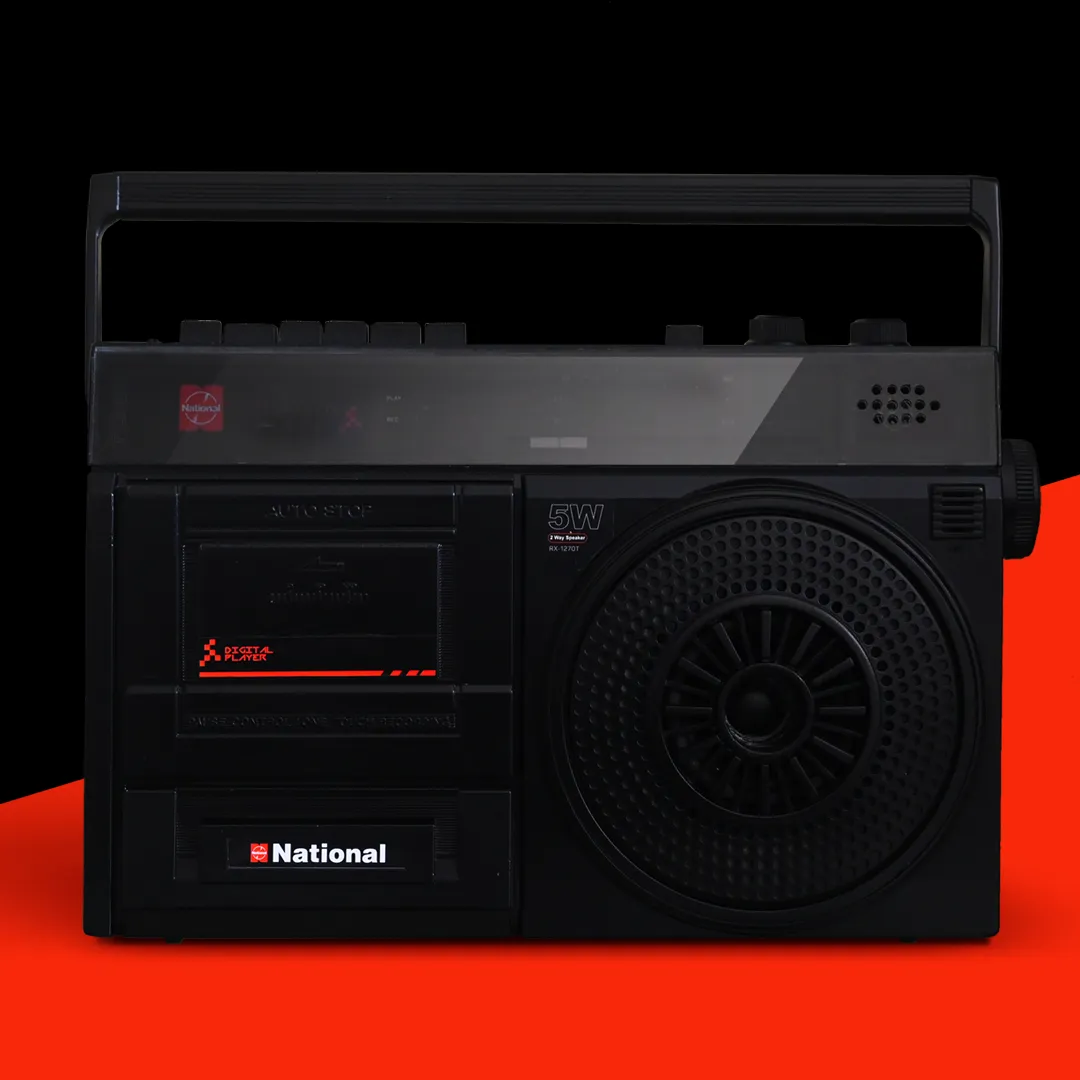
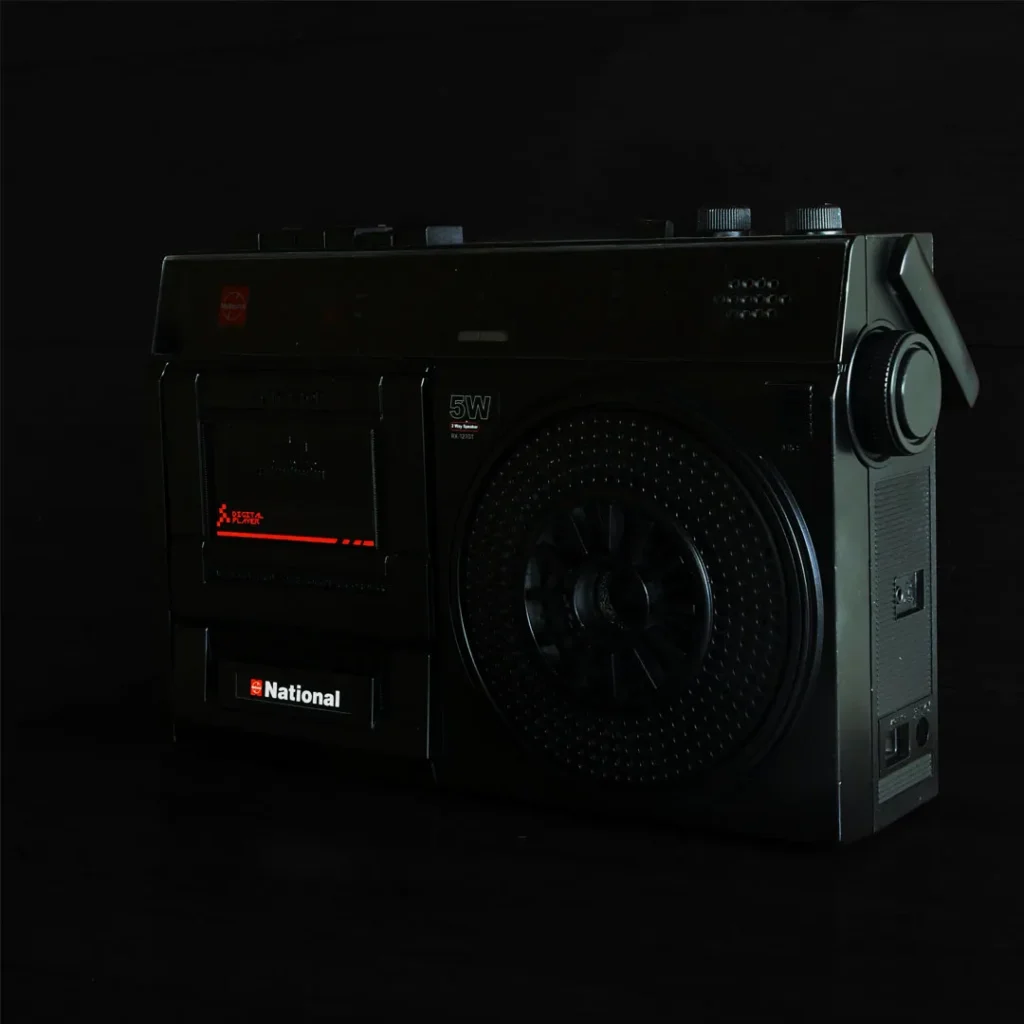
My fondness for cassette players and radios remains strong even in today’s digital world. In my collection, I have the National EKCO -U758 radio, National RX-127OT, the AIWA QT-SS-10, and the Sony MHC 2500.
All of these players, except the EKCO radio are in good condition and have a certain charm. Finding new cassettes is challenging, so these players have become unused. Occasionally, I play music on these vintage players, evoking floods of memories.
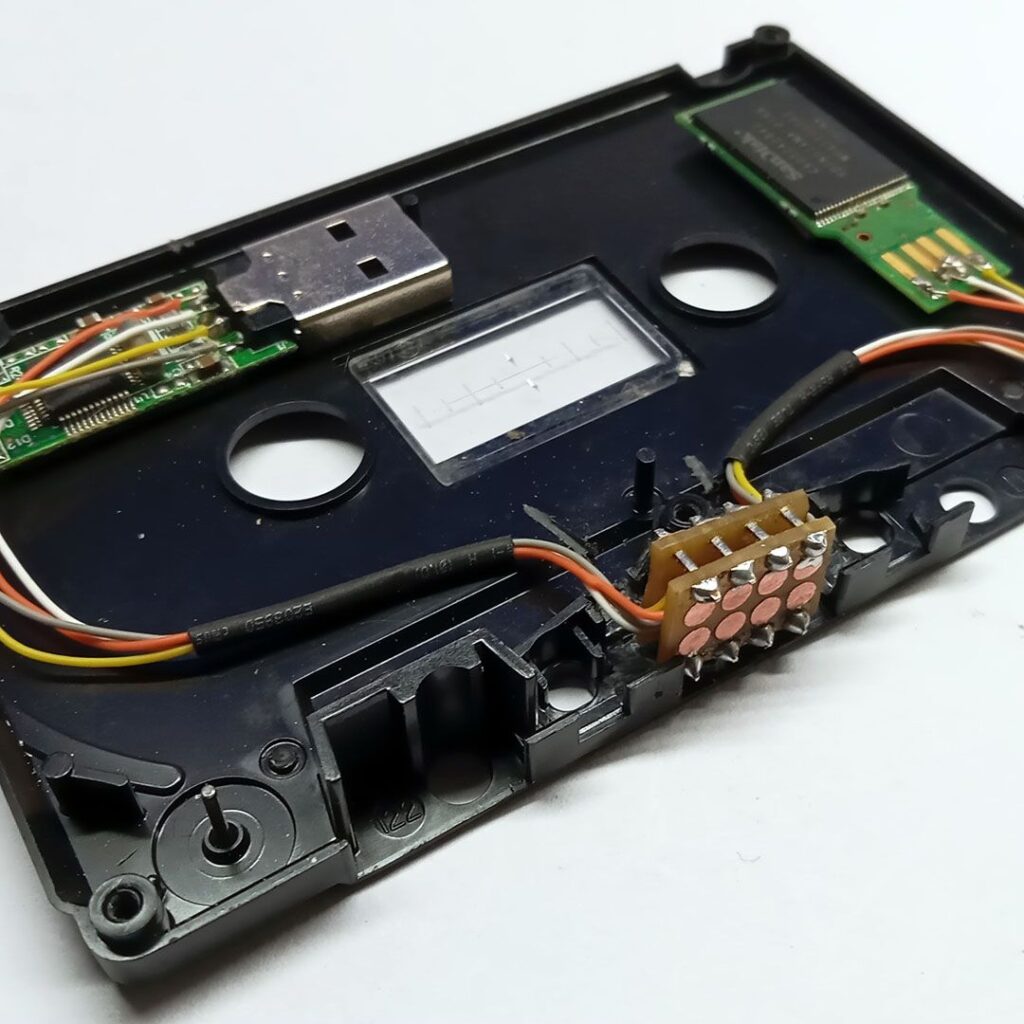
As cassettes become scarcer and their durability fades, I decided to convert these analog treasures into a digital format. By replacing cassette tapes with a system using a flash drive to store digital audio files inside the cassette.
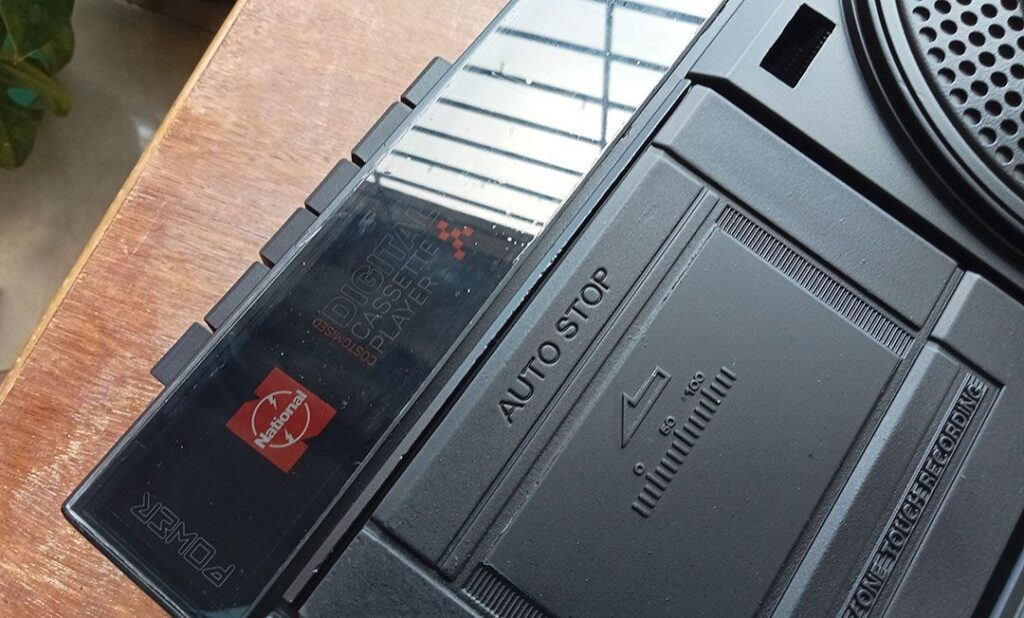
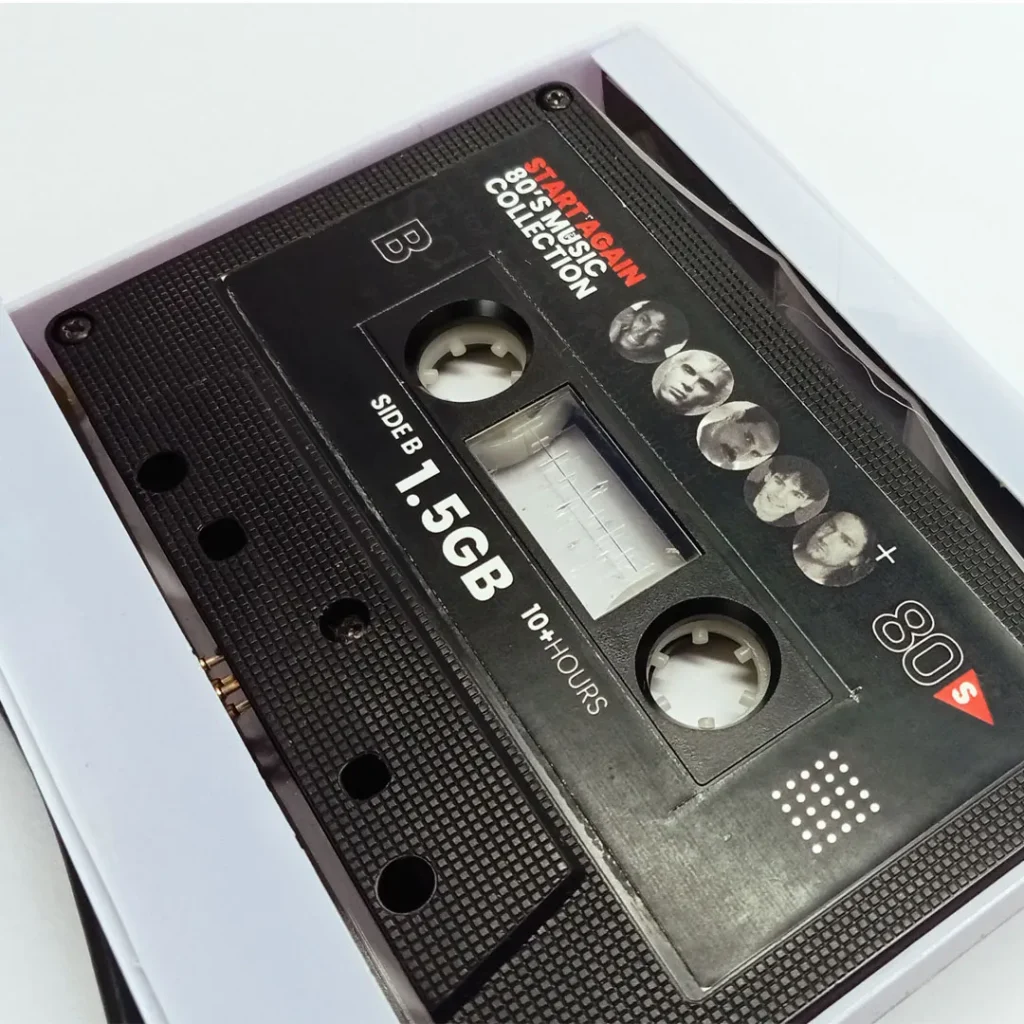
Cassette
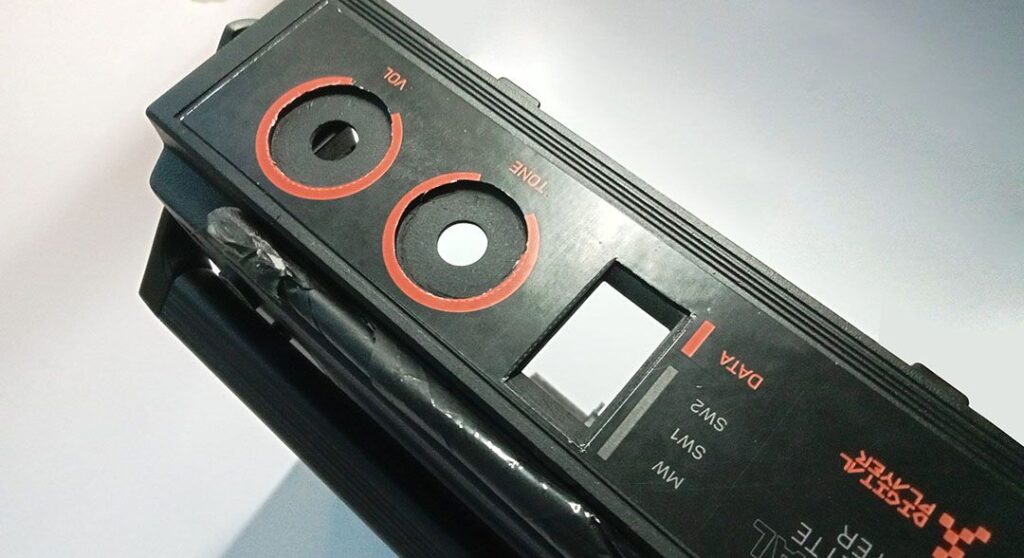
After a few experiments, I settled on a method using spring-loaded connectors instead of conventional tape head (POGO pins). These connectors act as playback and record heads, with corresponding PCB contact plates inside the cassette serving as the interface for data and power.

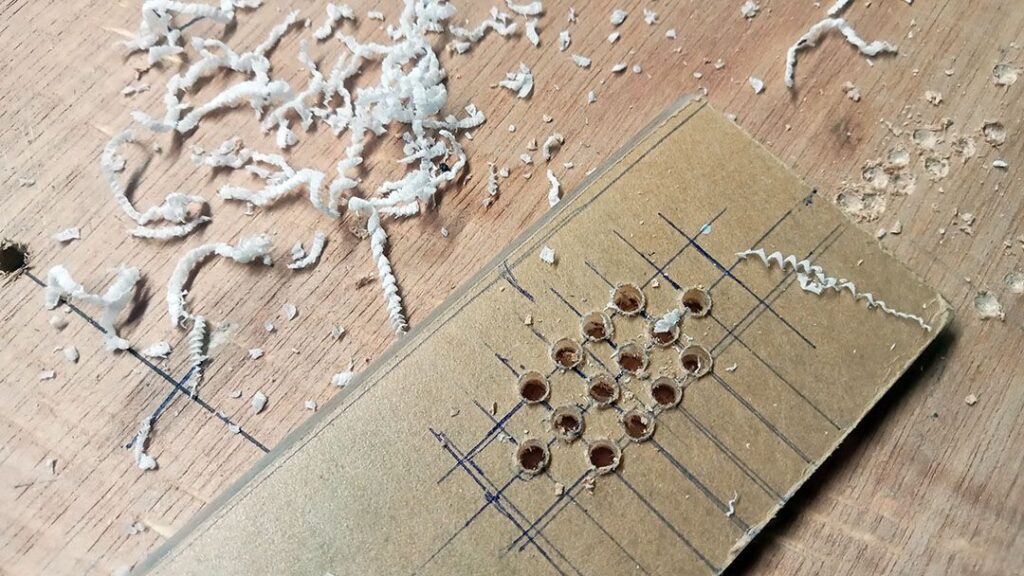
For the data and pawer interface, I designed a customized PCB plate to fit comfortably onto the cassette’s headspace (pressure plate). Designing and assembling this system was somewhat complex, particularly aligning the POGO pins and contact plates correctly.
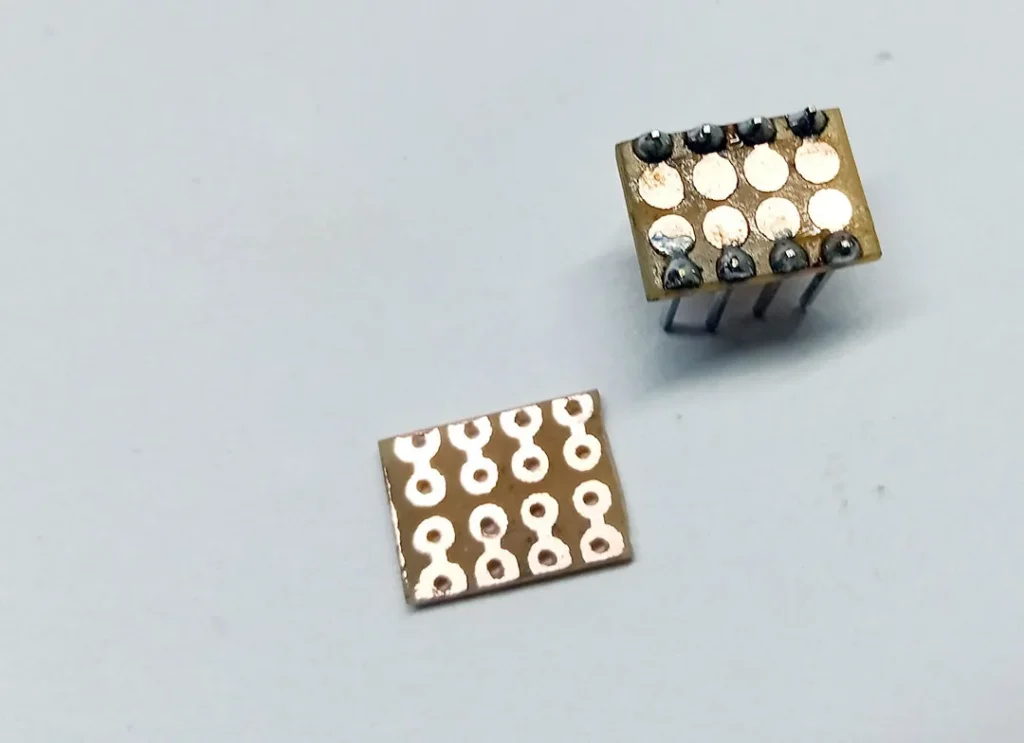
To replicate the functionality of an actual cassette, I integrated two flash drives inside, each with four connectors for Side A and four for Side B, enabling both USBs to connect. The contact plate consists totally eight 3mm round pad connectors to power, read, and write to the USB flash drive inside the cassette.
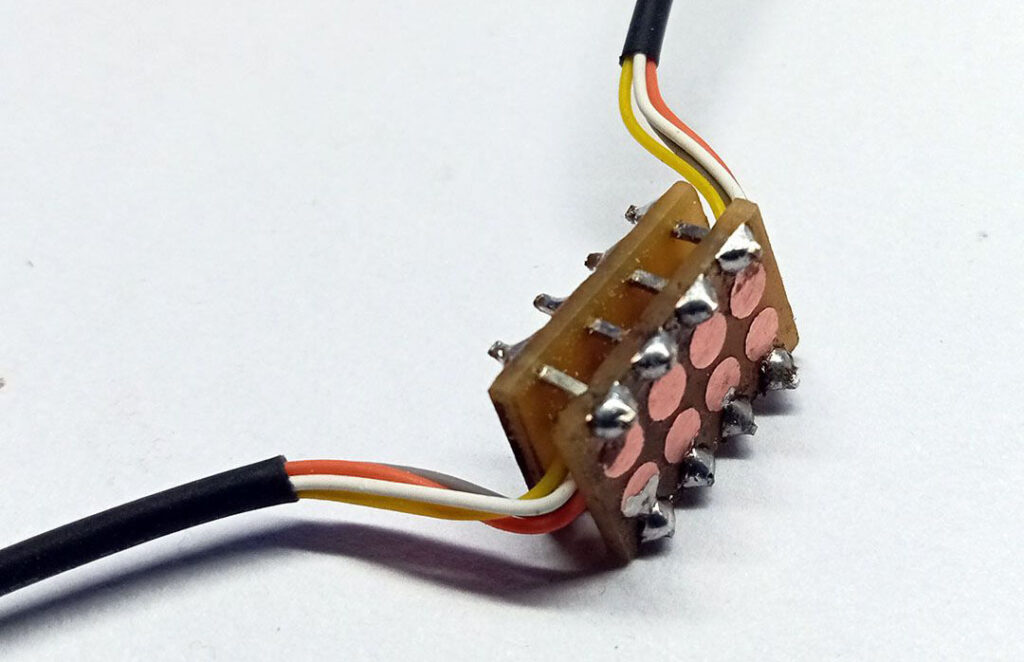
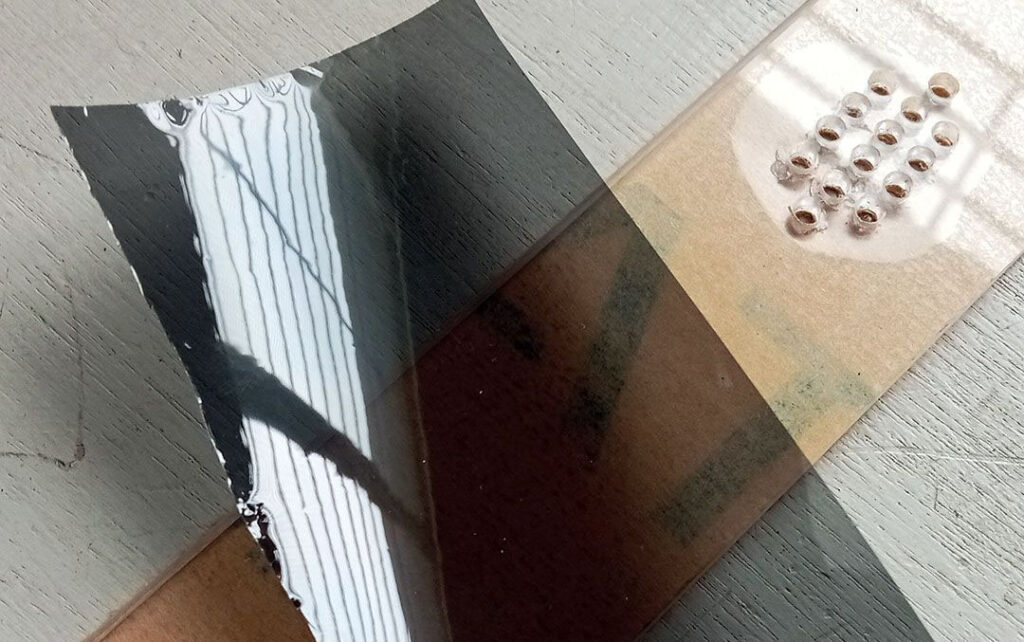
Creating a direct wire connection from the contact plate to the USB flash drive was challenging. To simplify this process, I designed a supporting plate of the same size and linked them using a Berg connector.
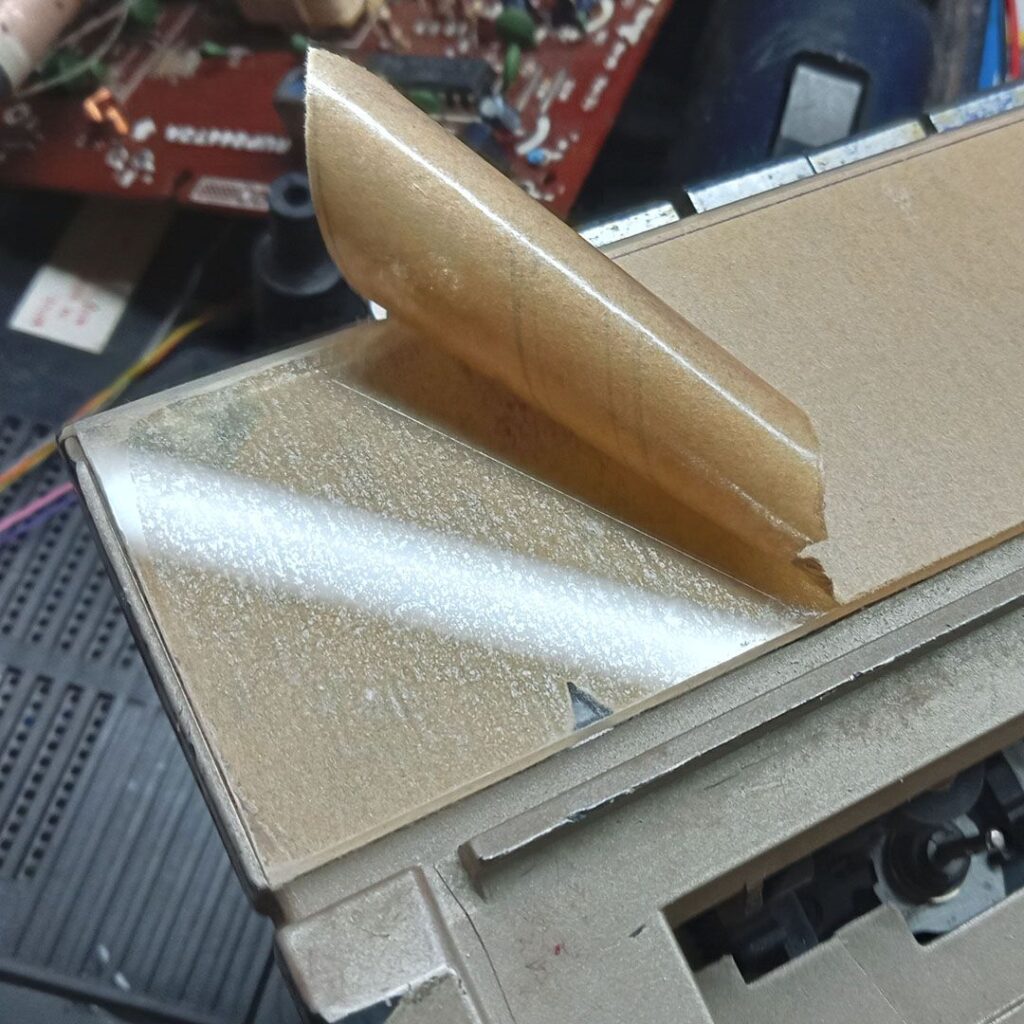
I stripped away unnecessary parts from the cassette case and made slight modifications to the pressure plate area to ensure the perfect fit of the contact plate.
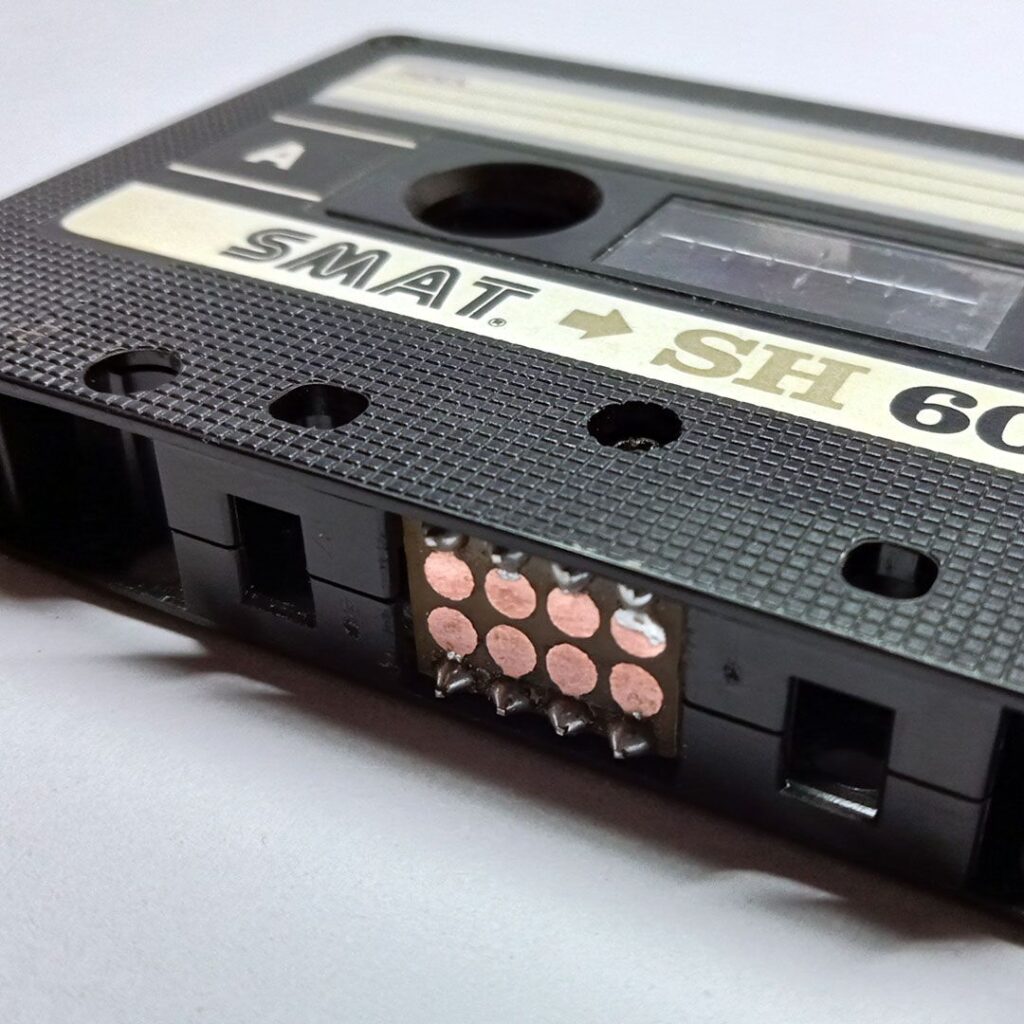
And here is how it looks after the complete modification with a digital cassette interface for data and power.
Head (USB flash drive reader)
I’ve changed the existing tape reader head with a new USB reader head built with a set of four POGO pin connectors.
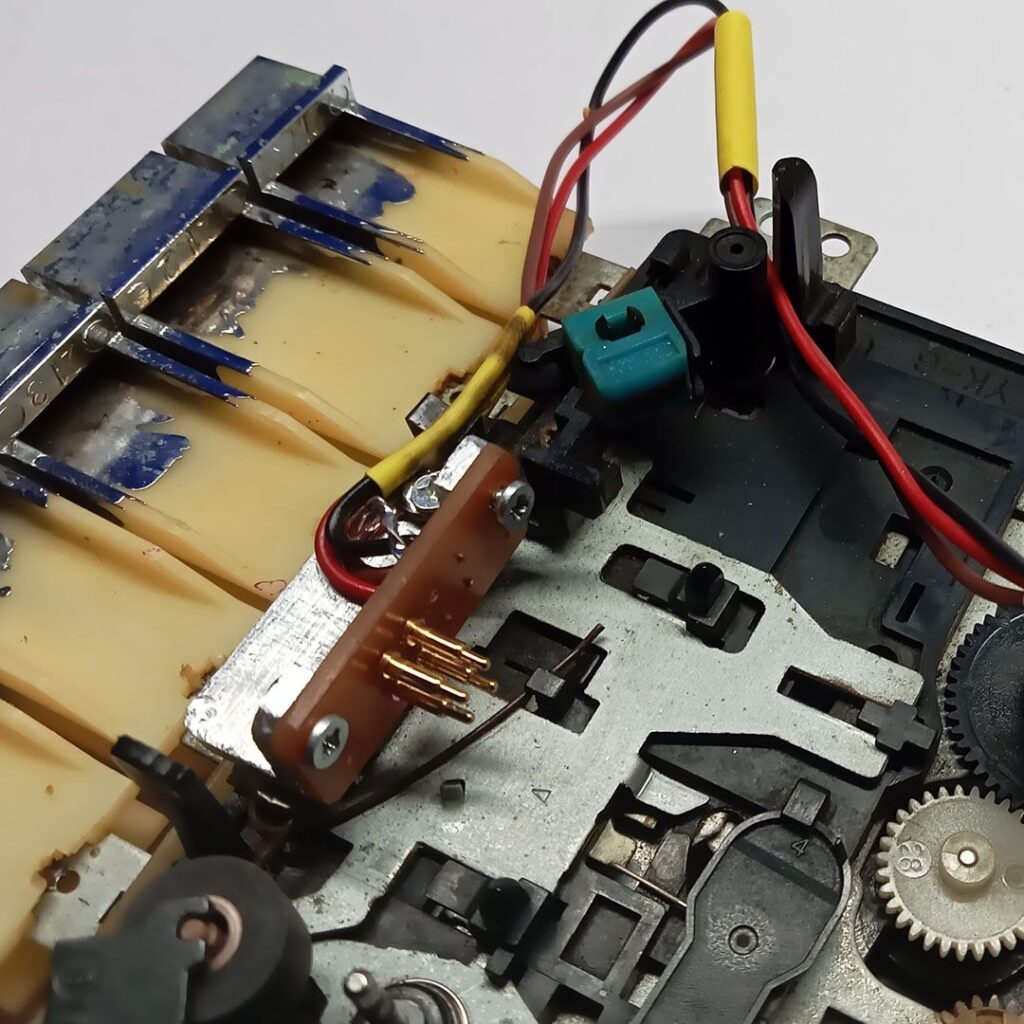
I soldered four pogo contact pins onto a small PCB, which positioned to perfectly slots into the original tape head position. To attach this PCB to the drive mechanism, I made an ‘L’-shape using a aluminum angle frame.
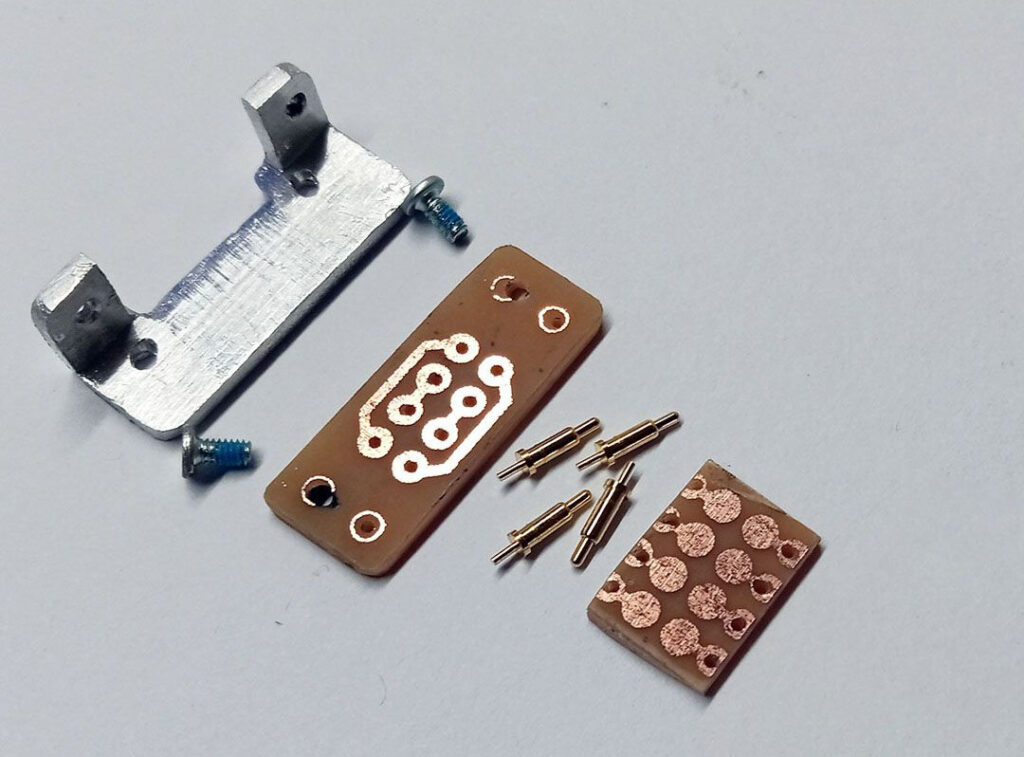
Pogo pin Head and connecting plate before soldering.
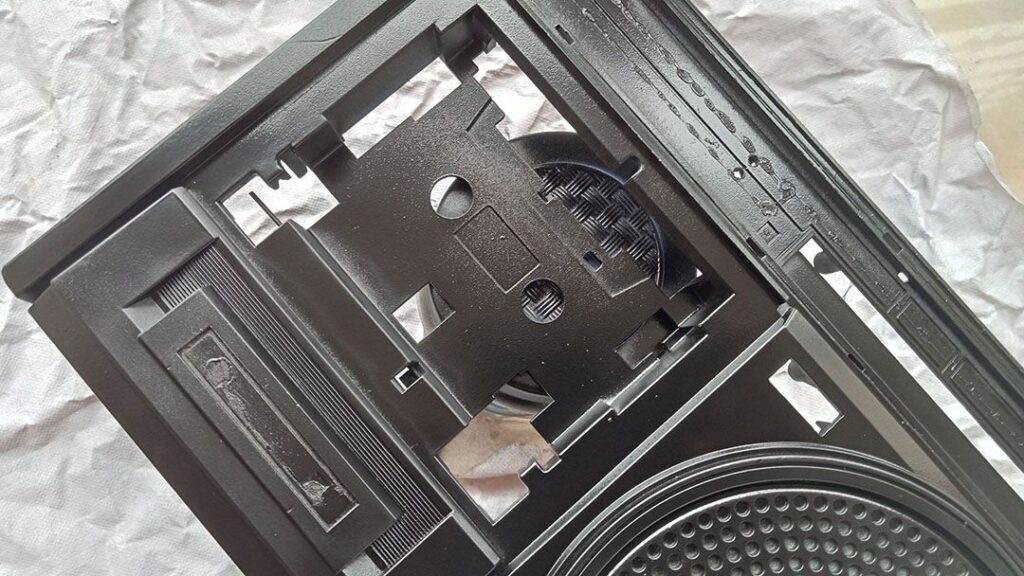
Cassette player modification
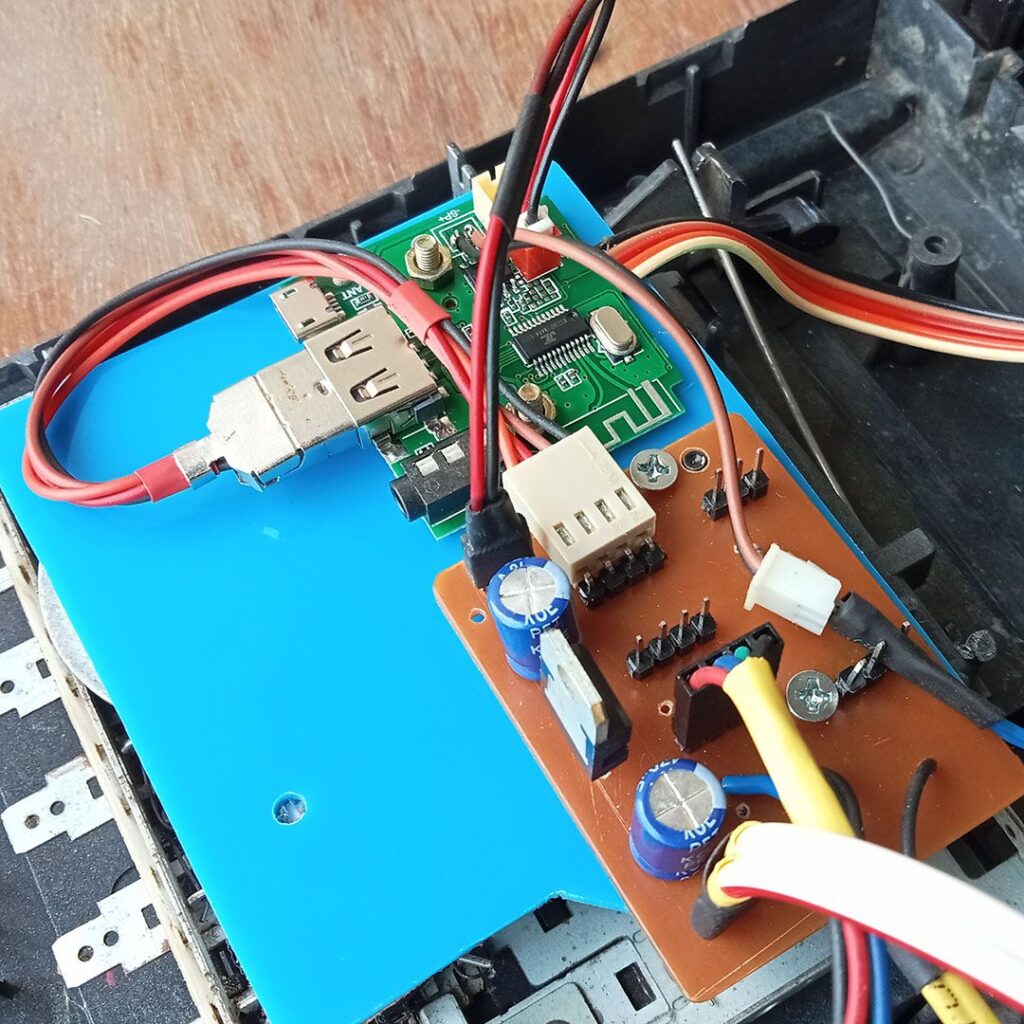
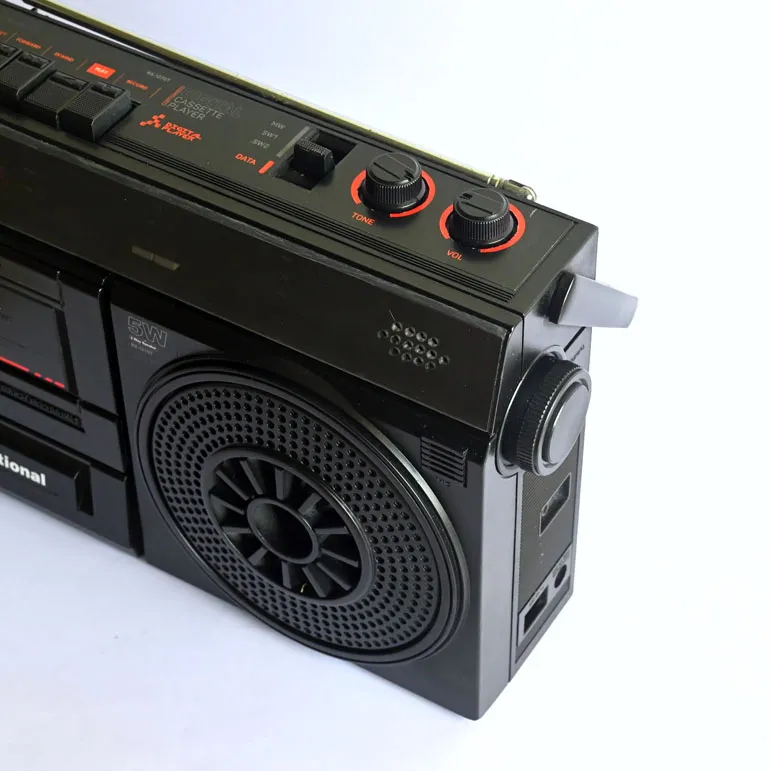
Furthermore, my goal is to update the cassette player’s power supply and circuit board, involving a combination of component replacements and additions. I disconnected the original board from its power and other connections and opted for an MP3 module to play songs from the cassette. The original board of this cassette player operates at 7.5V. I redirected power from the supply unit board to the Bluetooth modules.
Power and data distribution board
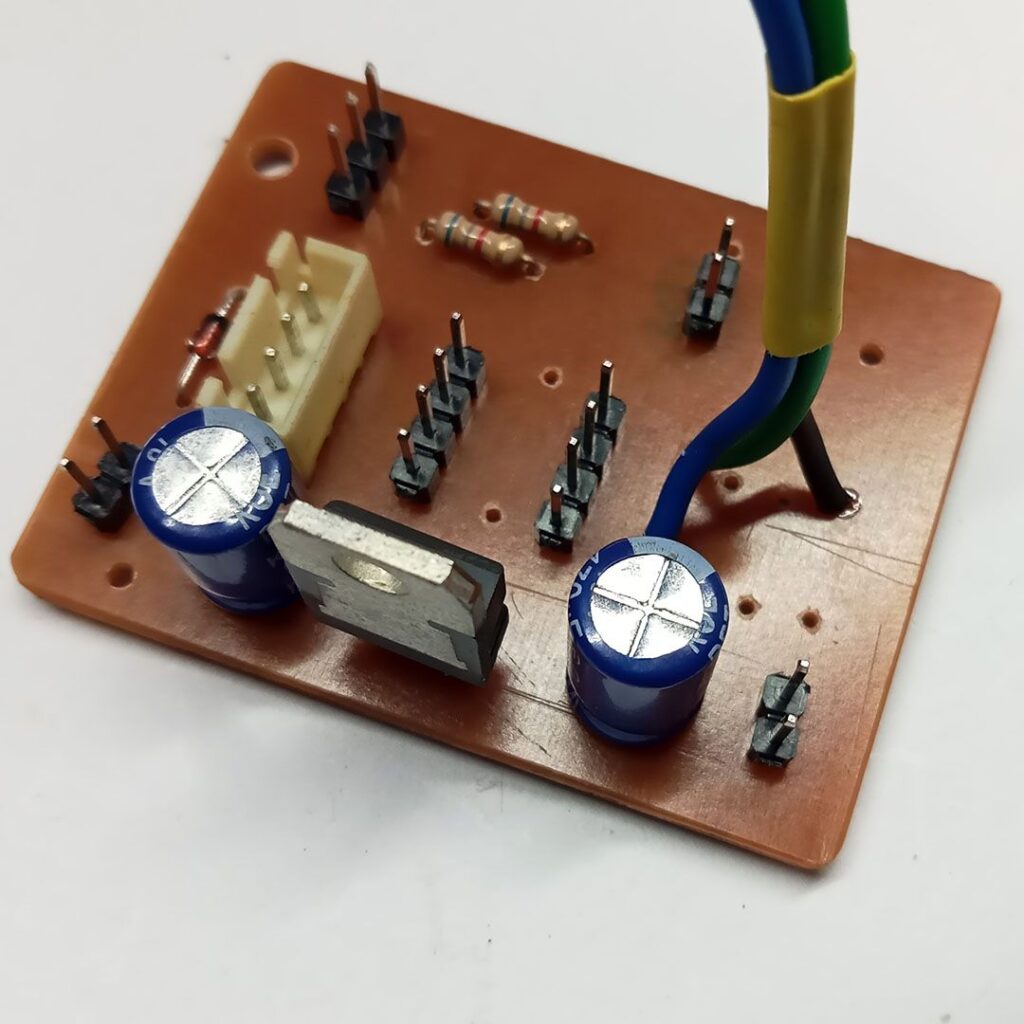
I designed another PCB that serves as a hub for power distribution to the module, features a 5V regulator circuit, and facilitates data transmission from the cassette to the MP3 module.
Speaker

The original speaker was damaged, so I installed a new 2W 3inches speaker that can be powered by the module. Additionally, I added a tiny mobile speaker to serve as a tweeter.
Body and Panel
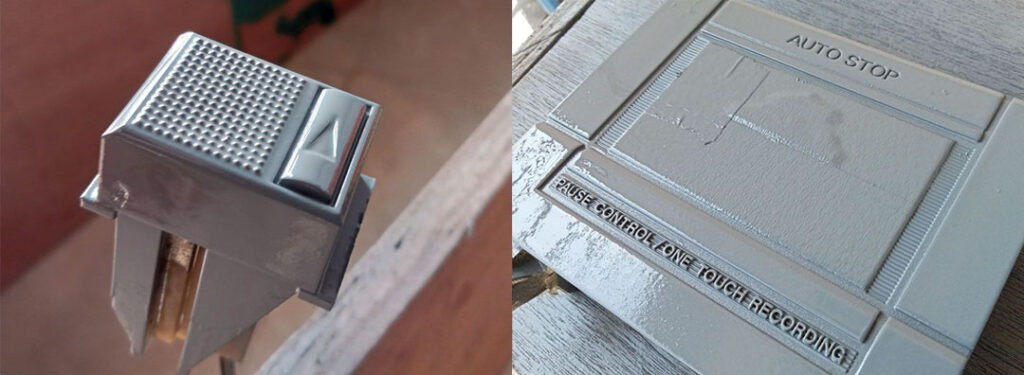
When it comes to modifying the appearance of the exterior of the player, the first task is changing the scratchy tuning window, so I started by replacing the tuning window glass with a new one. I used a 3mm transparent acrylic sheet and drilled a few holes in it to serve as a grill for the tweeter speaker.
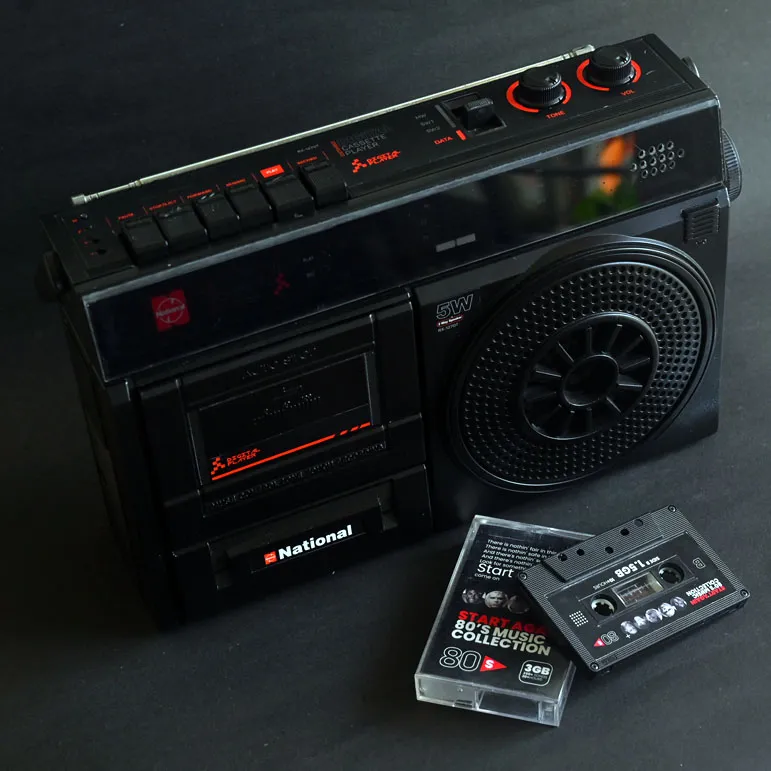
For a modern aesthetic, I embraced a sleek black color scheme for the entire outer body, with minimal red flair. I began by thoroughly cleaning and drying body parts and applying a primer as the foundational base coat.
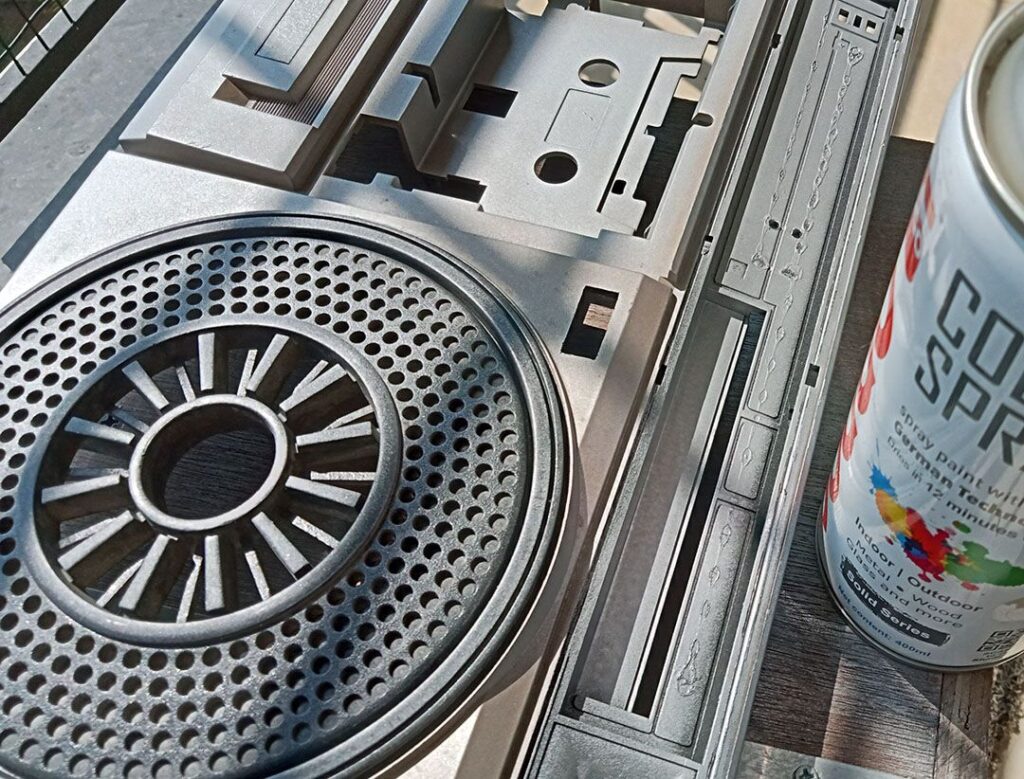
Following the application of the initial base coat, I proceeded to paint the body panels with a matte black coat.
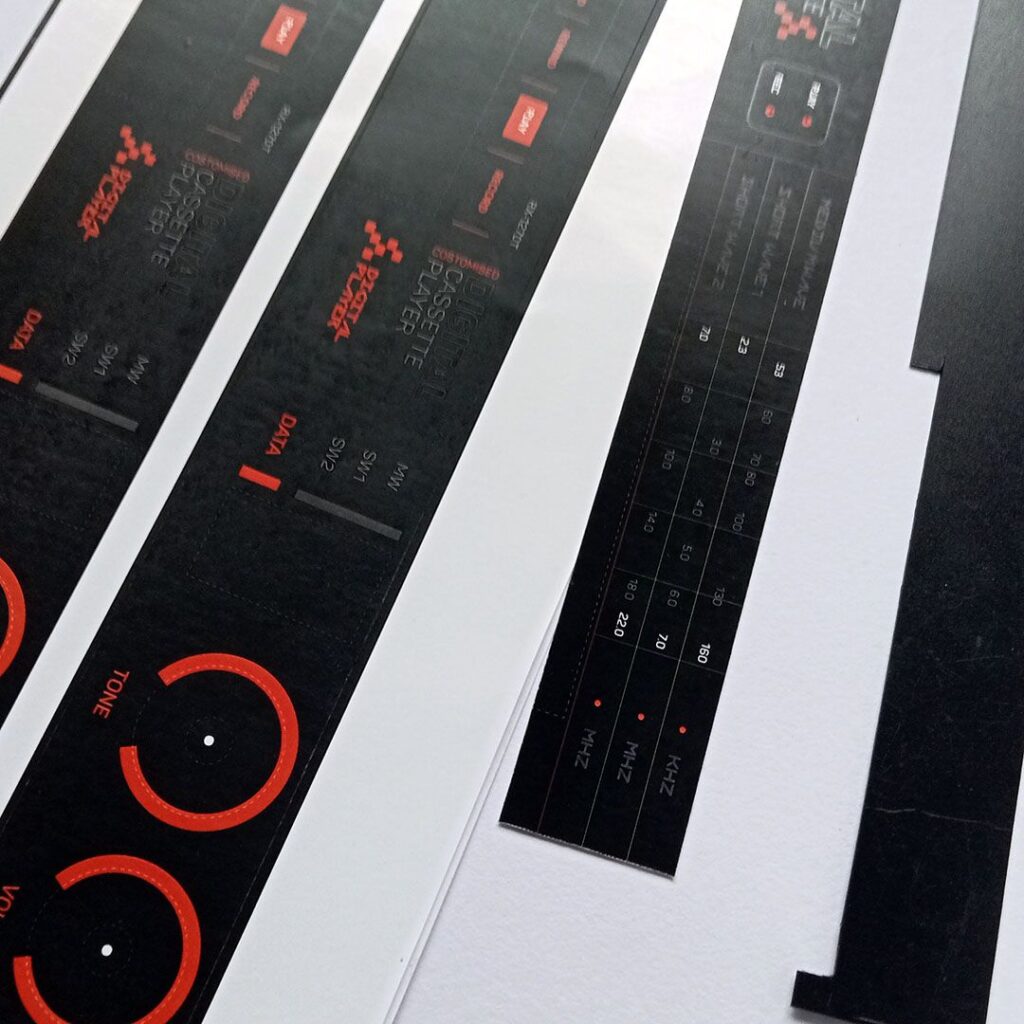
Final touches to the finish
Here are the customized label designs intended for the top panel and tuning range, printed on a non-tearable 120 gsm A3 sticker sheet.
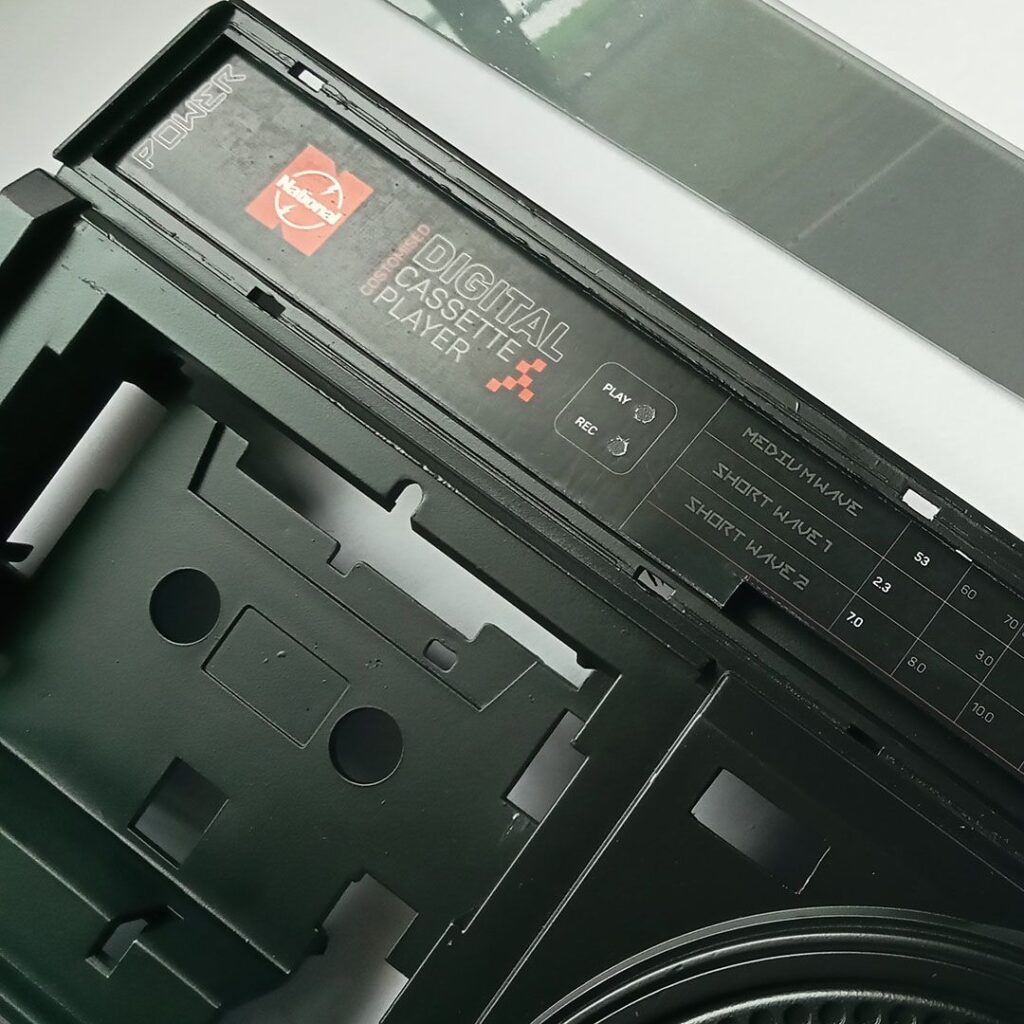
Cassette Card and label design
I designed and printed new U-cards and cassette labels. Check out this website for label and card design guide www.duplication.com. After visiting this site, I’m excited to see that cassettes are still alive.

Note: the contents and design of the cassette label are solely intended for personal use.
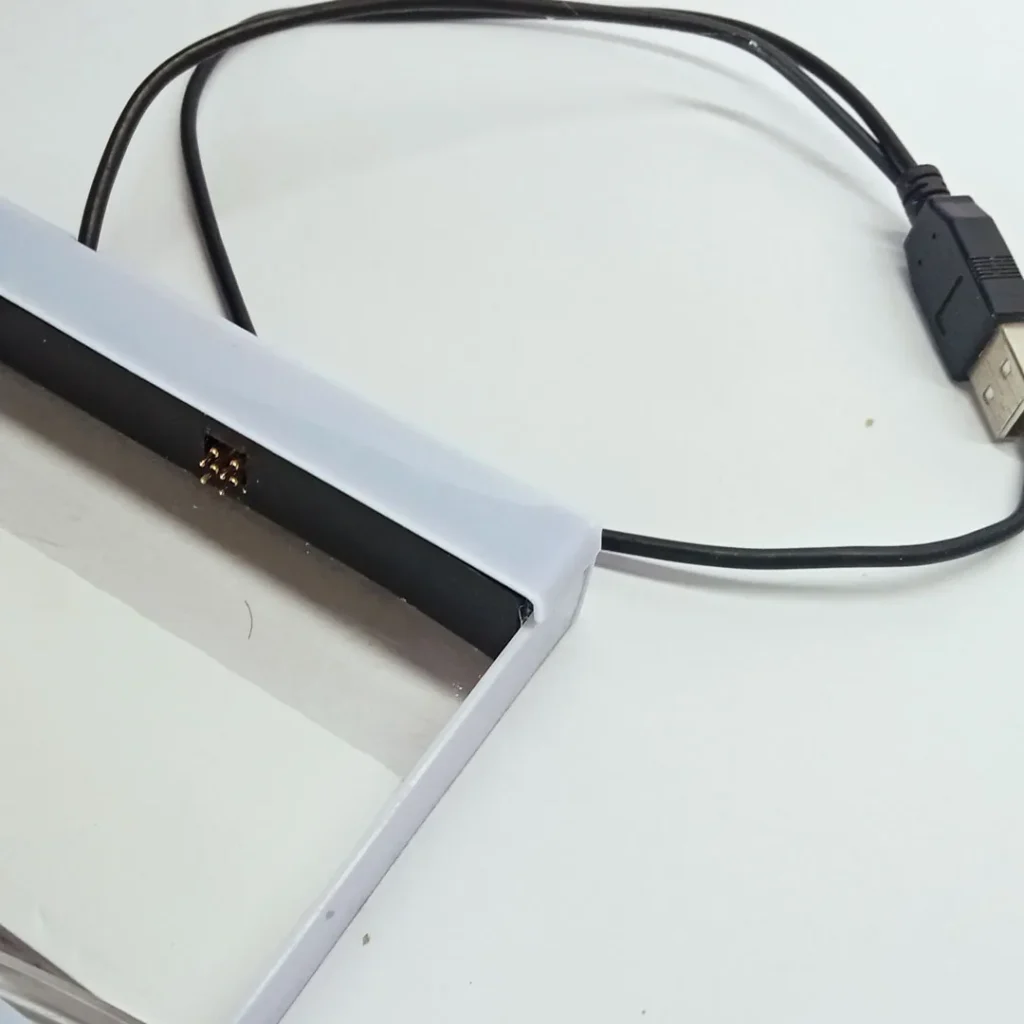
Transferring MP3 files to the cassette
I created another device to copy the MP3 file onto the cassette.
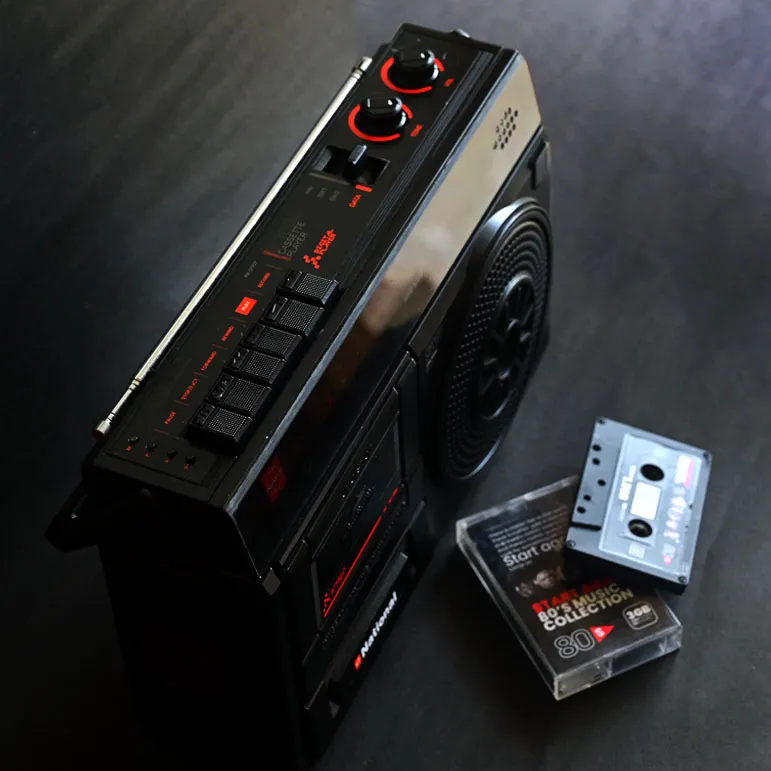
And this is how it looks finally…

Cover image credit: www.unsplash.com