4. Casting process
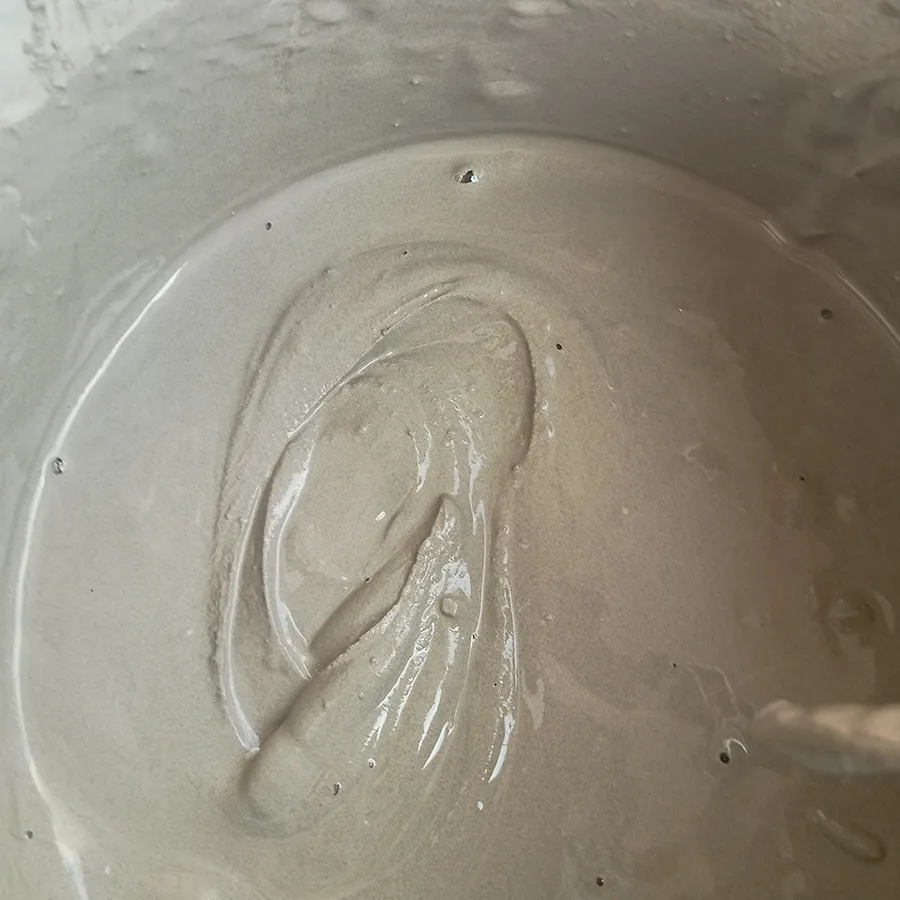
For casting, I mixed gray and white cement, using white cement to achieve a finer, smoother surface. I combined 60% gray cement with 40% white cement for the mixture. Using a small spatula, I poured the cement and stirred it with a stiff stick, ensuring it reached every corner and surface. I prepared the cement to a medium-thick, gel-like paste. Before starting, I secured the outer surfaces with masking tape to stabilize the panels, which reduced the risk of detaching due to the weight of the wet cement mixture.
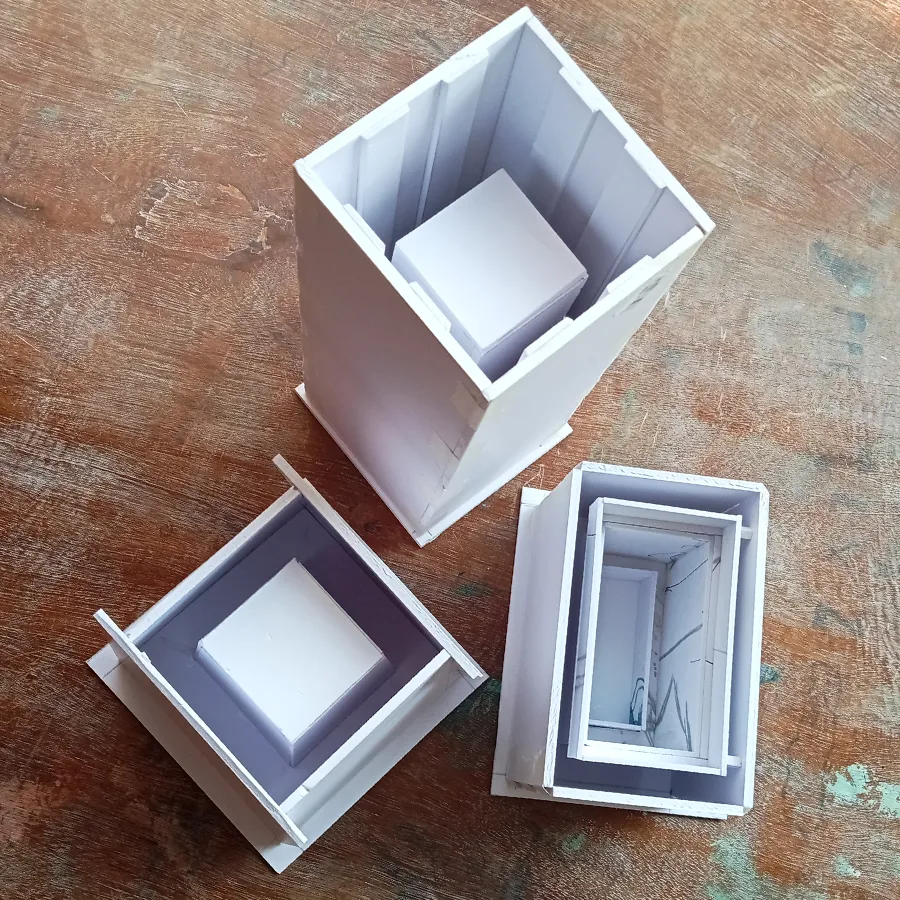
Mold structures ready for casting.
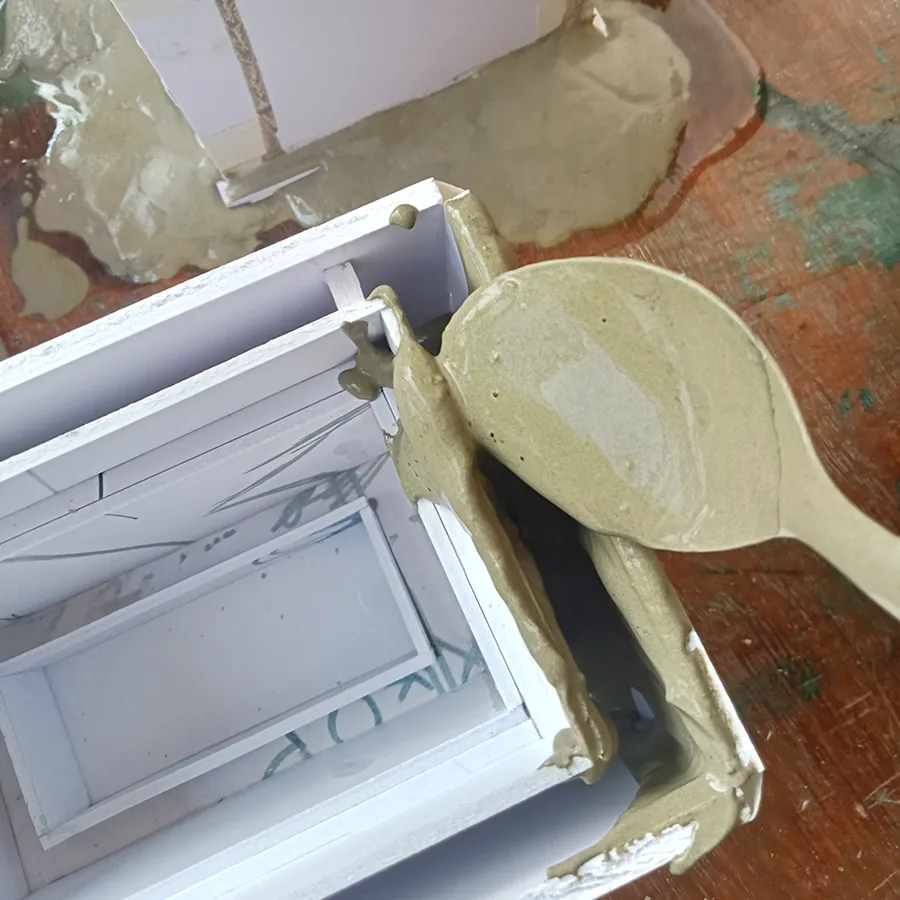
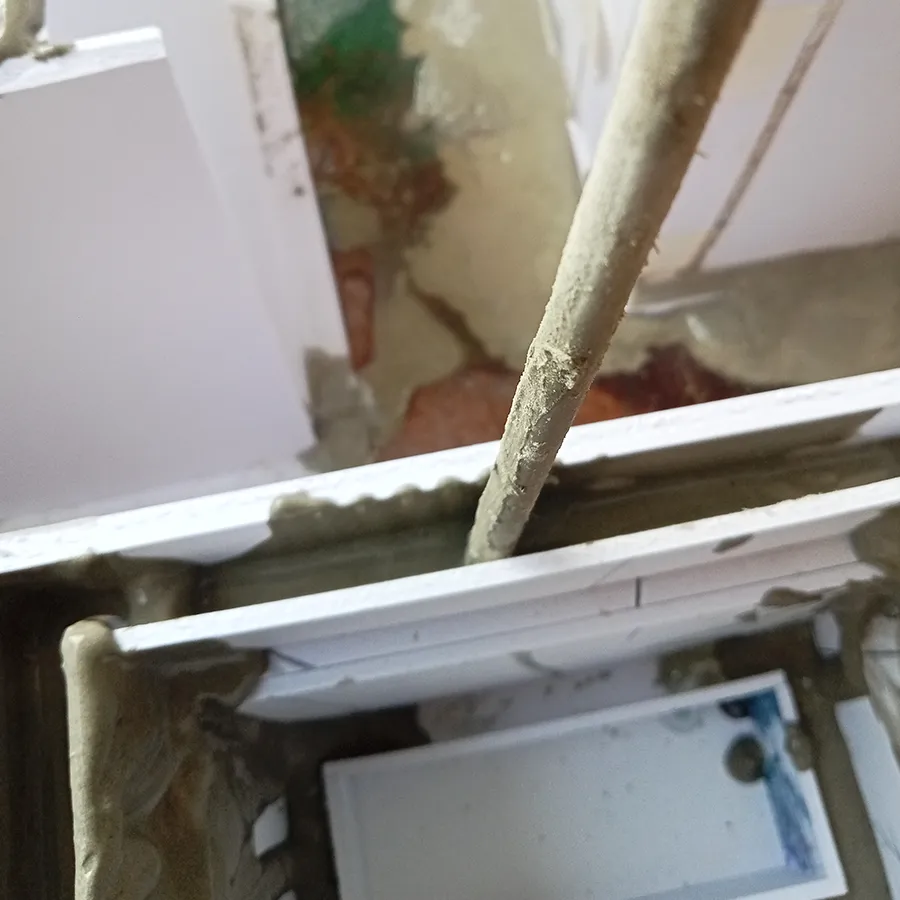
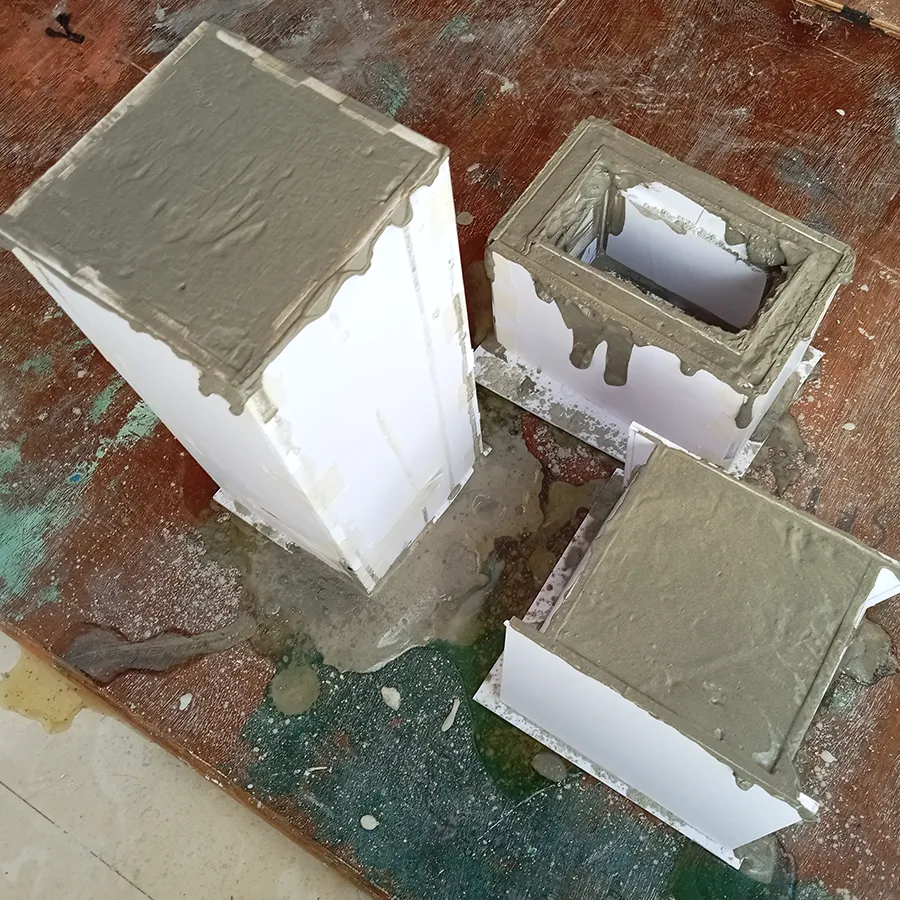
I poured the mixture into the mold cavity and stirred it thoroughly. After completing the casting, I manually polished the base of the pot and the back of the speaker enclosure once the excess water had fully drained.
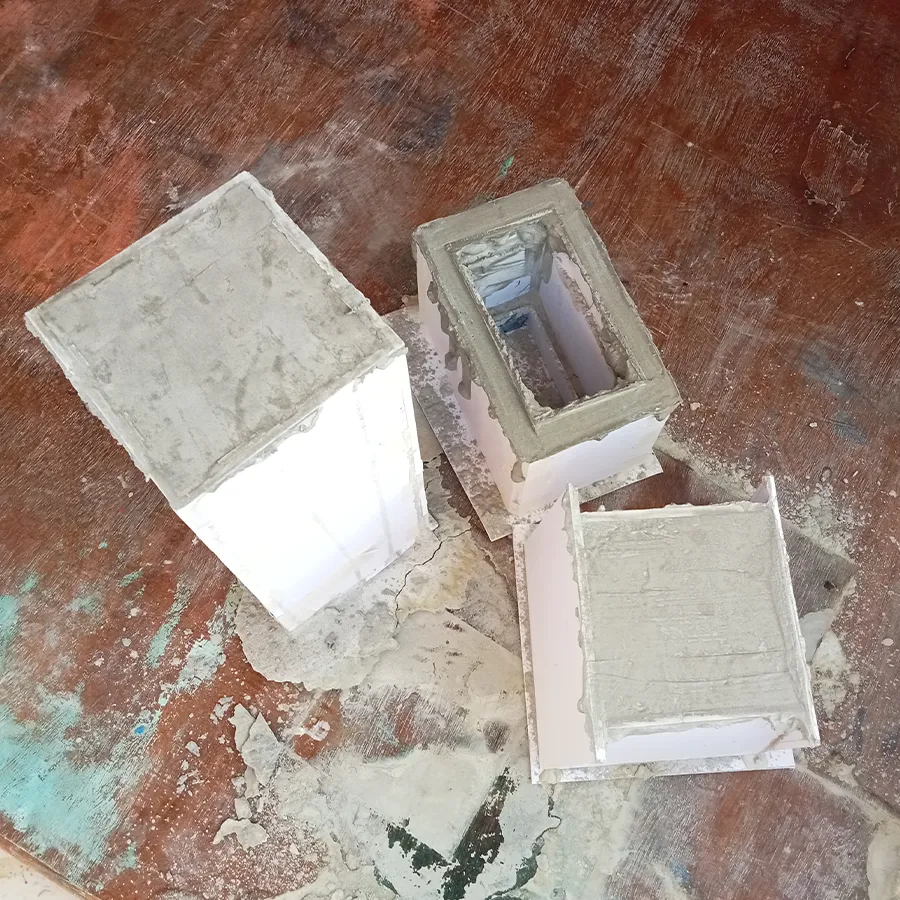
After 12 hours, the cement had partially cured. Once it reached this stage, I covered it with a thick cloth and kept it damp to allow the cement to fully cure and harden completely.
5. Detaching panels from the cured cement mold
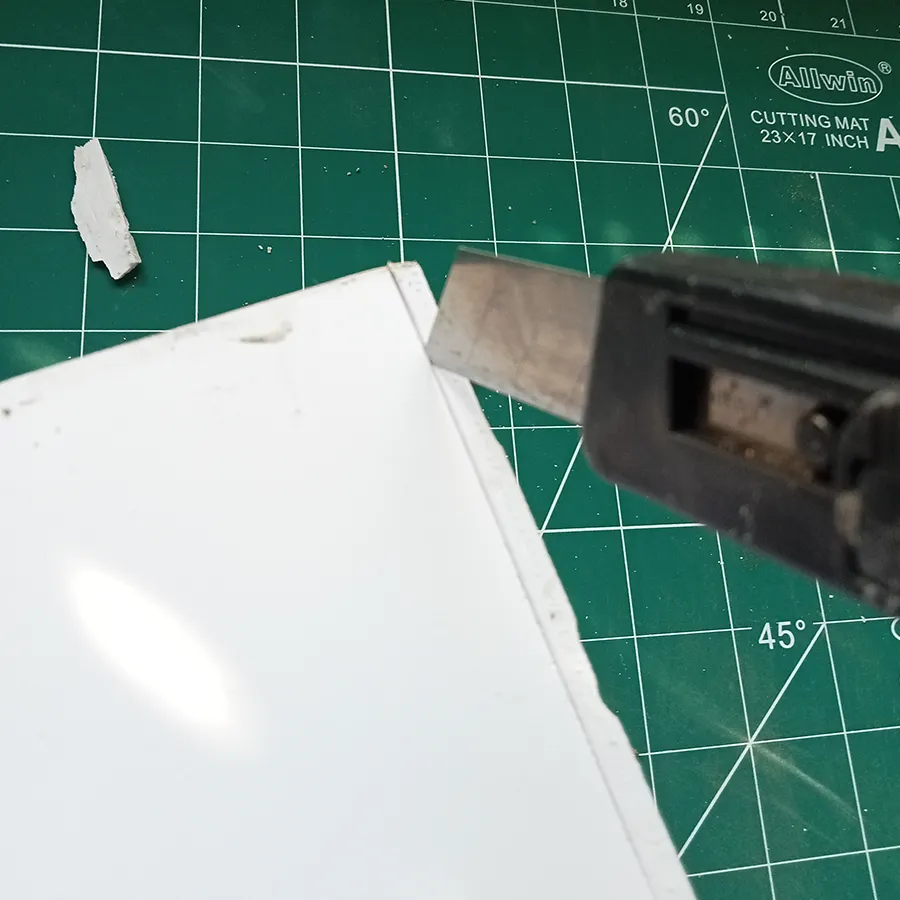

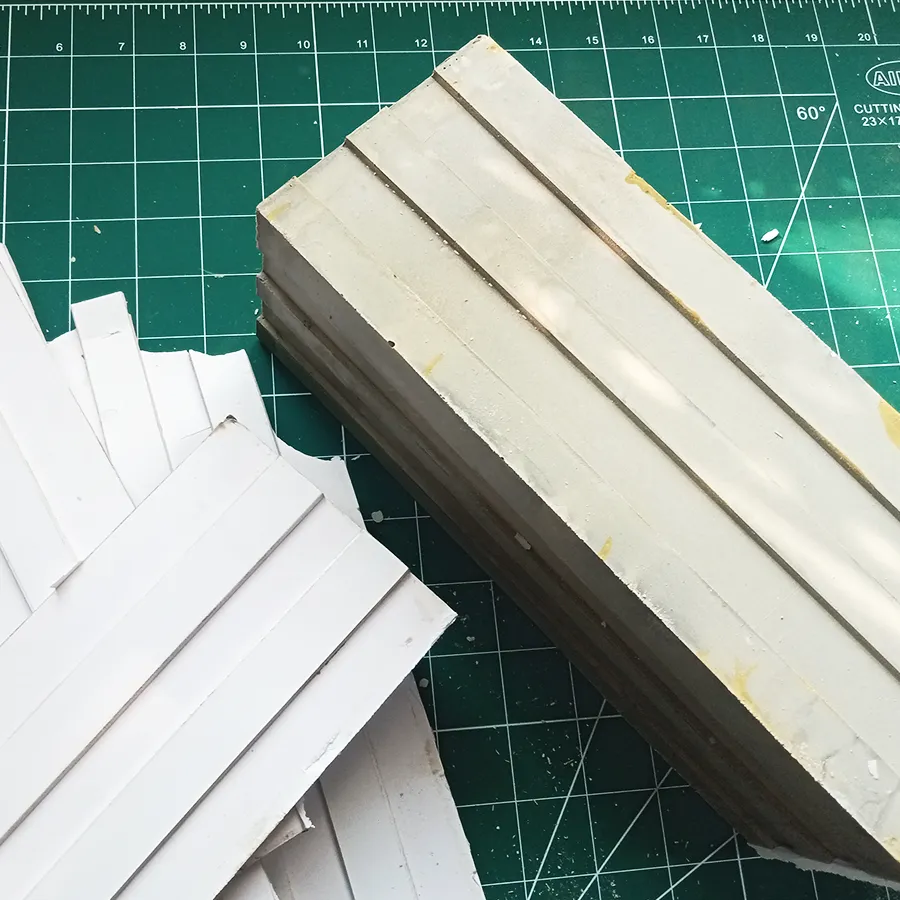
Detaching the inside panels of the pot proved challenging due to the 4mm thick foam board, which was difficult to break or bend. In contrast, removing the speaker enclosure panels was much easier. I used a 2mm foam board for molding the inside areas, allowing the panels to come off or be cut more easily. To detach the panels, I carefully used a knife to break the glue at the panel gaps. Then, I reattached the inner panels with a steel ruler.
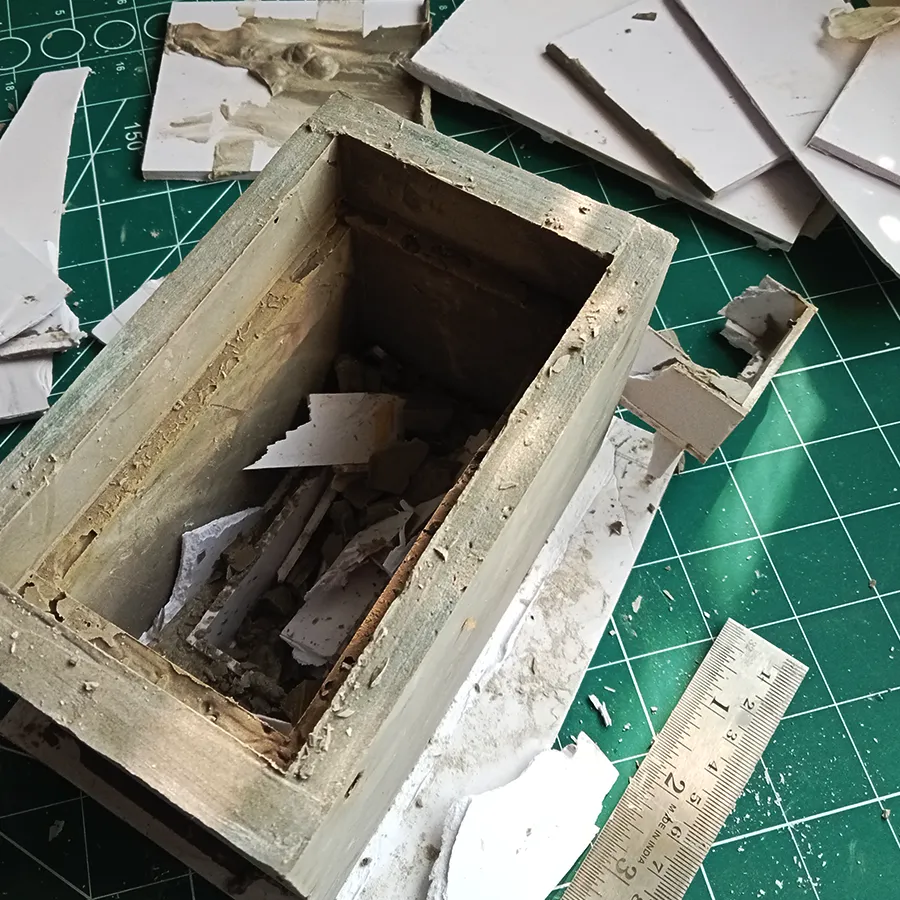
6. Finishing
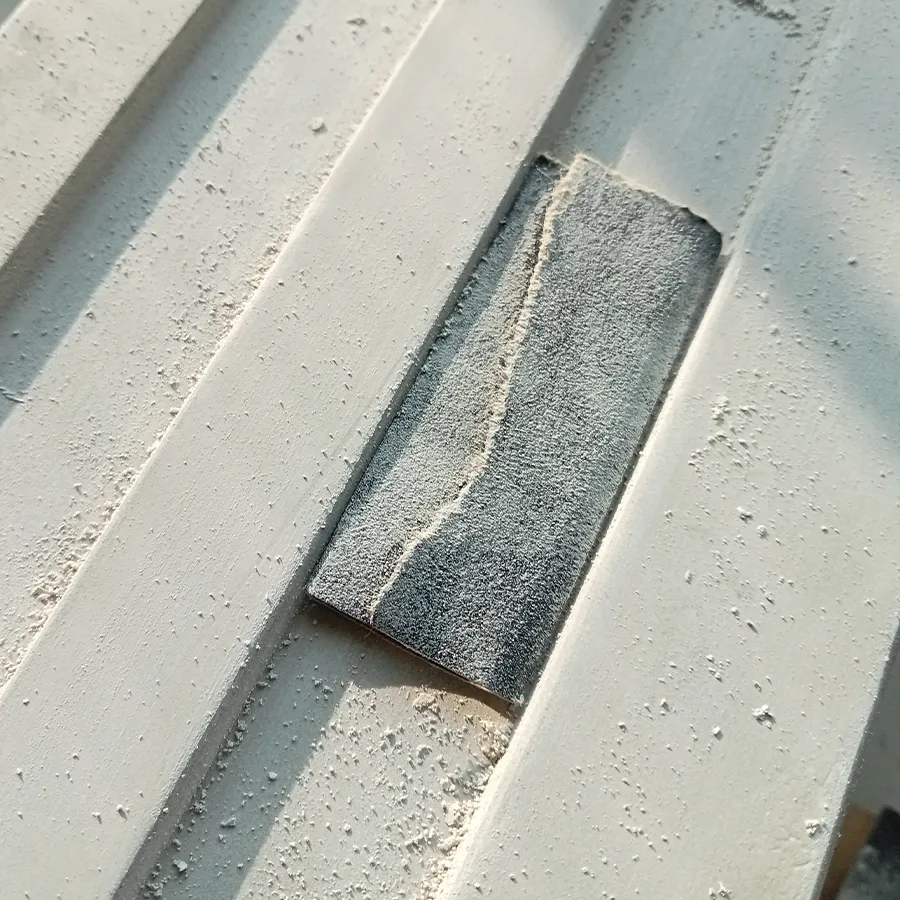
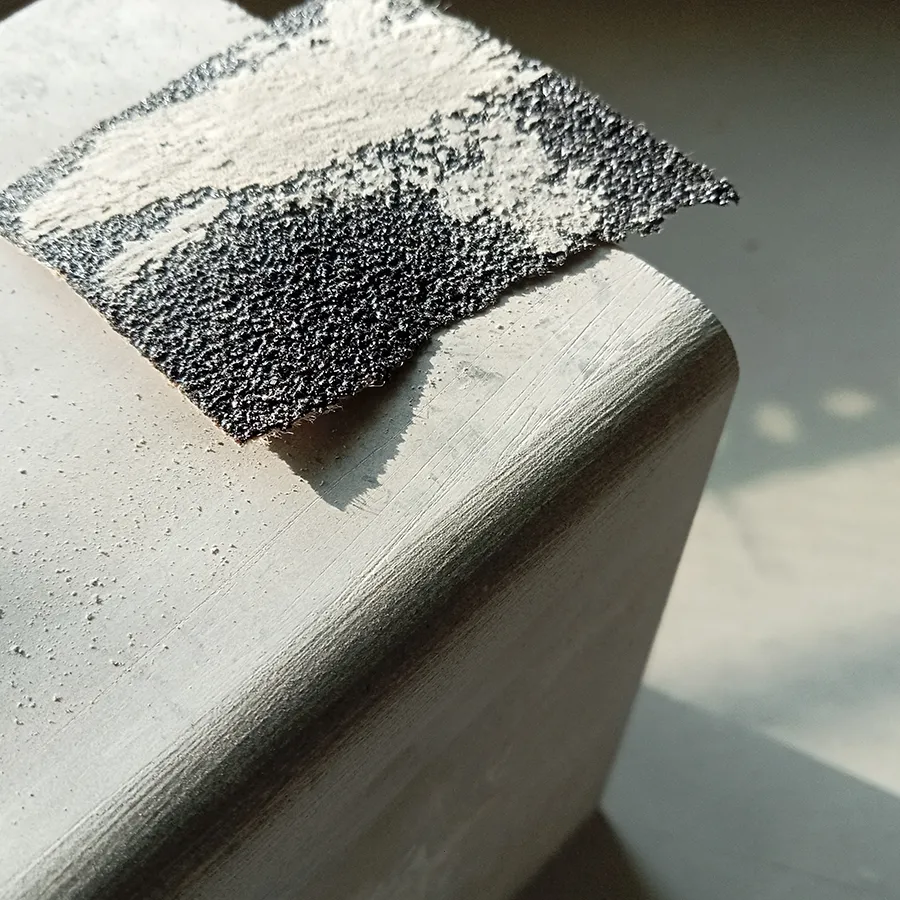
I used No. 320 sandpaper to smooth the mold’s surface and No. 60 sandpaper to create a rounded edge. After sanding, I applied a matte clear coat.
7. Speaker Panel
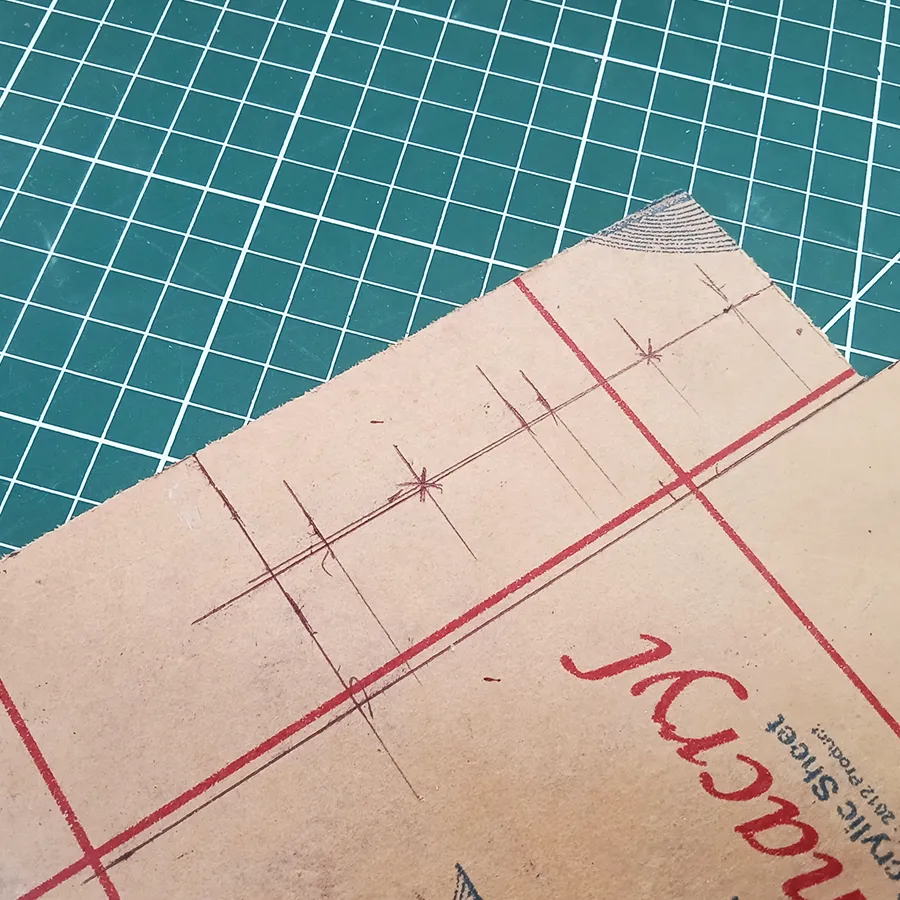
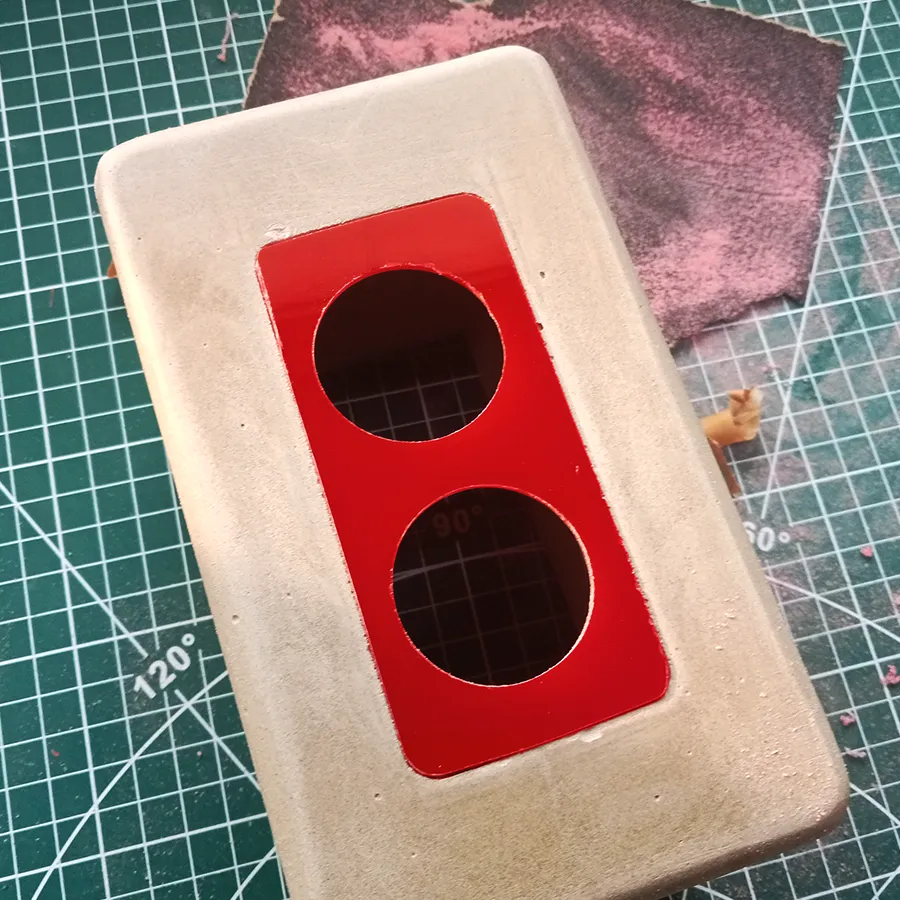
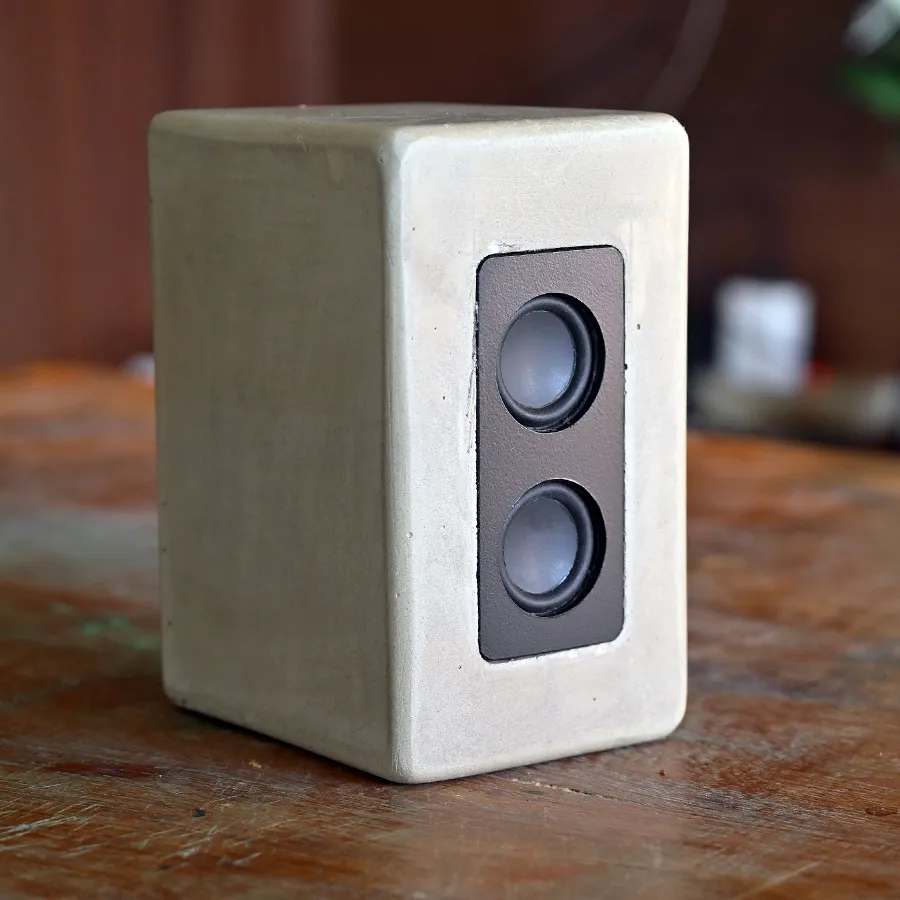
I created a 3mm acrylic panel with two 30mm holes to mount the speakers. The panel’s edges are rounded and fit into a groove I created at the front side of the mold.
8. Circuit
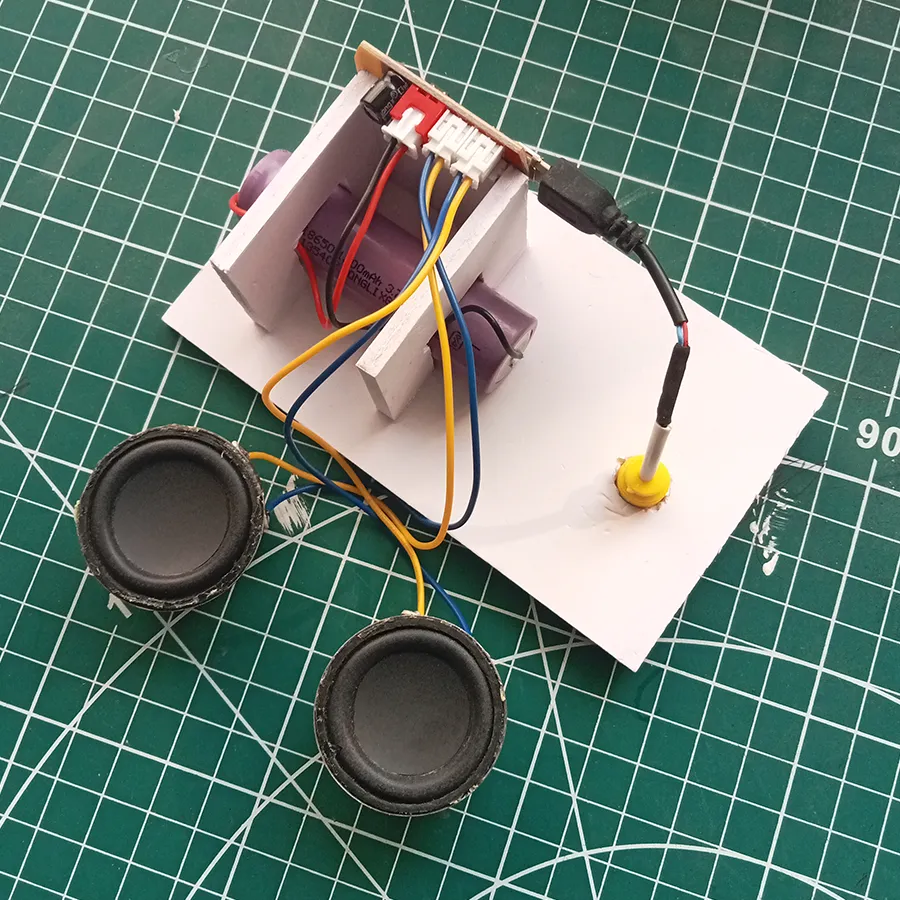
I used a CT14 Bluetooth module that requires 3.7V to 5V power, paired with a 3W stereo amplifier. The setup includes two 3W speakers and a 3.7V, 2000mAh Li-Ion battery. Both the battery and module are mounted on the back panel, along with a USB-C charging port.
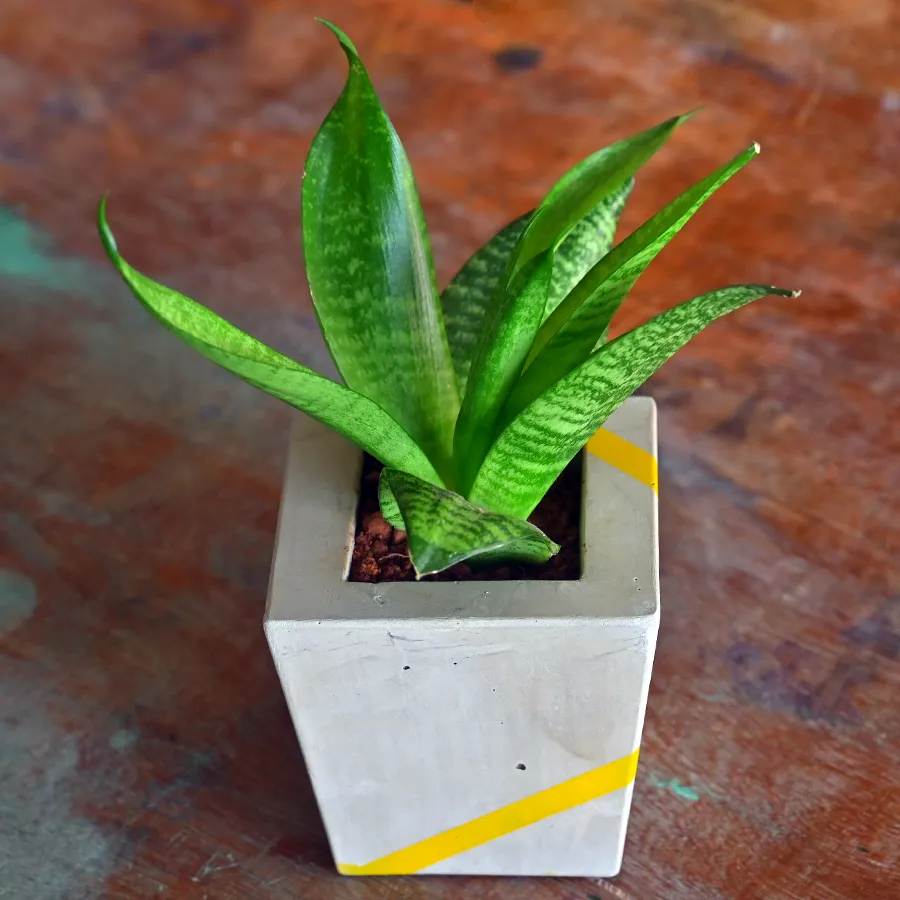
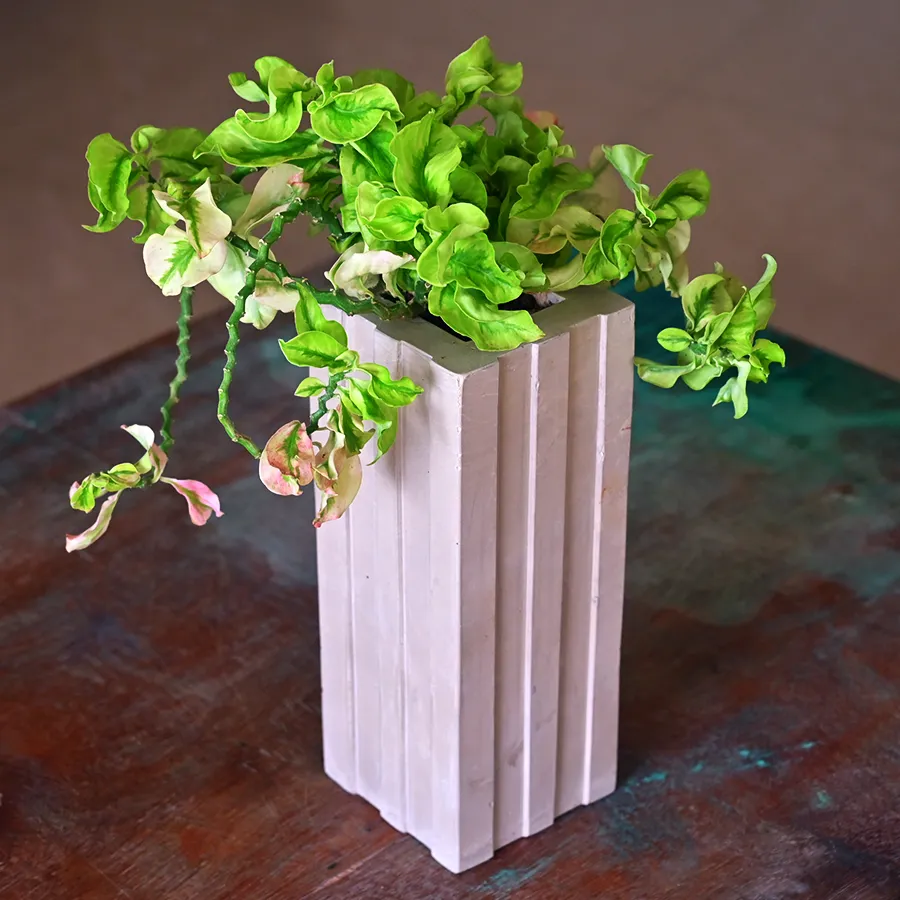
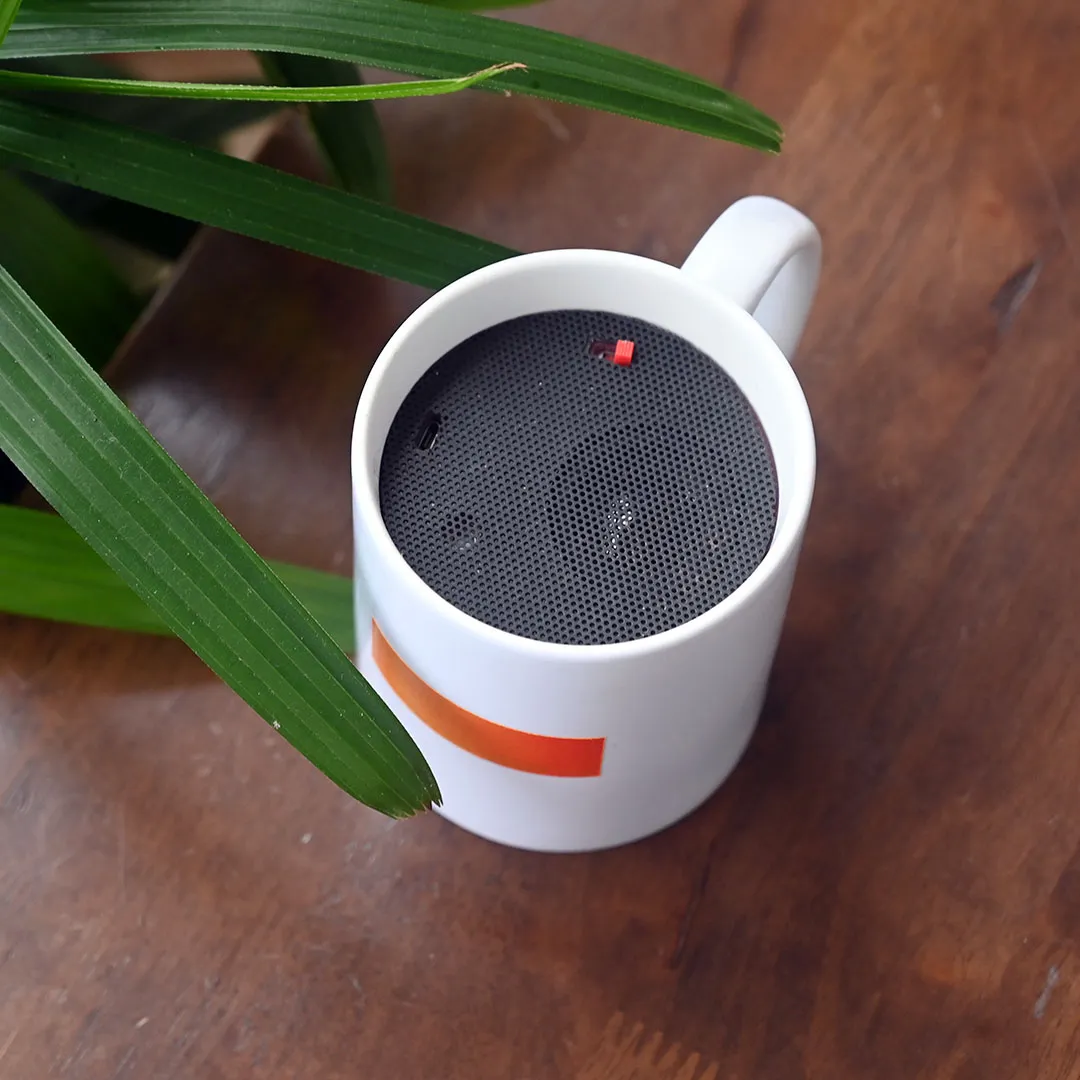
Final mold products
