
THE ART OF SOUND – Restoring old loudspeakers with step-by-Step guide

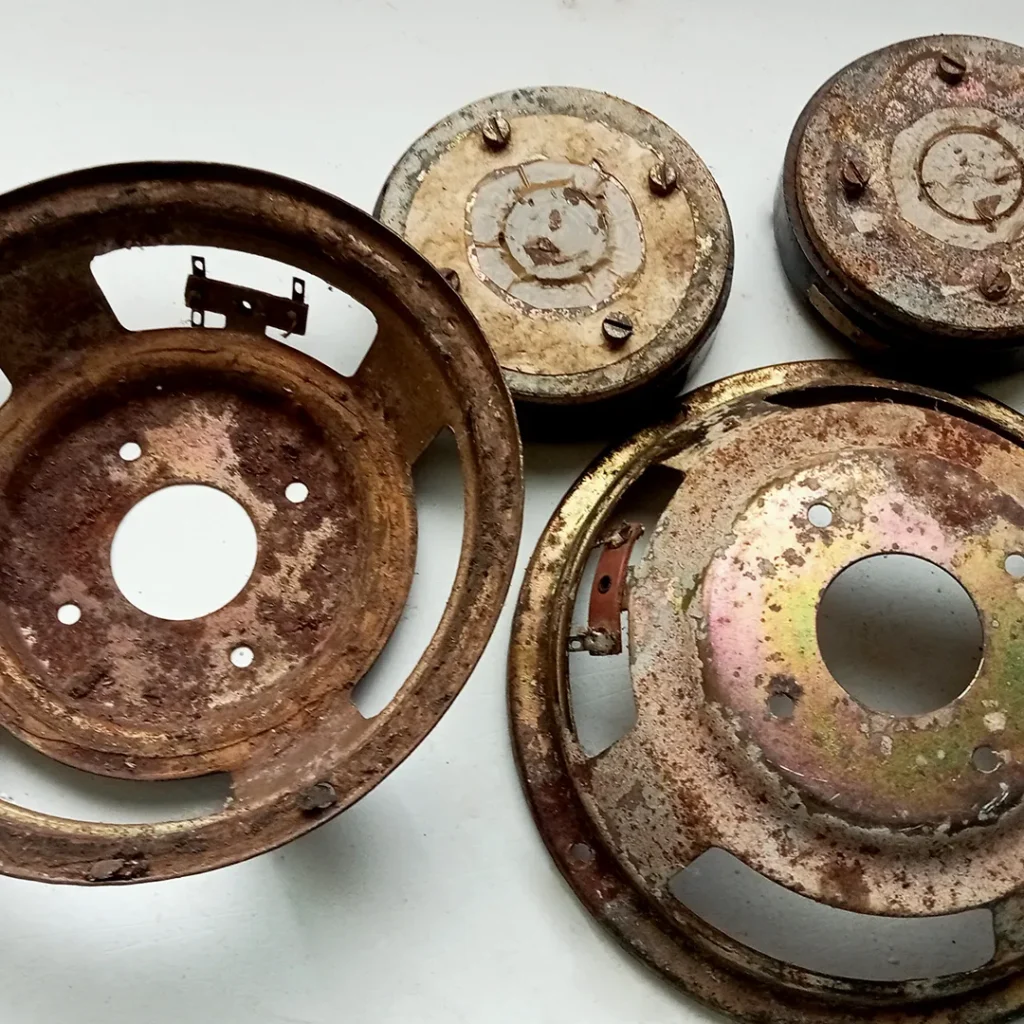
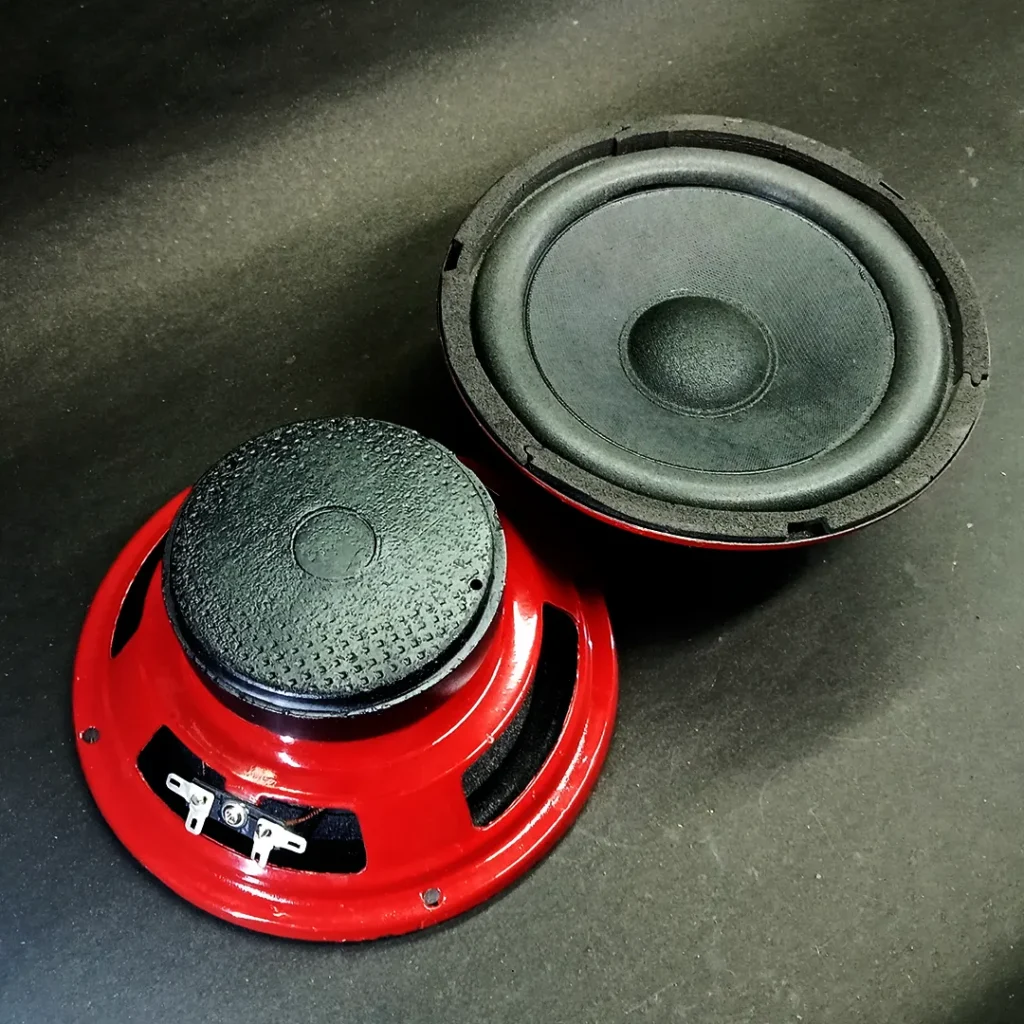
I’m excited to share my latest project—restoring old loudspeakers! I recently came across a pair of 6-inch speakers from an old Sonodyne amplifier system. These speakers were in a heavily worn-out condition, and instead of replacing them with new ones, I decided to take on the challenge of restoring them. It’s a great opportunity to learn more about speaker repair and breathe new life into these classics. To dive deeper into this restoration journey, I also picked up a few more speakers from a scrap shop to experiment with.


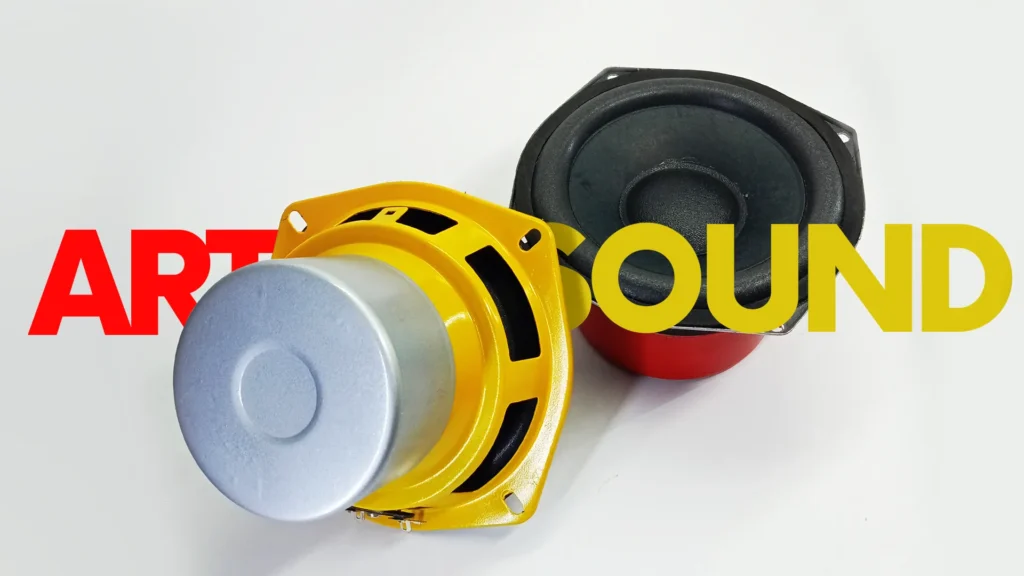
These are the speakers that will undergo a revamp and are rated between 30W and 45W.
Spare parts
The most significant hurdle I encountered involved finding new replacement parts for the restoring loudspeaker. It took me over a couple of weeks of searching until I stumbled upon an online store offering speaker spare parts. I managed to find all the necessary parts at a reasonable price. www.burhani.co.in
Cleaning Process

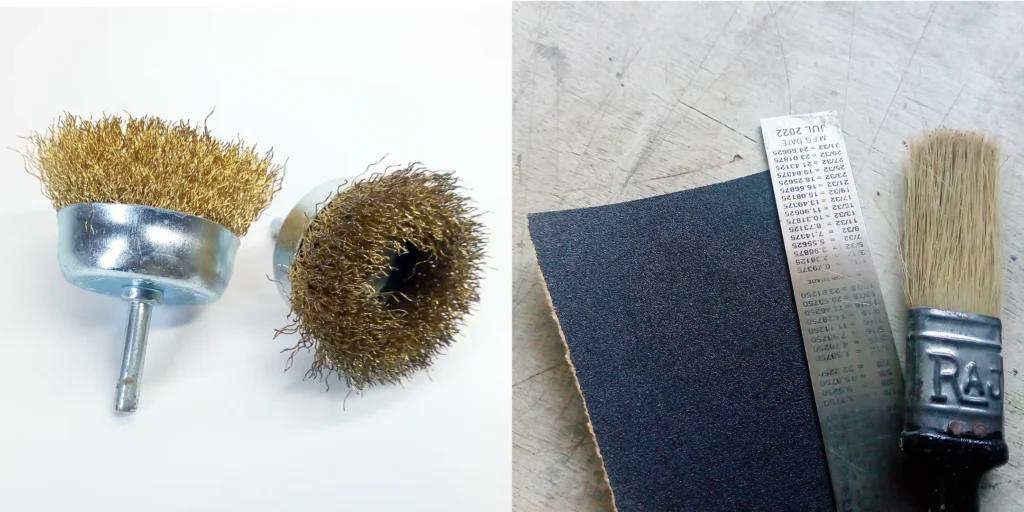
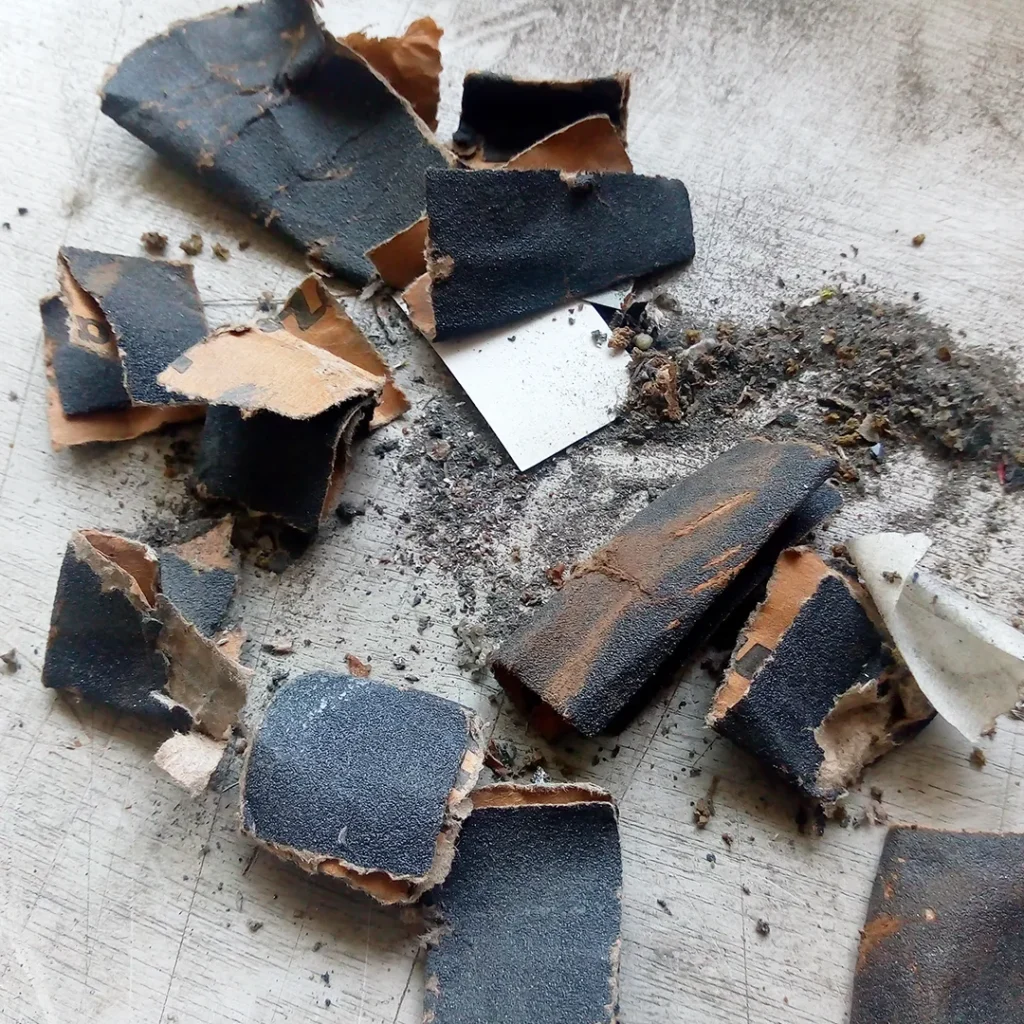
After removing the old coil, paper, and other components, the first step was to seal the coil gap with masking tape to prevent dust and debris from entering. I then began the cleaning process by using a metal brush to remove major rust, glue, and scratches from the speaker basket. Once the primary imperfections were dealt with, I followed up with sandpaper to further smooth the surface.
Painting process.
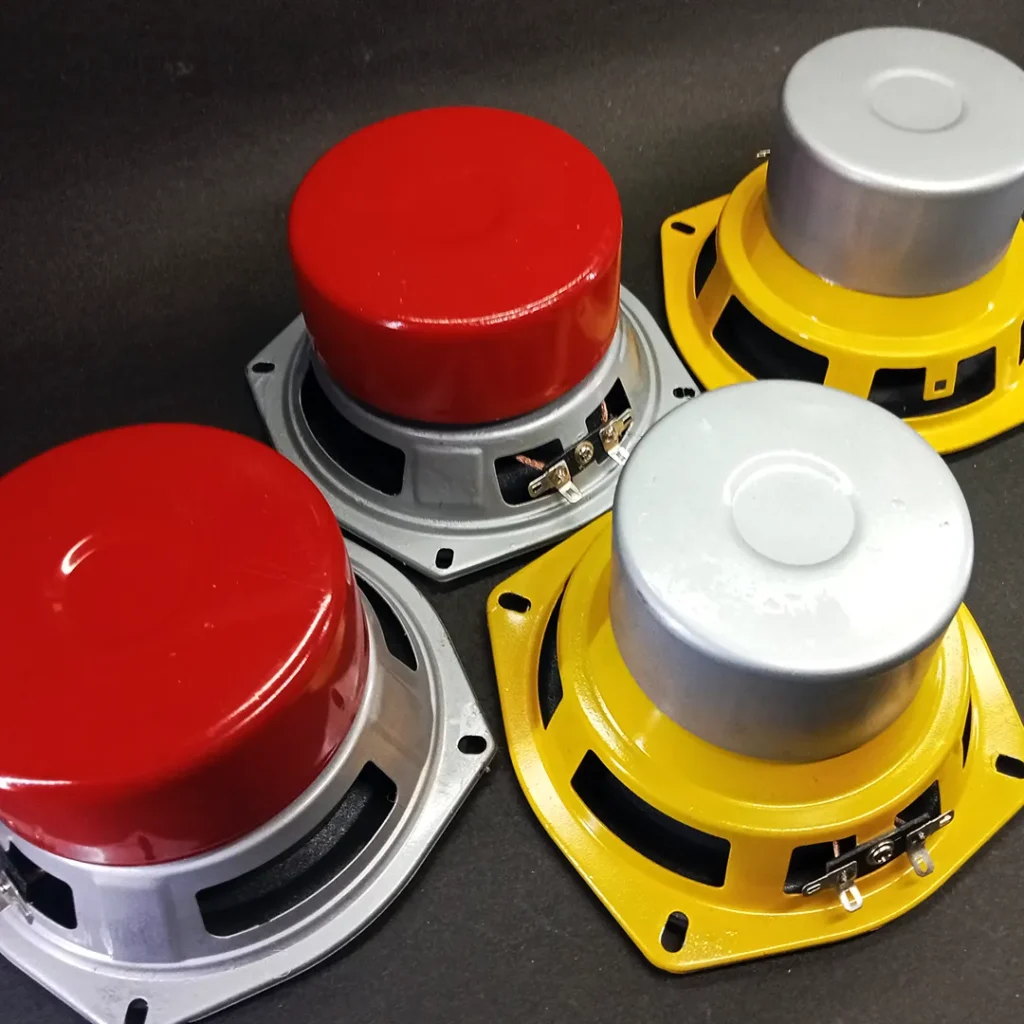
Here I intended to enhance the look of the speaker with some vibrant color combinations to give it a fresh and captivating look.
There was a higher chance of further rusting in the coil and spider area, due to its prior exposure to moisture. To prevent this, after cleaning the coil gap and its surroundings, I applied a clear coat, ensuring to mask the spider glue area and coil gap beforehand.

Furthermore, I aimed to paint the interior of the speaker basket. So I carefully masked off the cone glue area and spider area on the basket before applying the paint. I applied two coats of black spray paint with a 15-minute gap. (I didn’t apply a primer coat before painting, although it’s generally recommended for achieving a more detailed and lasting finish.)
After finishing the painting of the interior, I completely masked off the inner area to prevent any paint from getting inside when spraying the exterior.
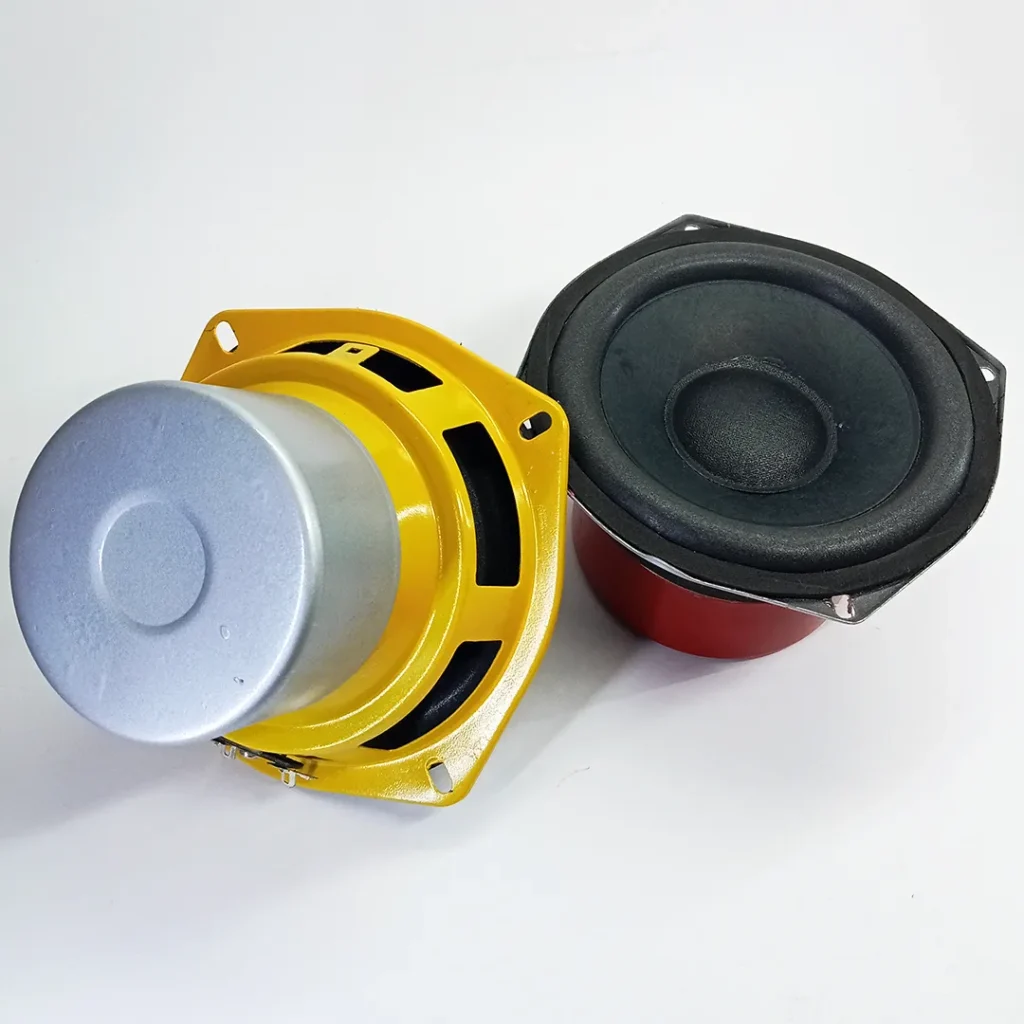
I opted for a red and silver color combination for the set of speakers, so I applied two coats of red color paint to the magnet cover and silver for its basket.
Cleaning Voice Coil Gap
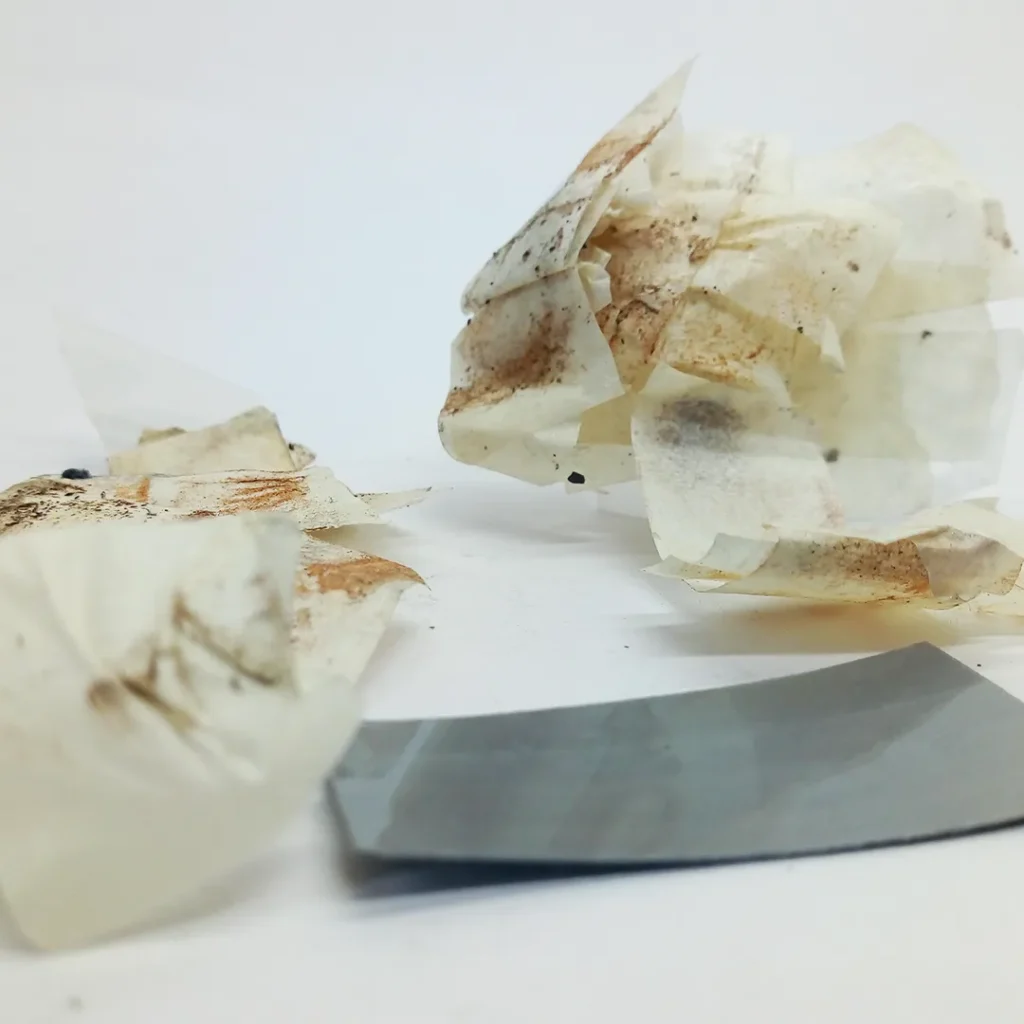
The most critical component—and the true heart—of any speaker is the voice coil. Even the smallest dust particles inside the coil gap can negatively impact sound quality, often leading to an unwanted rubbing sound. To prevent this, it’s crucial to ensure the coil gap is entirely free of dust and debris. In this restoration project, I used a simple method to clean the gap, as these speakers had minimal dust buildup.
I used a 1-inch masking tape and a 1mm thick plastic sheet, folding the tape along one edge of the plastic with the adhesive side facing outward.
Voice Coil
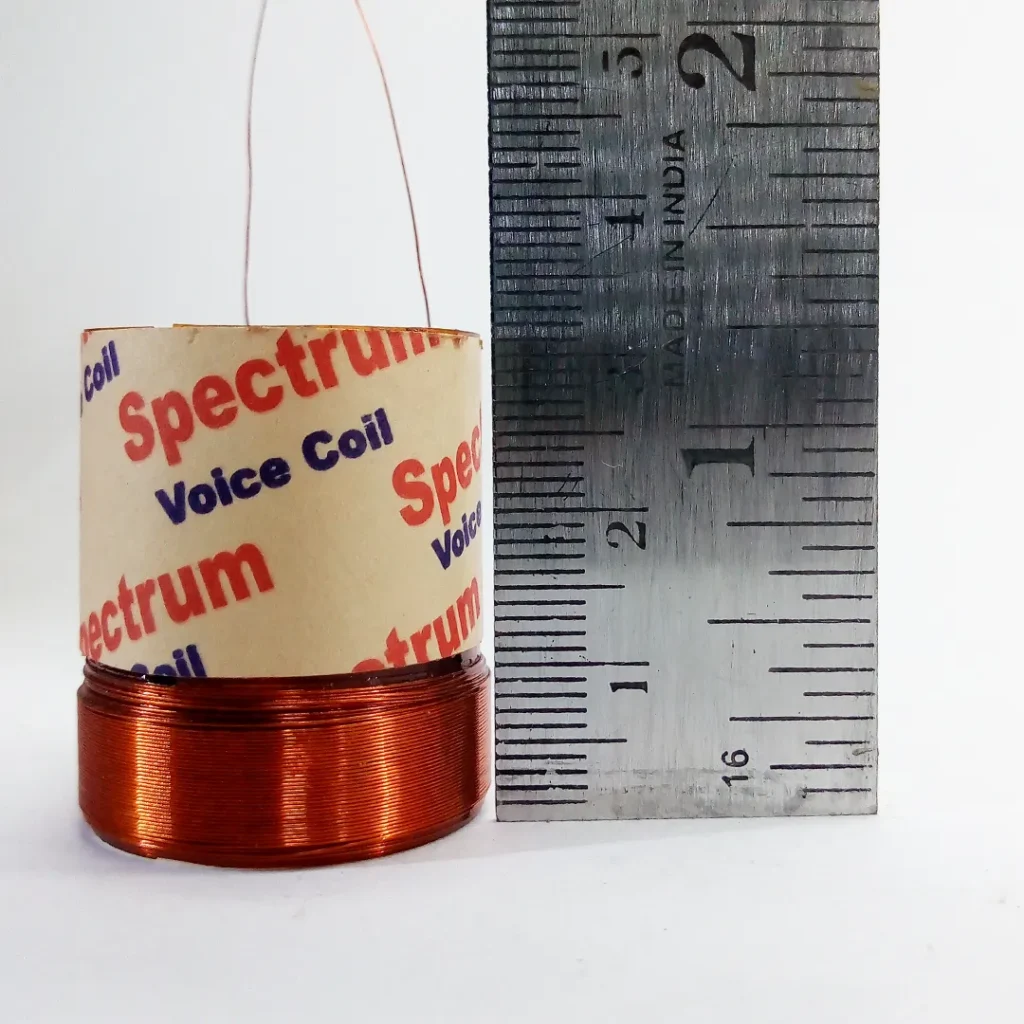
In this post, I demonstrate the restoration of a 5-inch speaker rated at 35 watts. The speaker has a 2mm air/coil gap, and I’ve decided to transform it into a woofer. I selected a two-layer coil, with the former having an inner diameter of 25mm and a height of 32mm. The coil winding height measures 10mm, and the outer diameter comes approx. 27mm. More about voice coil: https://www.iqsdirectory.com/articles/electric-coil/voice-coils.html
Measuring Top Plate Thickness
The top plate is usually made of a ferromagnetic material positioned above the magnet, and it plays a crucial role in shaping the magnetic field around the voice coil, and the coil should align centrally with this plate. Measuring the thickness of the top plate is challenging as it is concealed. To address this challenge, I developed a method to determine its thickness. Using a single strand hookup wire I bend it like, it should enter the voice coil gap and be able to lock at the inner surface of the plate when turning it.


Voice Coil Position
Generally, the coil should sit centrally aligned to the plate for uniform movement and for optimal magnetic interaction between coil and magnetic field. This speaker’s top plate and its thickness are vital components it supports the magnet assembly, guides magnetic flux, and stabilizes the voice coil. Its design and material quality greatly influence the speaker’s performance and efficiency.
Installing the voice coil process requires precision to ensure proper alignment and clearance within the gap. The proper installation ensures that the coil moves freely within the gap without rubbing against the edge of top plate, which also could cause distortion or damage. To tackle this challenging task, I conducted an experiment using a piece of plastic strip as shown below.
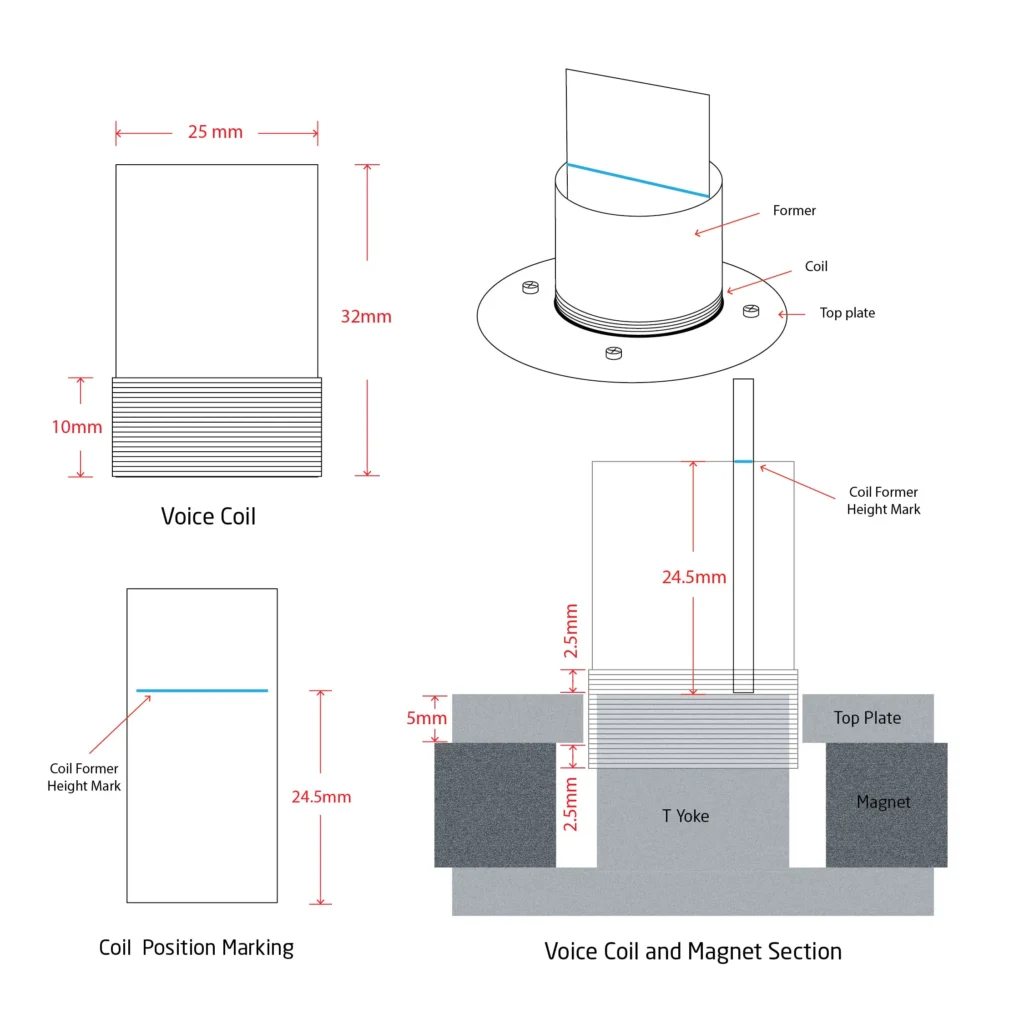
The height of my coil winding is 10mm, while the top plate thickness is 5mm. This means that 5mm of the coil will be centered within the top plate, leaving 2.5mm of the coil extending above and 2.5mm below the top plate. The calculation is as follows:
- Coil former height: 32mm
- Subtract 7.5mm (which accounts for 5mm of the top plate and 2.5mm extending inside the magnet) This leaves: 24.5mm for the remaining total coil height along the former.
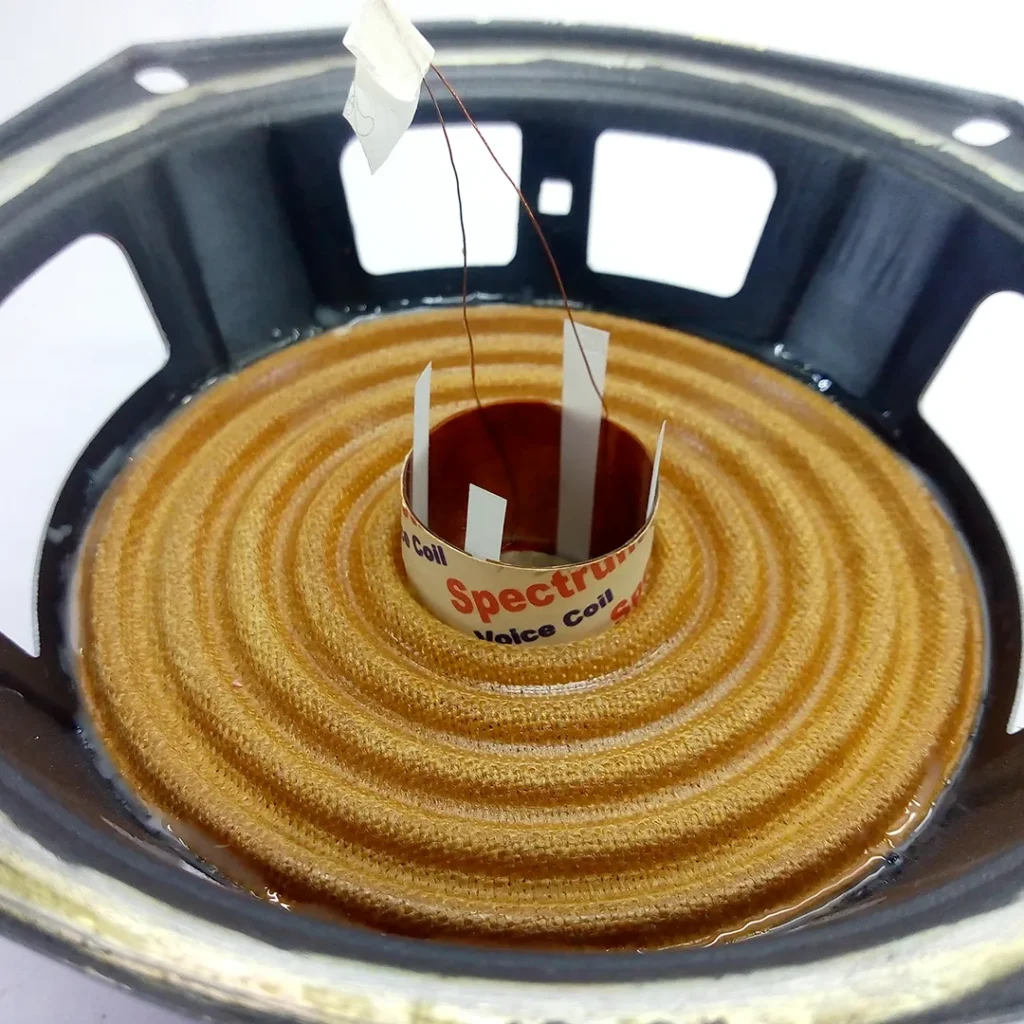
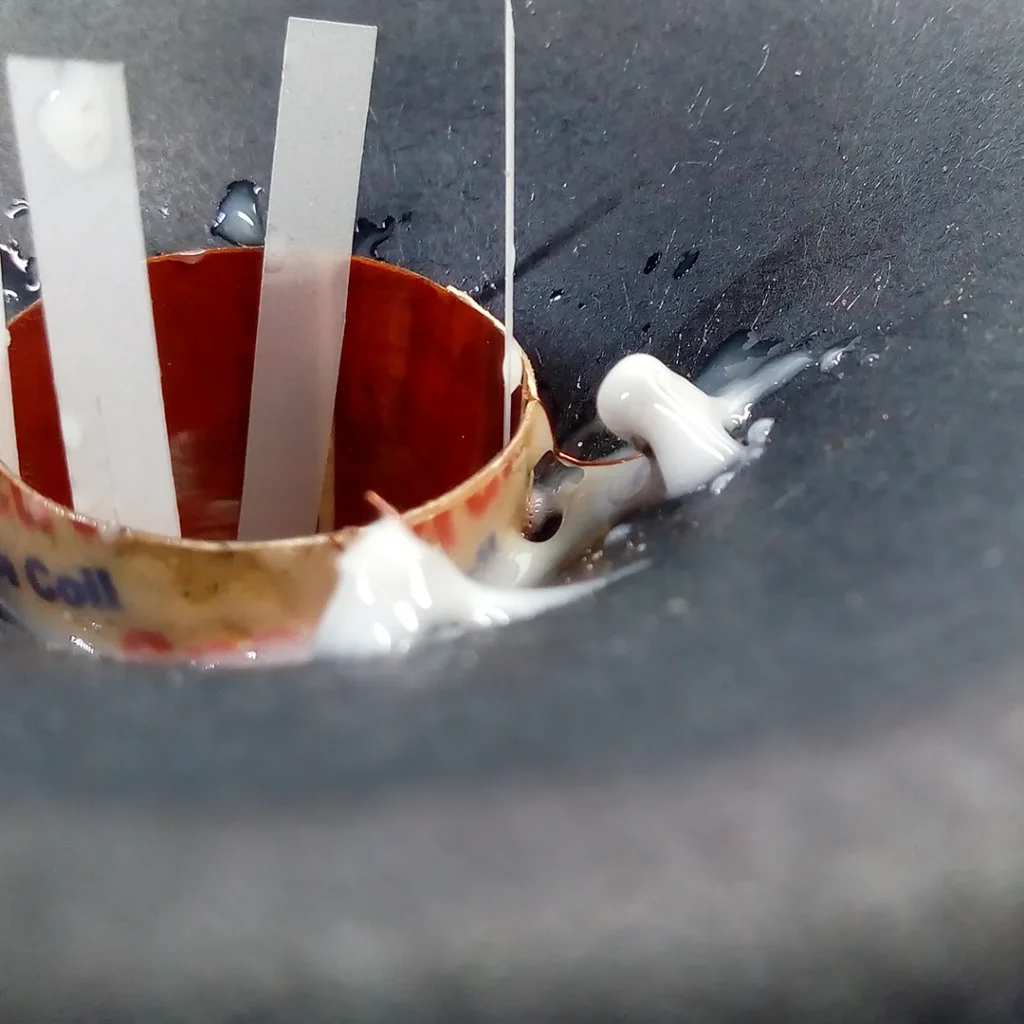
Inserted the coil into the gap. I then insert the plastic strip with line mark at height 24.5mm placed on yoke. Finally, I used four plastic strips to snugly fit the coil in the gap, ensuring it remained securely centered.


Installing spider
After inserting the voice coil, I prepared to attach the spider to both the frame and the coil. I used a resin and hardener glue combination, which is commonly used for bonding in speaker rapier. I measured equal quantities of resin and hardener, mixed them thoroughly, and first applied the mixture to the basket to mount the spider. Then, I applied the same mixture to bond the spider to the coil.

Attaching Cone
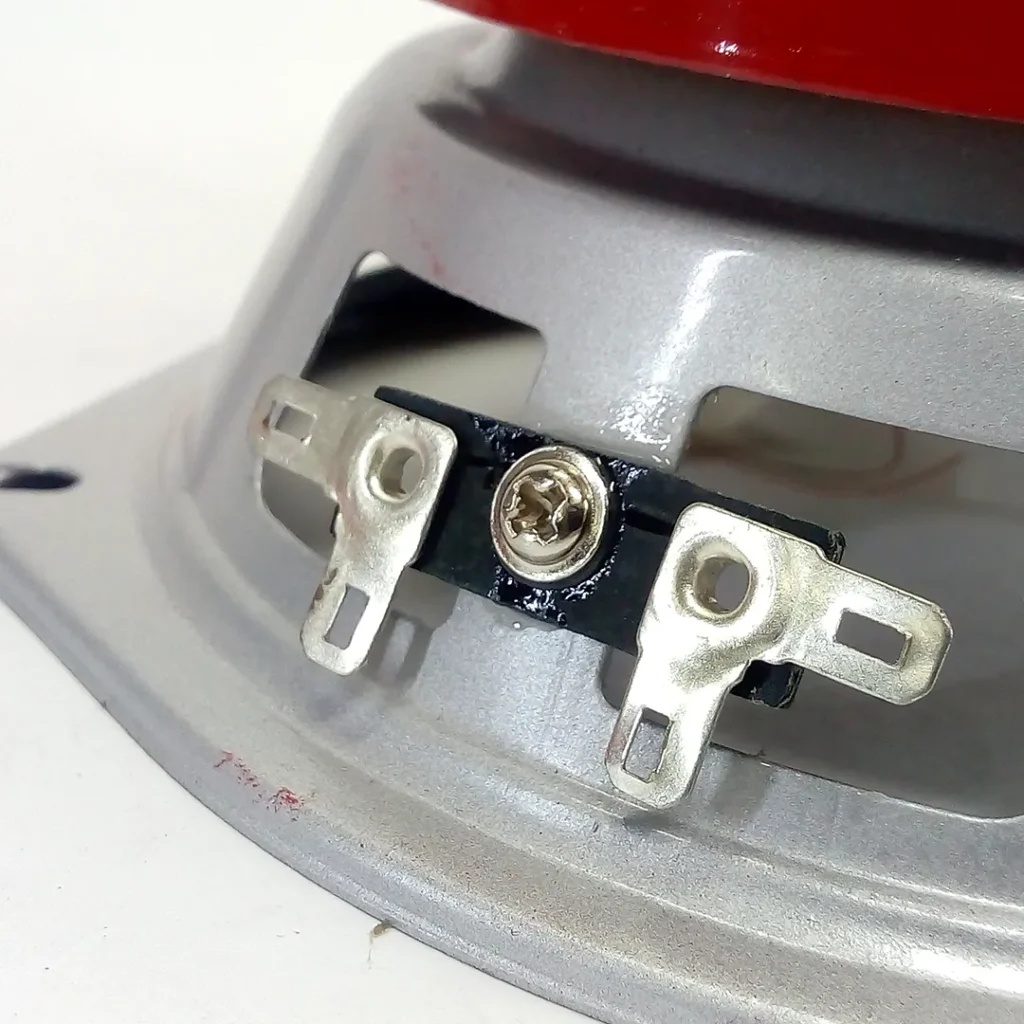
Before installing the cone/diaphragm, I attached the speaker connection terminals to the basket. Instead of using rivets, I opted for screws and nuts and applied resin while screwing for a permanent fix.
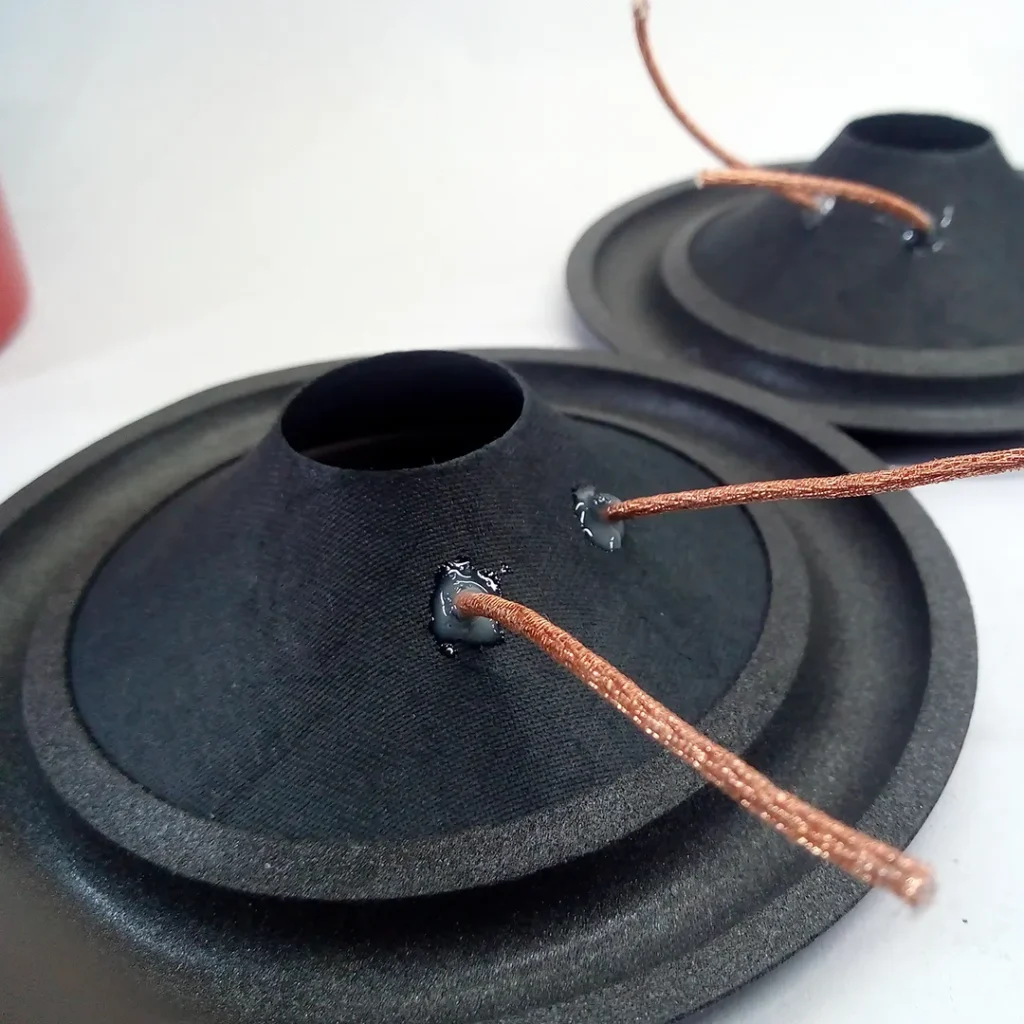
I made two 1mm holes in the cone and inserted speaker cable (braid) terminals and applied glue to secure them. I ensured that these holes will be hidden once the dust cap is in place.
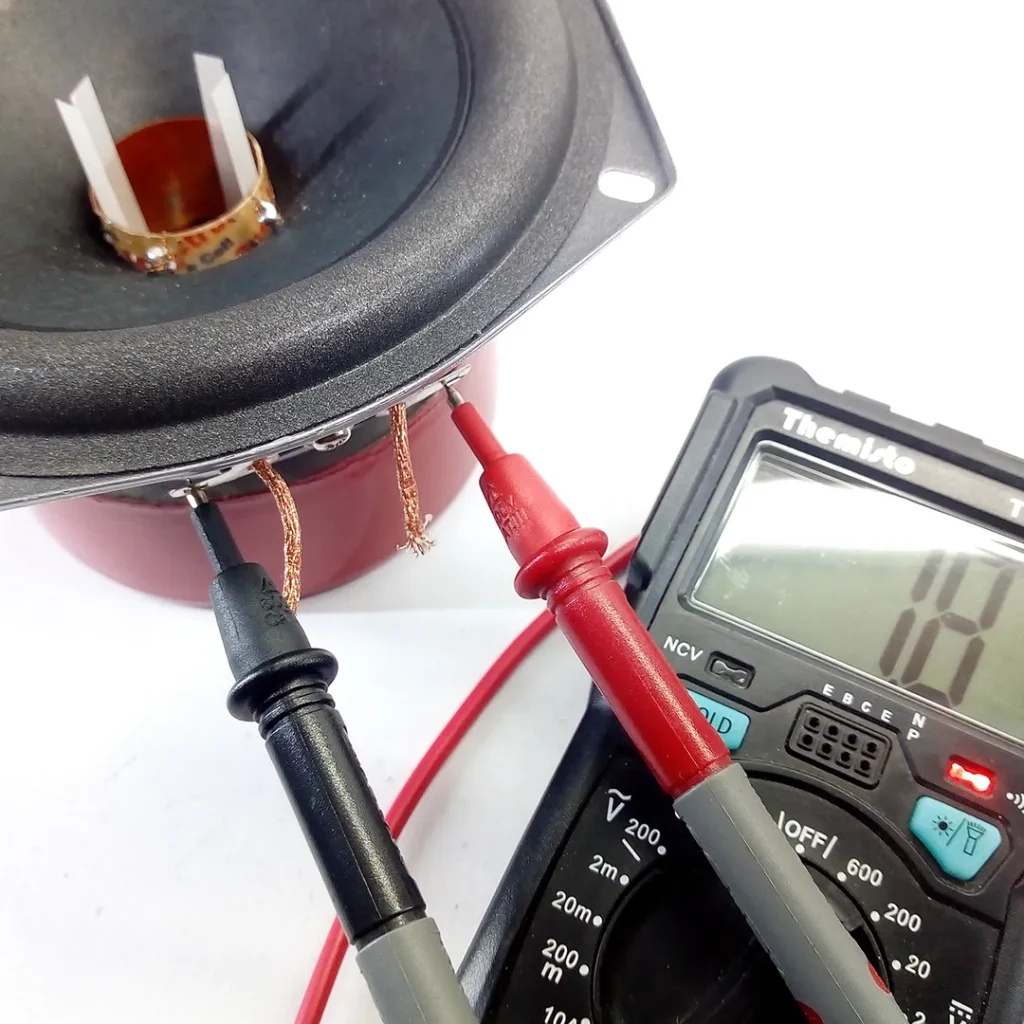
Later tested the speaker for the connection continuity.
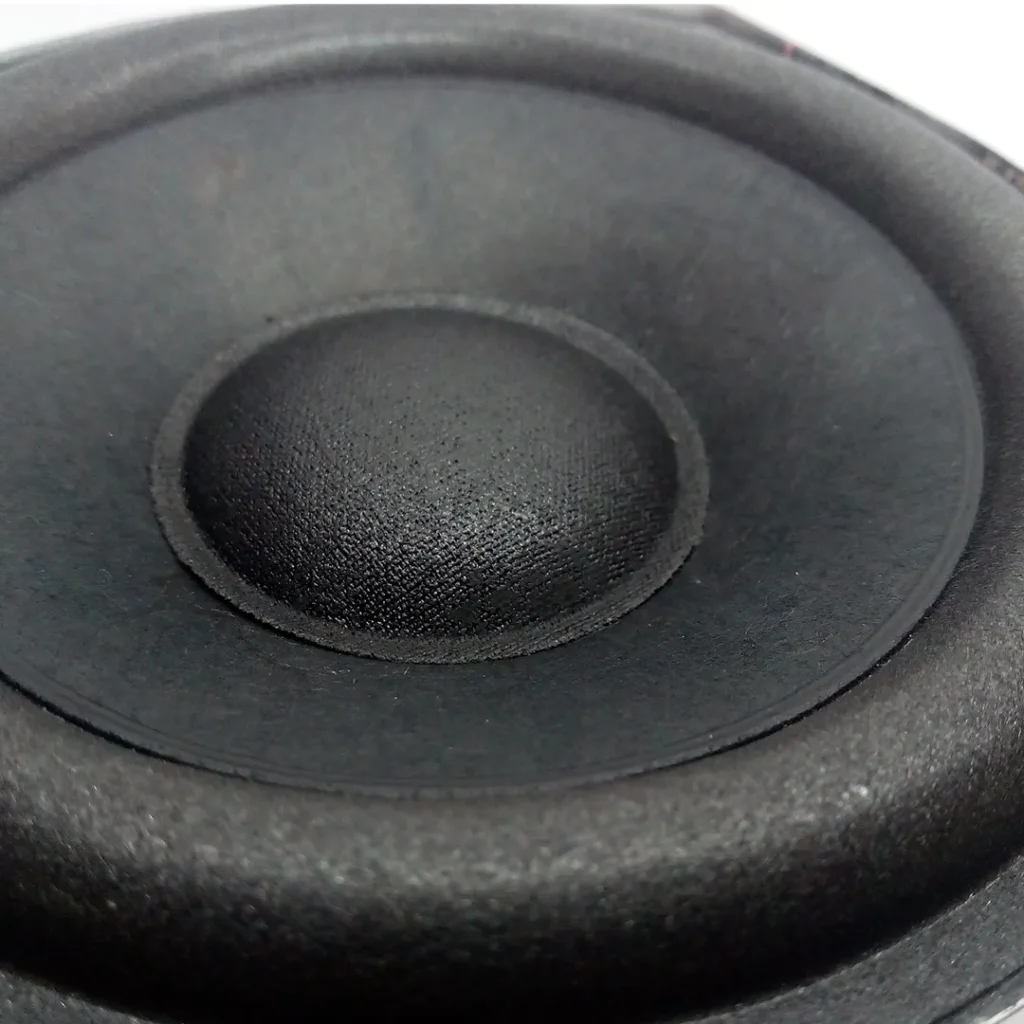
Then I carefully installed the cone and used a small knife to remove the insulation from the voice coil. I then soldered the coil to the speaker terminal braid and applied bonding to ensure the wires wouldn’t produce any unwanted noise and finally pasted the dust cap.
Know more about loud speakers: https://www.explainthatstuff.com/loudspeakers.html

This is how they finally look like.
Thank you for reading this blog 🙂